Re: My new 2CV, running restoration. In theory..
Happy new year all!! Got a bit sorted over Christmas break. This post will be a bit picture heavy as I often really struggle finding decent photos to reference this type of work, hopefully it'll help someone else some day.
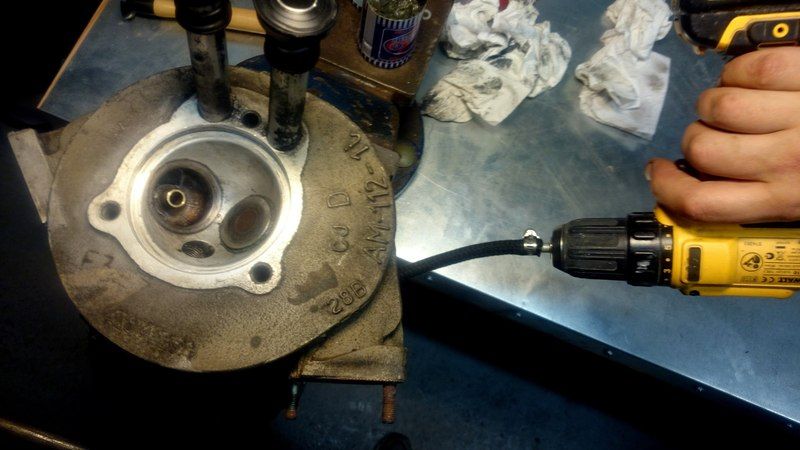
The valve seats cleaned up very well after a thorough lapping, after spending a couple of hours doing one side by hand I rigged up a bit of rubber tube with a couple of jubilee clips and a bit of threaded bar in the drill, worked pretty well and was faster than by hand.
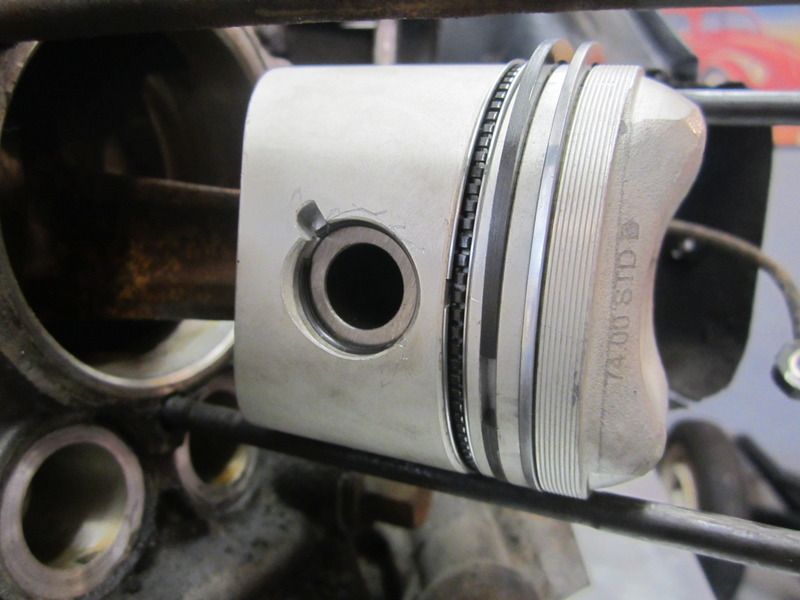
I bought a 9.0:1 cr barrel and piston set from Ecas, I was a bit begrudged spending so much money when I only really needed one side but in the end it wasn't much more expensive than all the standards bits for one side once you added it all up, plus it'll make the engine a bit more spritely.
Nice quality bits from Ecas

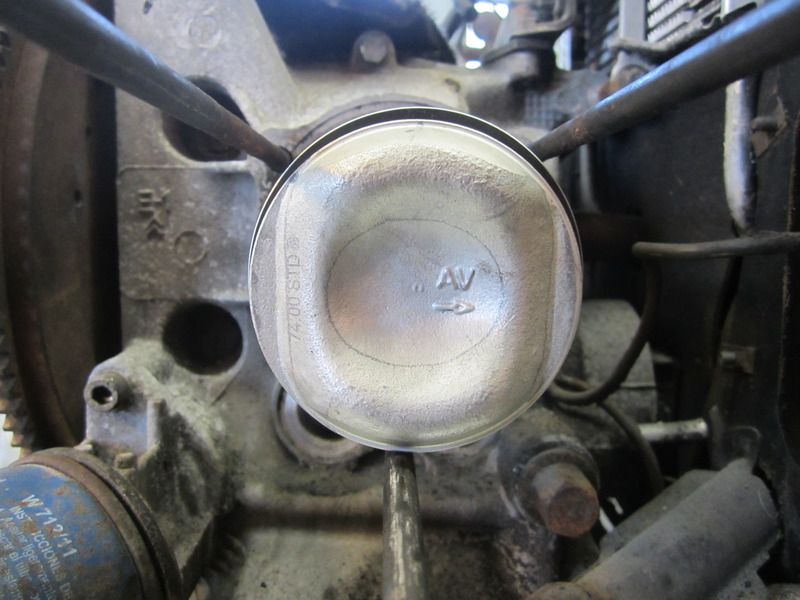
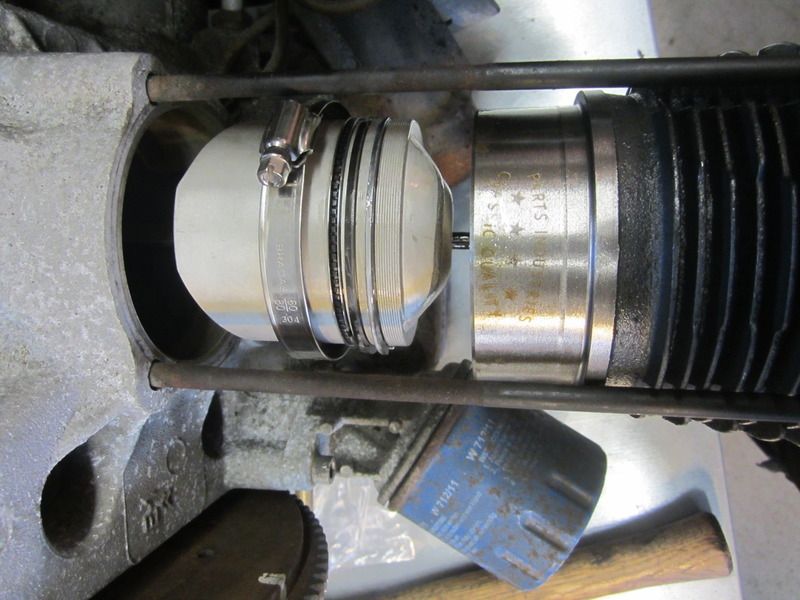
Fitted the rings to the pistons, the three oil oil control rings set 120 degrees apart and then the other two offset. This makes for a better initial start up and bedding in and is more efficient at scraping oil from the barrel walls. This is information I learned after already fitting one side with the three oil control rings spaced the same and the other two just randomly spaced. Note my experimental ring compressor in the penultimate pic. This didn't work that well, I ended up putting a light oil on the rings and compressing them with my fingers, slipped in great with a bit of wiggling. Fitting piston rings is very much like making love to a beautiful woman. Etc.
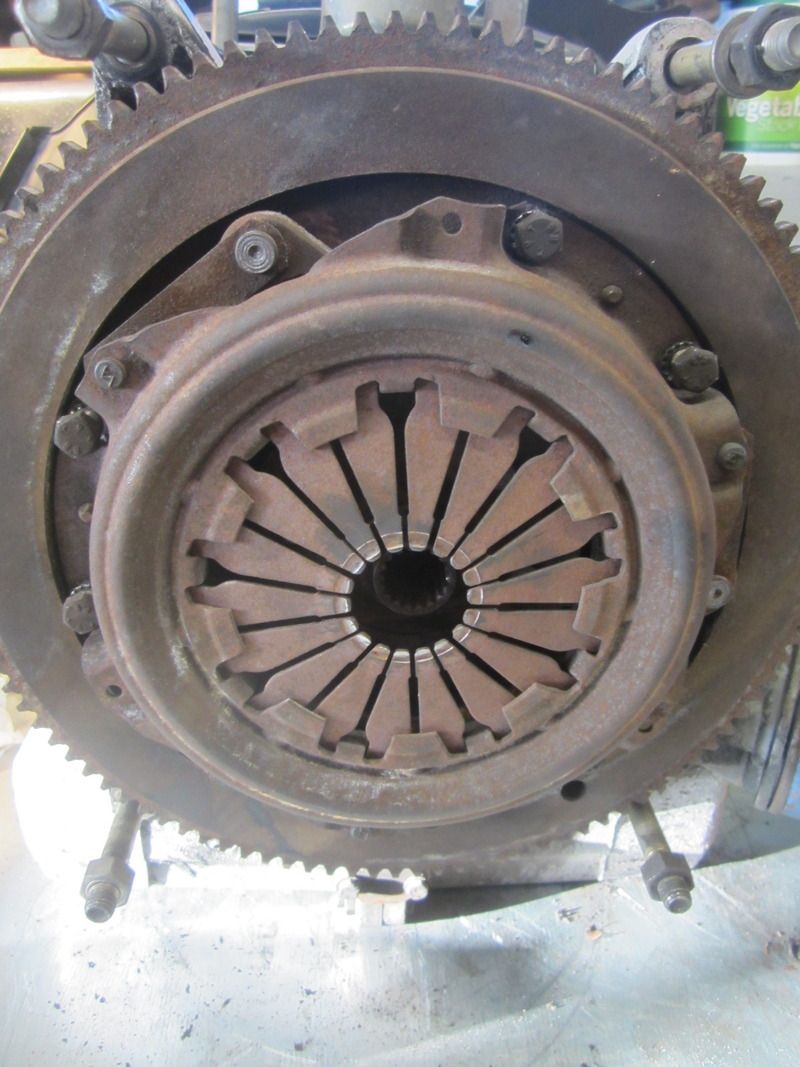
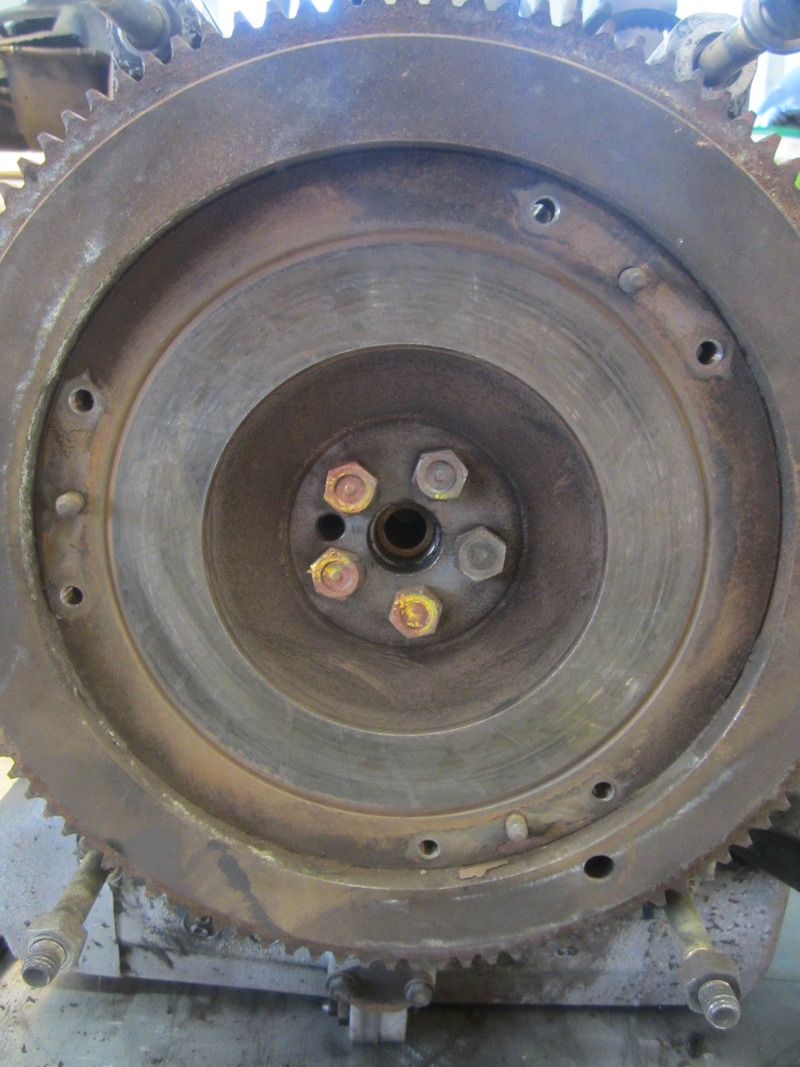
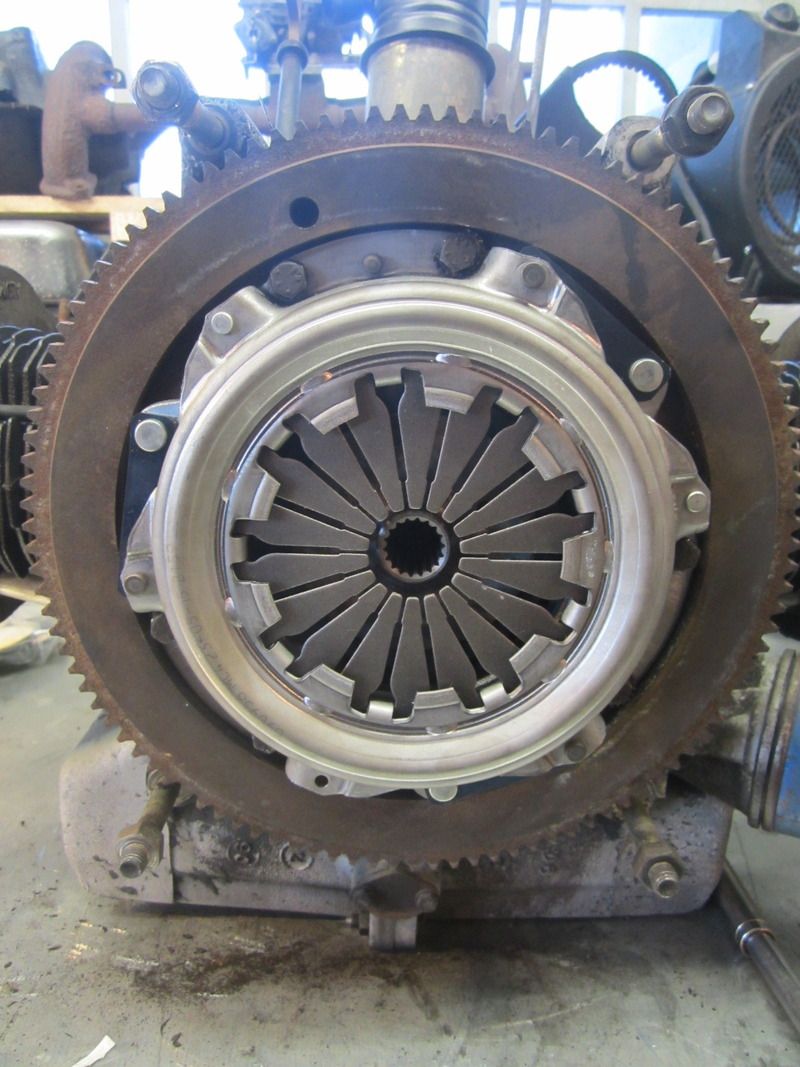
Next I changed the clutch for a new Valeo one
And fitted the heads with new valve stem seals, set the valve clearances and fitted new rocker cover gaskets. All went pretty smoothly, minus a slight mis-calculation with an online torque converter.

I only snapped one head stud but changed all three on that side as a precautionary measure. I now have a laminated torque conversion chart above my workbench...
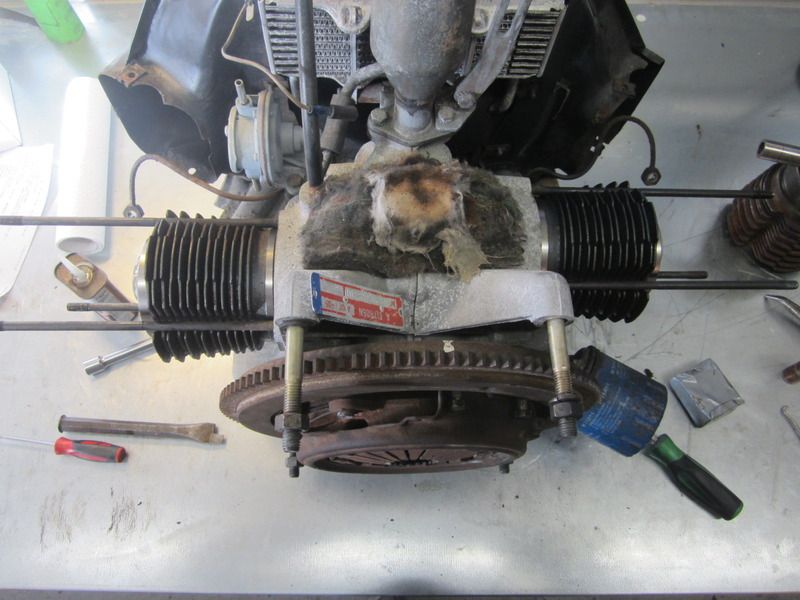
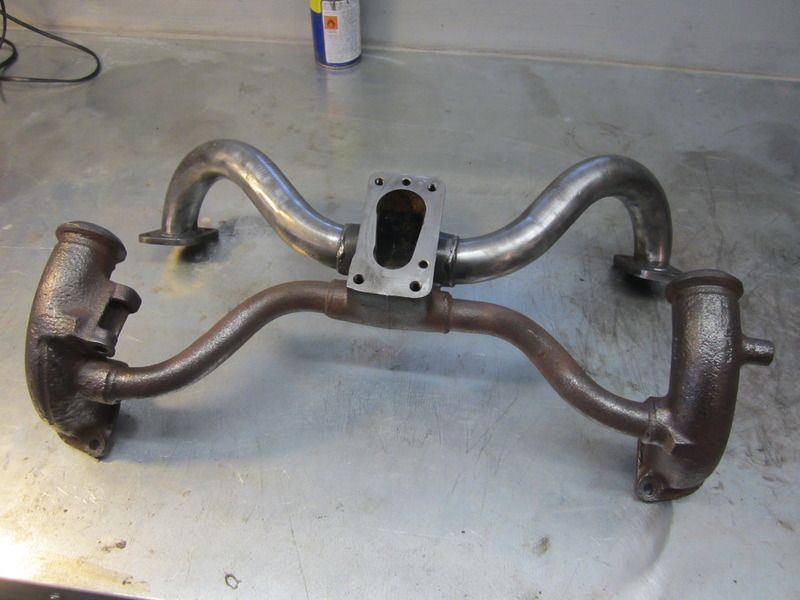
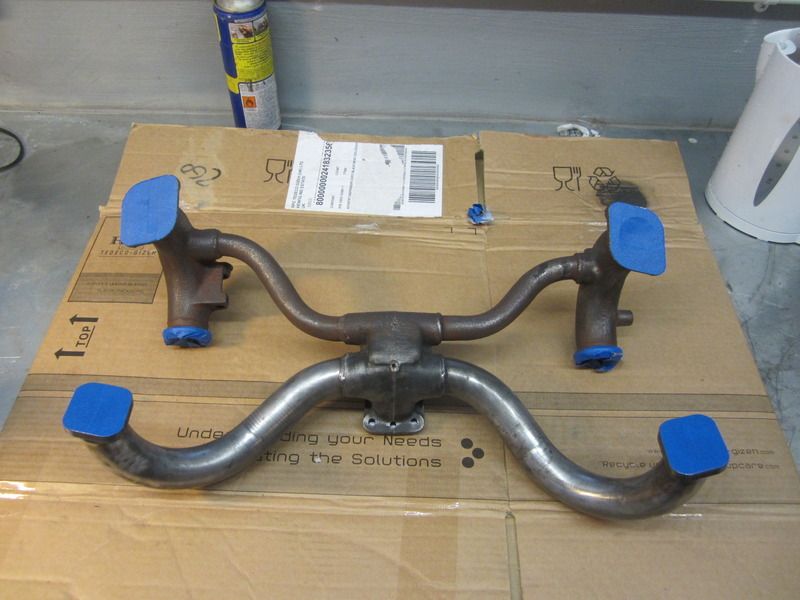
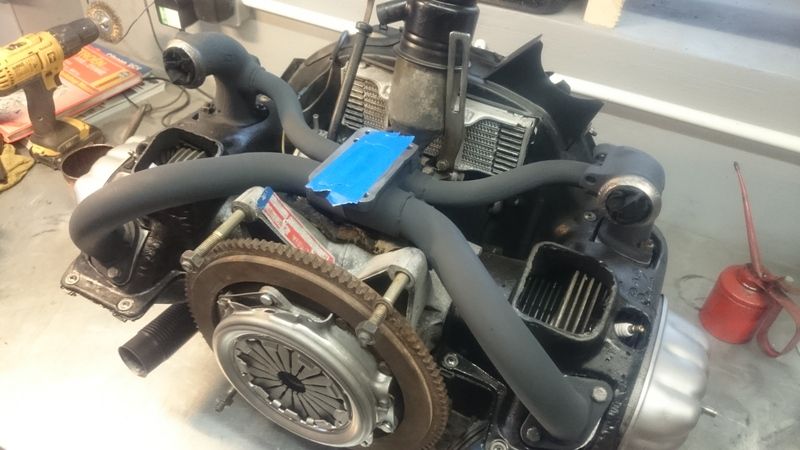
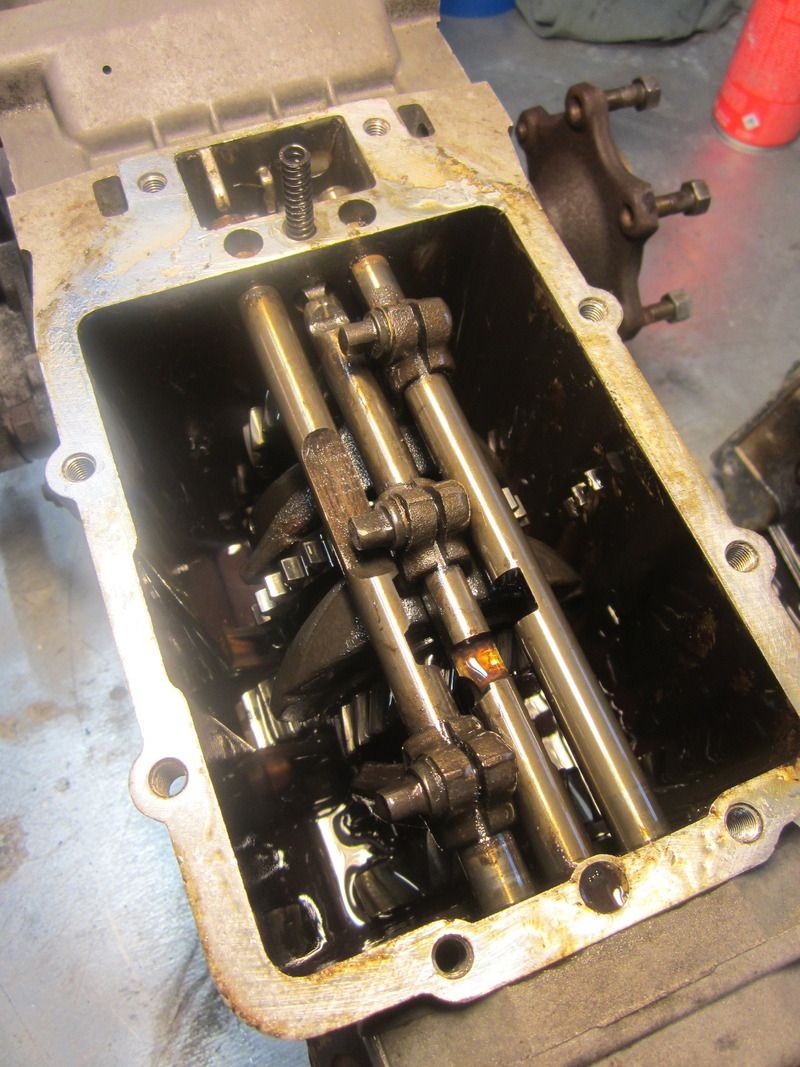
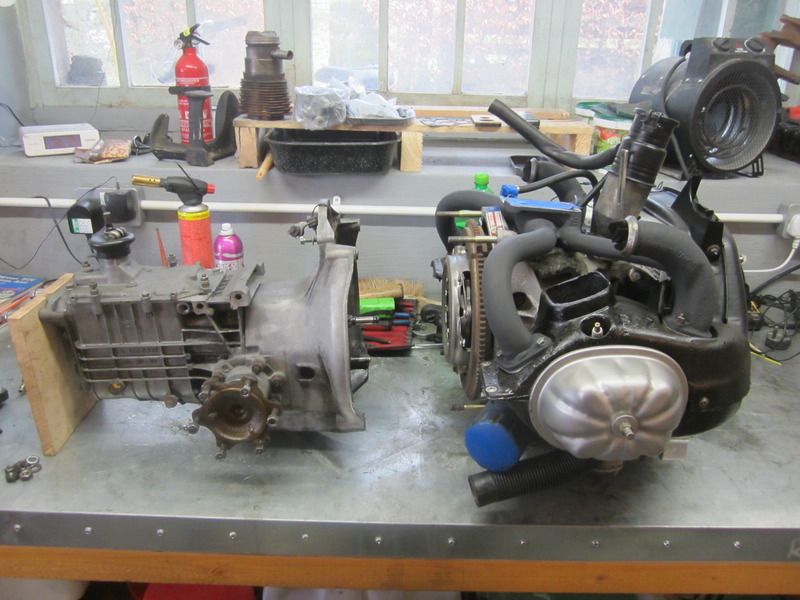
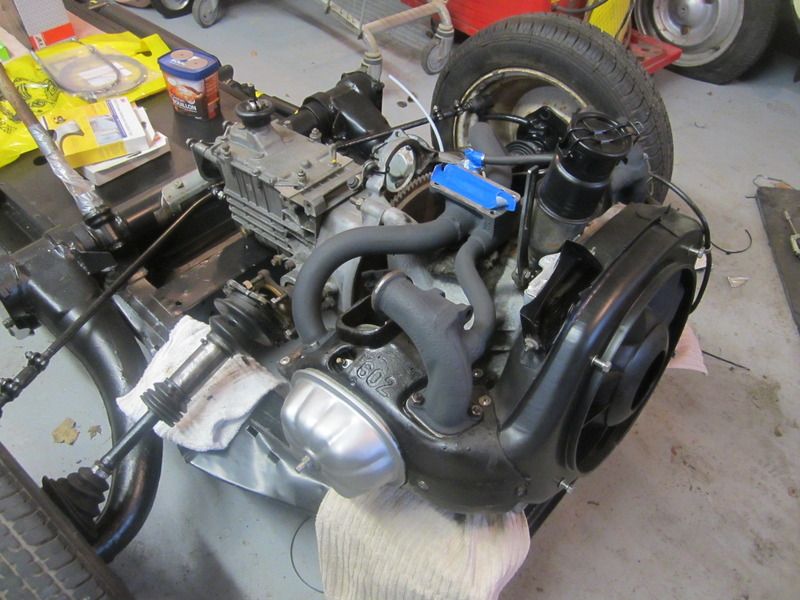
I then built up the rest of the engine, cleaning and painting bits as I went.

[URL=http://s38.photobucket.com/user/panelbeaterpeter/media/IMG_8391_zpsy8tcqdjk.jpg.html]
[/URL]
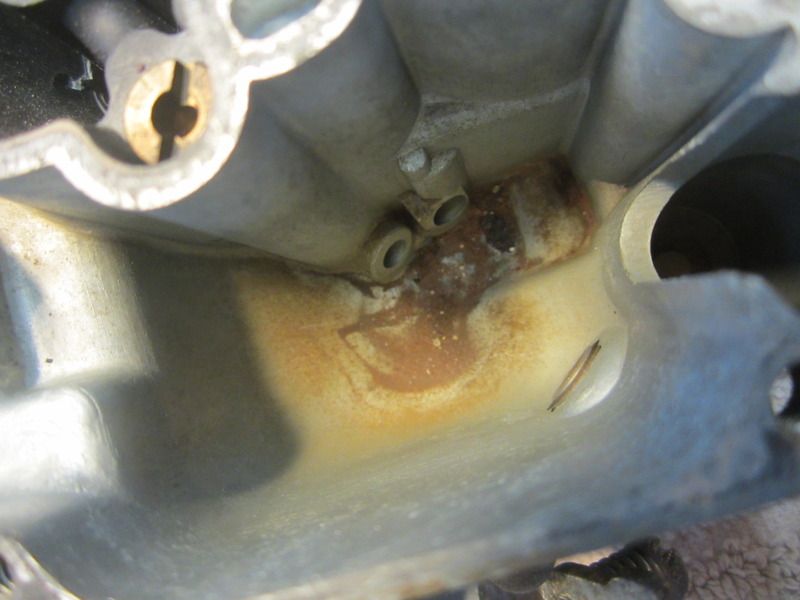
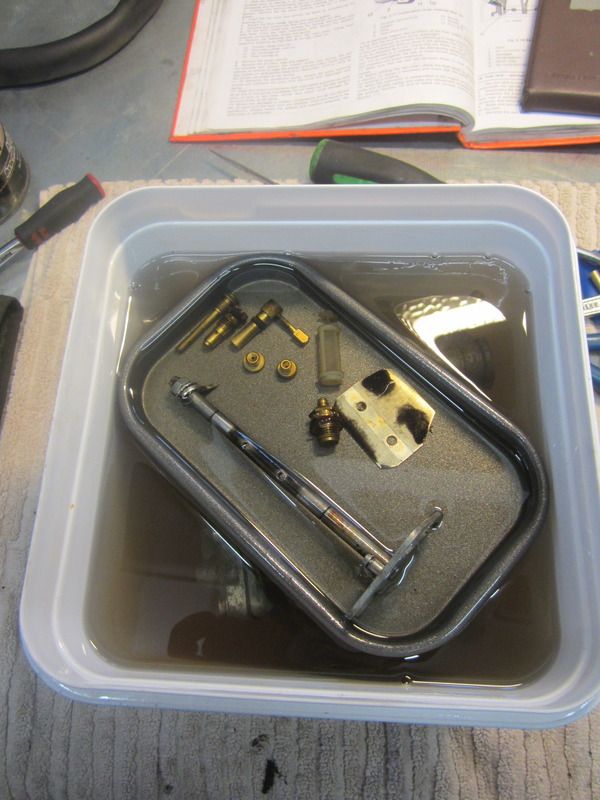
I then stripped and cleaned and checked over the carb, generally looked good, apart from a lot of crap in the bottom of the float chambers.
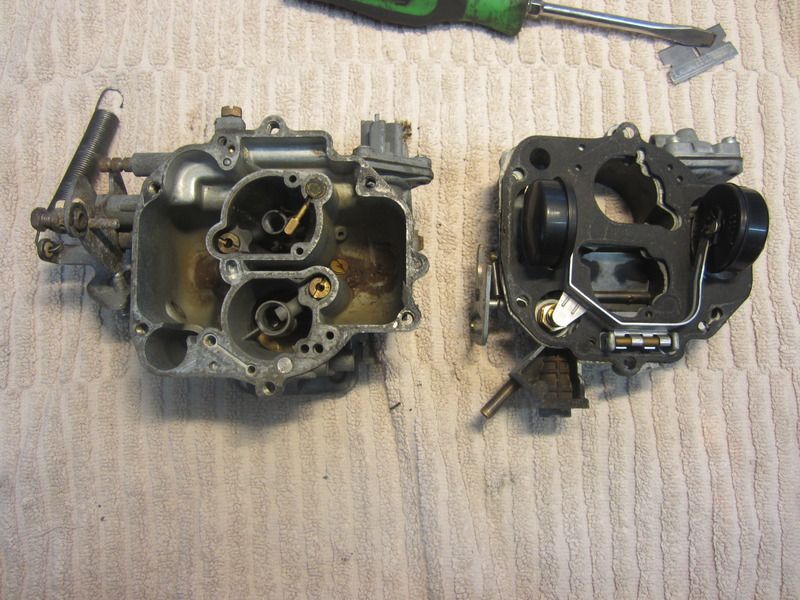
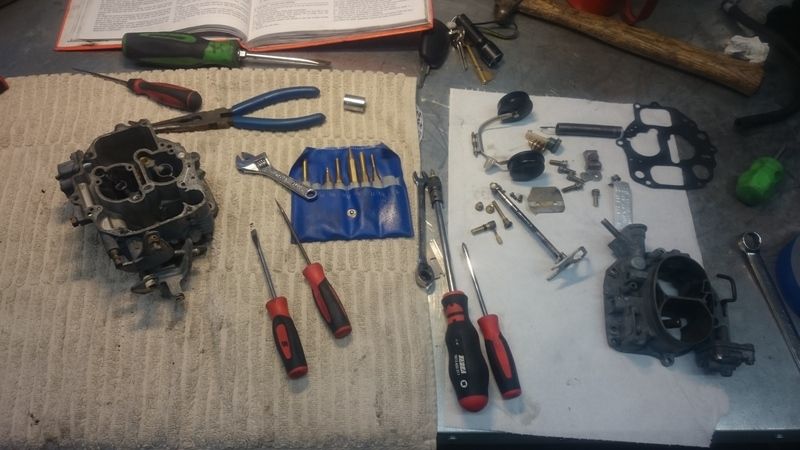
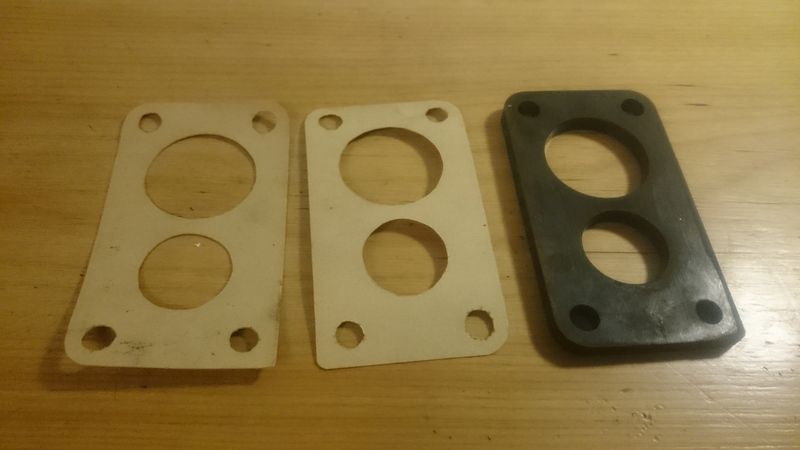
Made some new insulator block gaskets from gasket paper
Just waiting for the carb top gasket from Ecas and it'll be ready to fit to the engine.
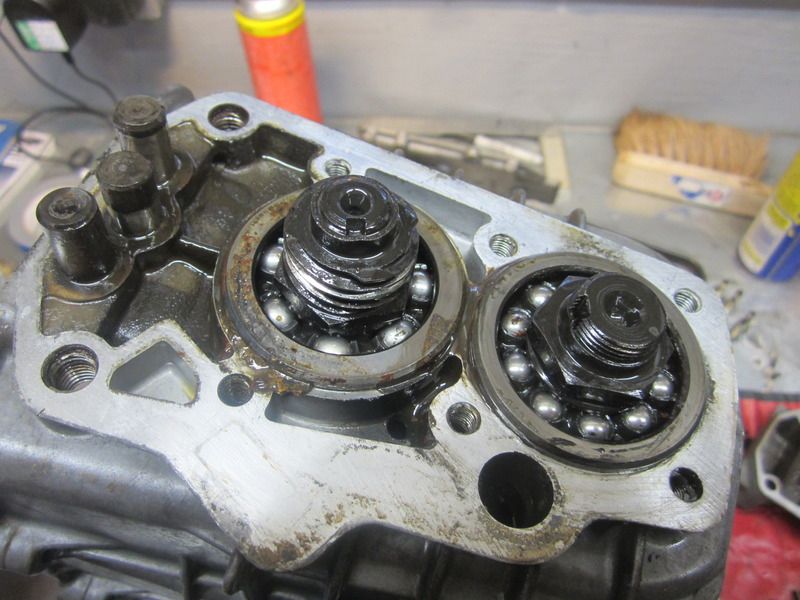
Next my attentions turned to the gearbox.

I had looked inside here before when Martin (Smyth602) showed me how to peen over the selector ring so knew roughly what I was looking at. As usual, there were just three badly peened sections. I took a few videos as I went with the gearbox to show exactly what areas to peen as I struggled finding decent info on it.
Video showing factory peening.
https://youtu.be/i98qjTuHSVYVideo showing additional peening I added.
https://youtu.be/o9P0iJTGYP8I then drained out the oil
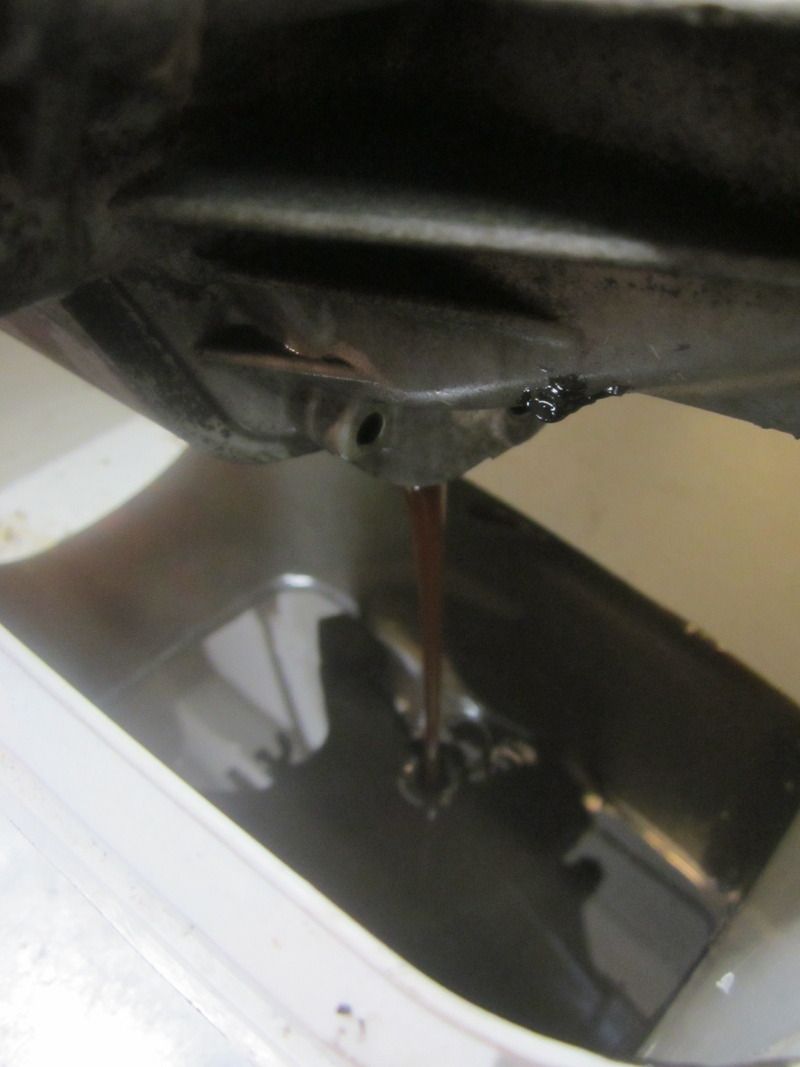
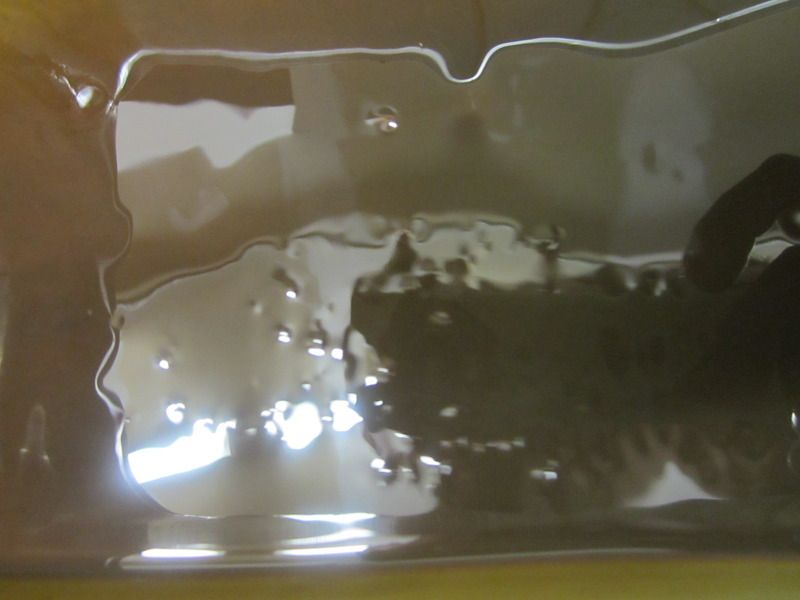
Which showed signs of water contamination, most likely from when I pressure washed it a couple of years ago. Luckily it doesn't seem to have damaged anything.
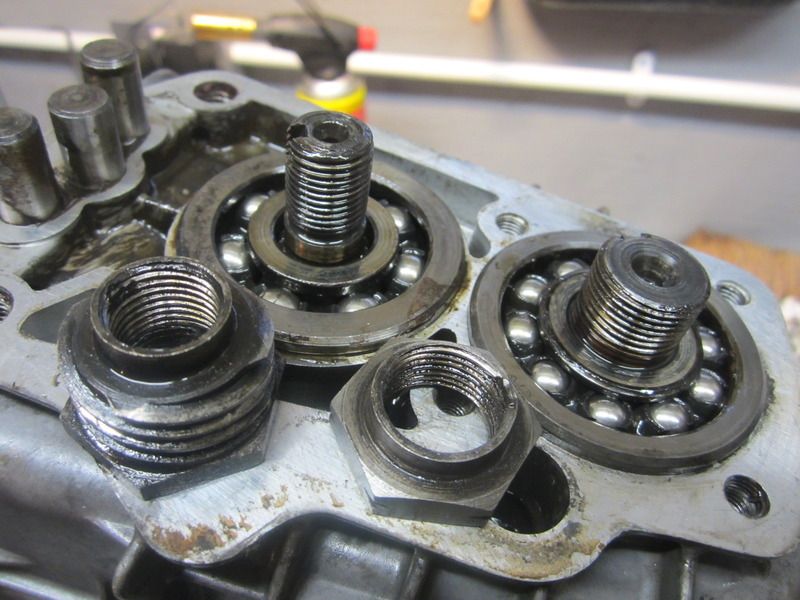
I then removed the rear cover to check the main shaft and pinion nut were tight. Signs of water ingress in here too, no damage caused though.
The nuts were both loose and showed hardly any signs of factory peening.
https://youtu.be/UkPMXBGfJbQ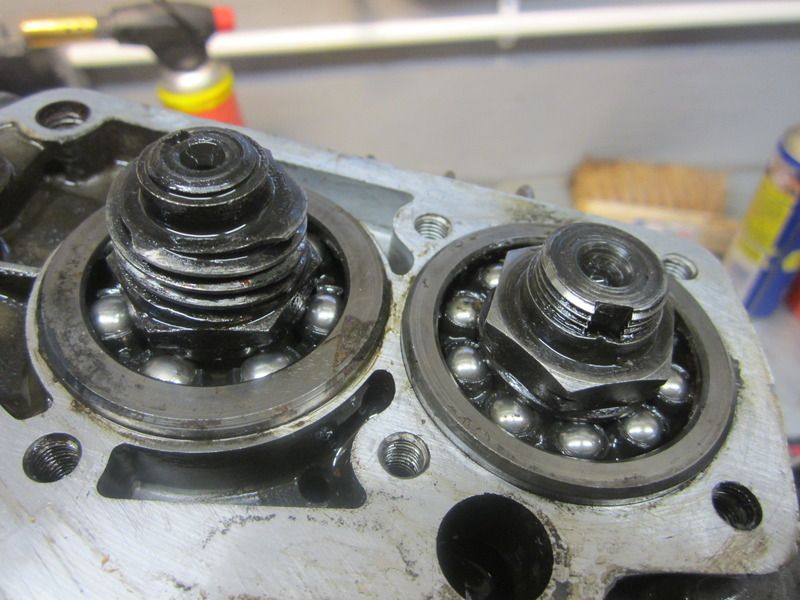
I made a wee "un peening" tool and knocked out the very slight indents left by Citroen, then removed the nuts. If anyone uses this as a guide, the lower (pinion) nut is a LH thread.

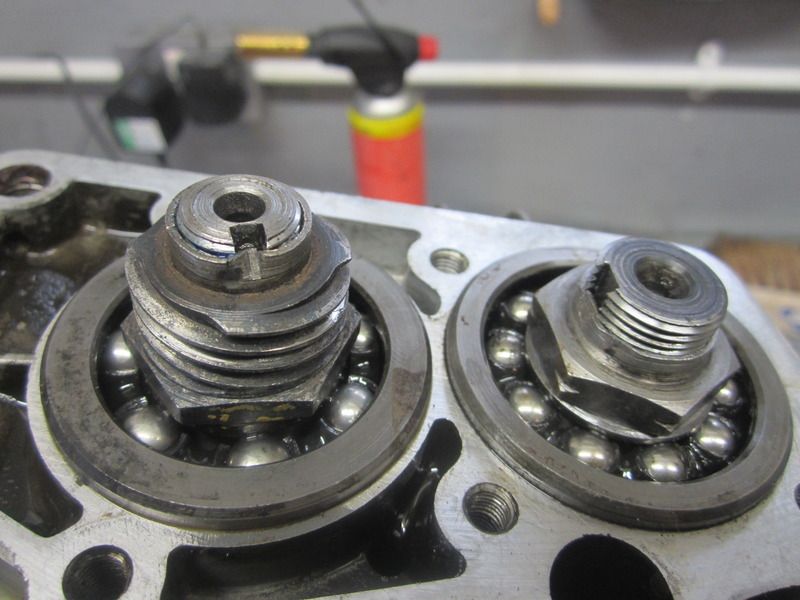
I next refitted the nuts set to the correct torque and using threadlock and more affective peening.
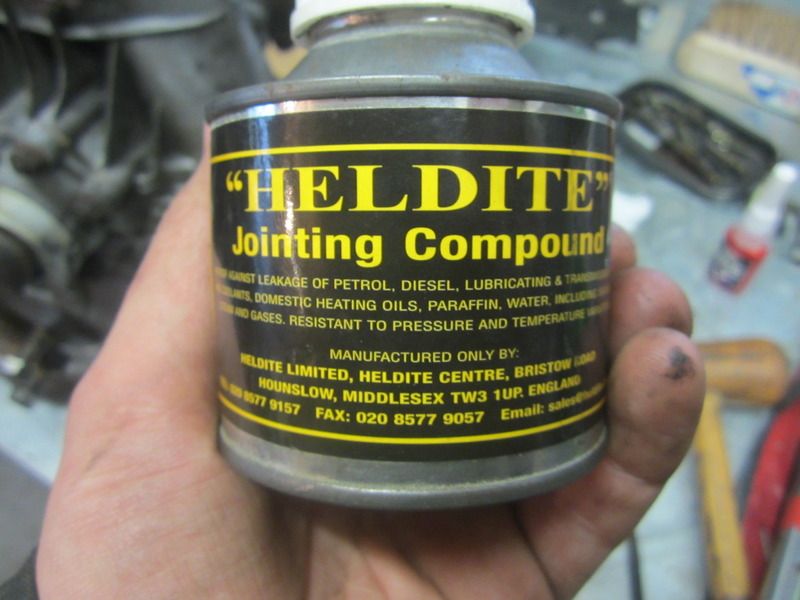
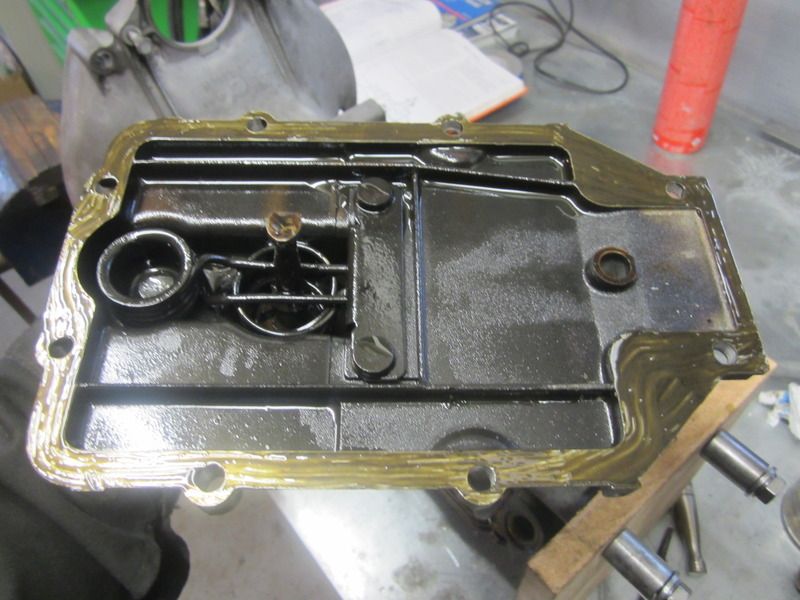
And cover refitted, sealed the join with a thin coat of Heldite. I used to use Heldite for leaky sump plugs before I learned how to anneal copper washers, but figured it would be good for this too.
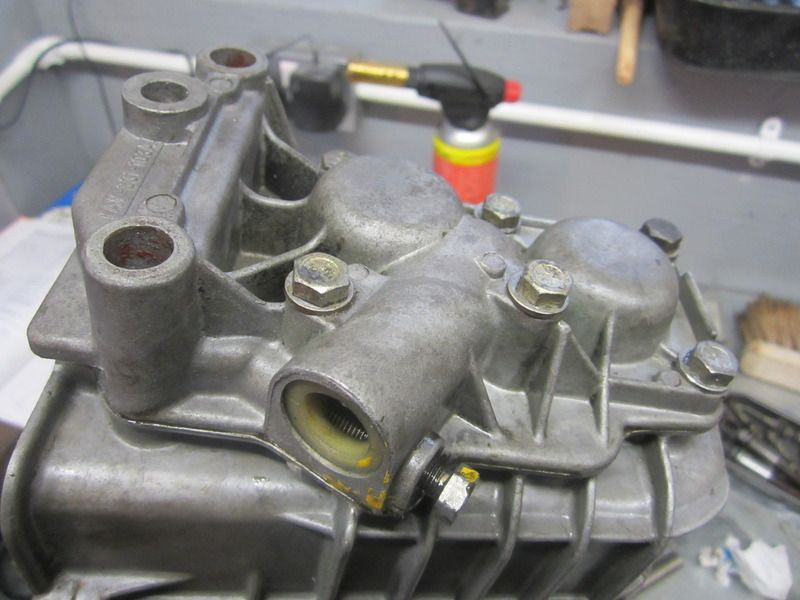
Same applied to the gearbox top cover
And the top was bolted back on after filling up 0.9 litres of semi synthetic 75w90 hypoid gear oil.
Next I joined the gearbox and engine back together again. Slotted together very nicely, and was then plonked in position after fitting new 2cv joints and grease all round.
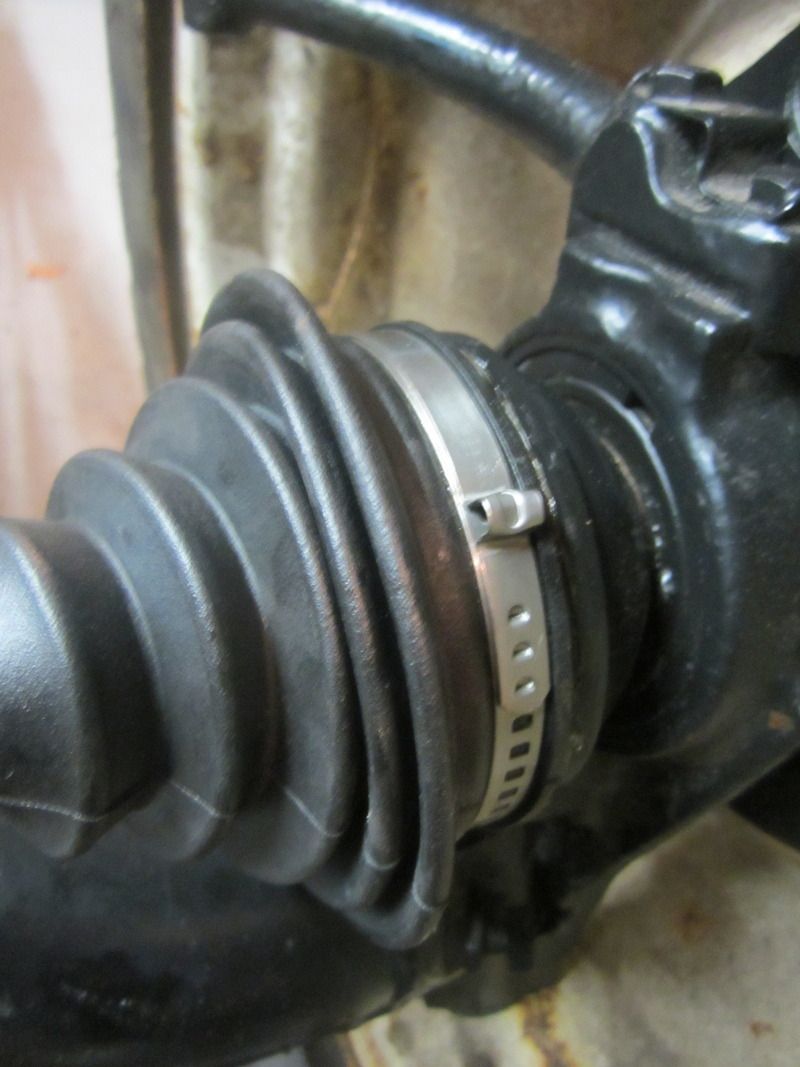


Next up I fitted new discs and attached and torqued up the driveshafts
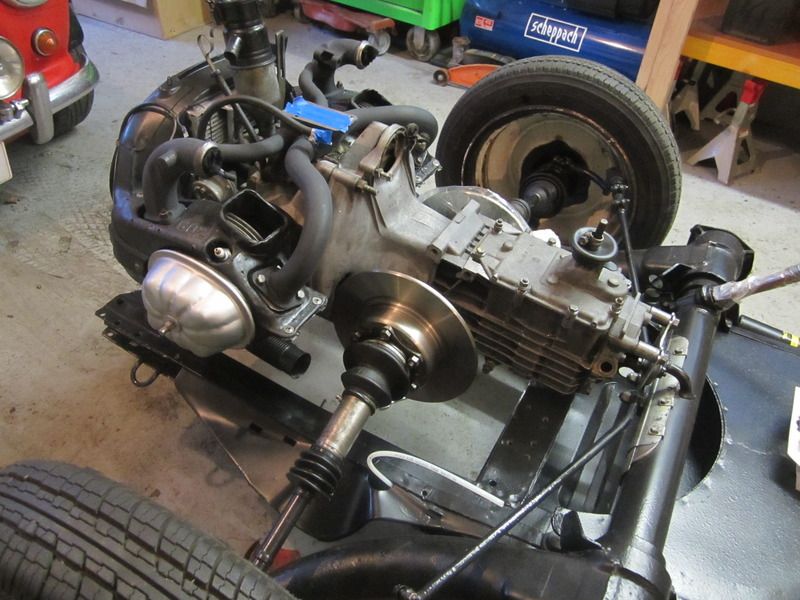
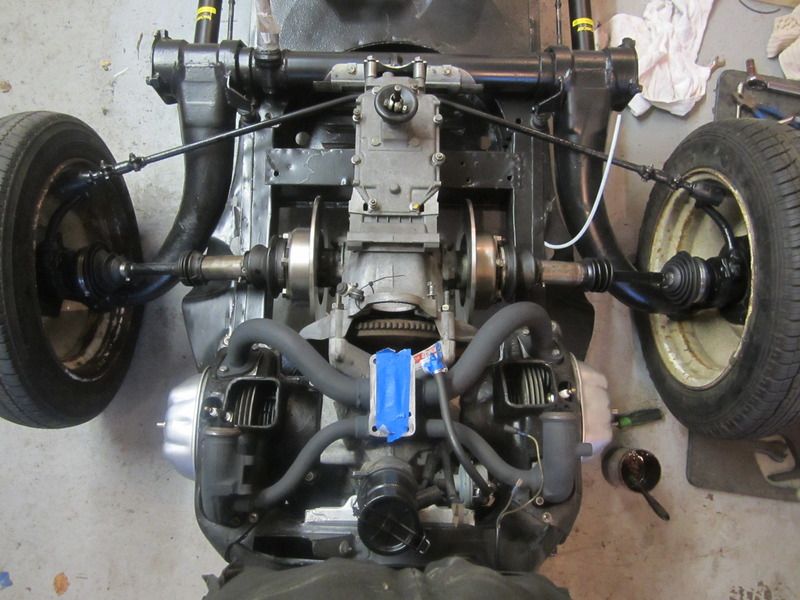
And checked over both calipers, and fitted with new Valeo brake and hand brake pads.
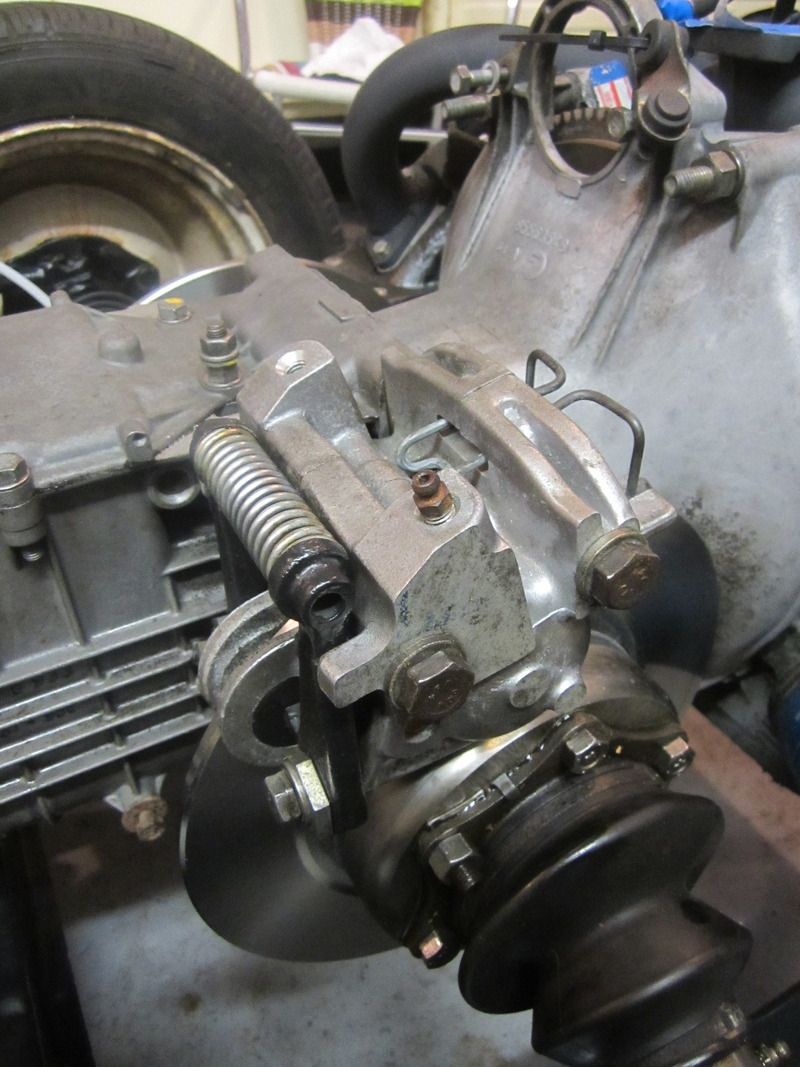
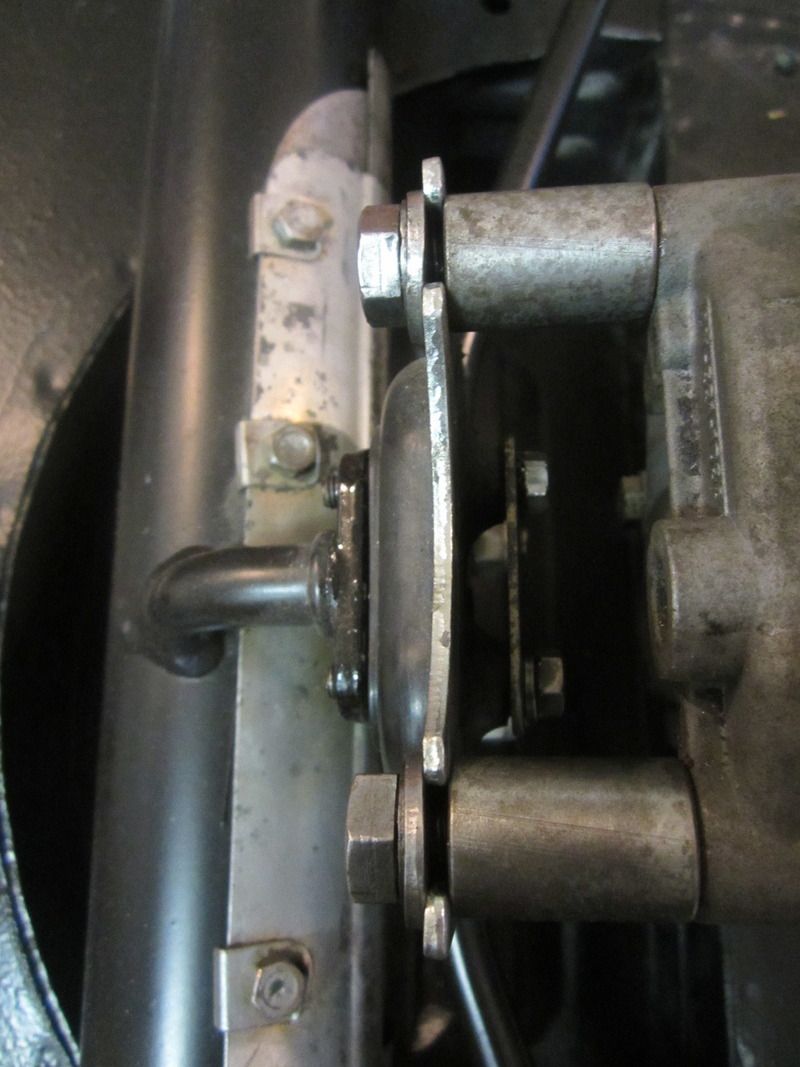
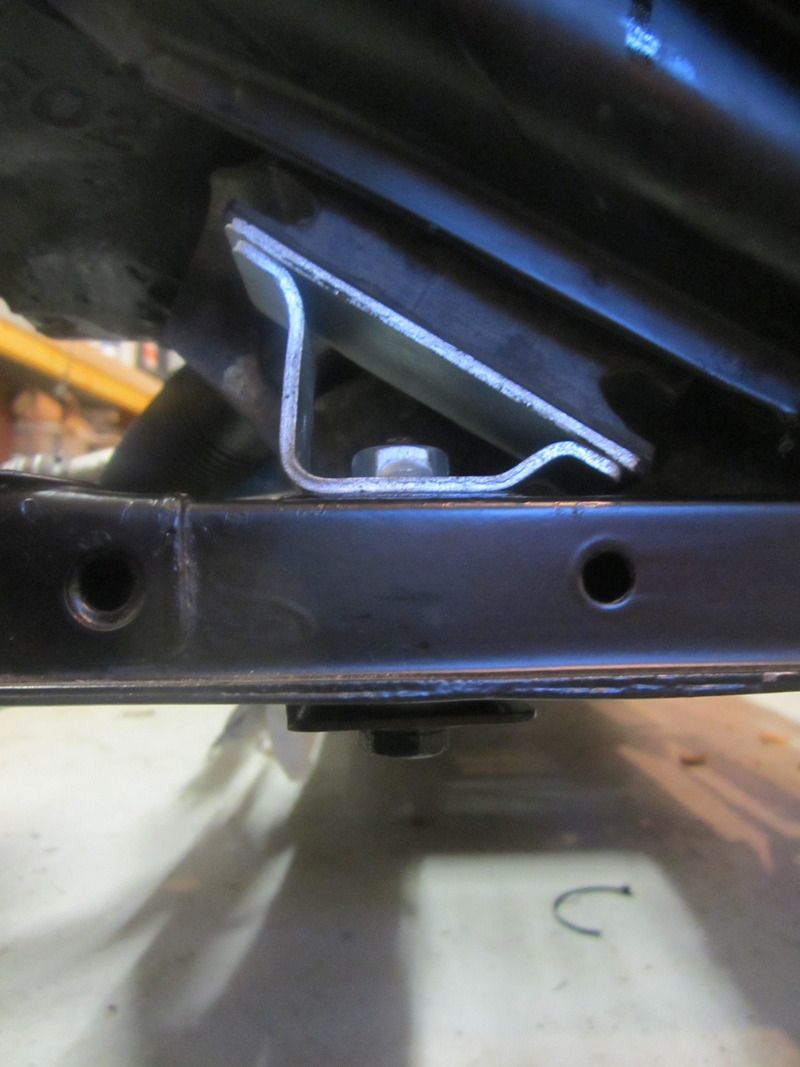
That's all for now, next job is to continue trying to source a set of these brackets that support the brake pipe coil in the rear axle. I can't find any for love nor money. I've tried both methods.
And then the body tub can go on!!

Soonies, dudes.