View unanswered posts | View active topics It is currently June 13th, 2025, 10:13 am


Reply to topic  [ 18 posts ]  Go to page 1, 2  Next
 Engine breather: stripdown and rebuild on the cheap 
Author Message
Firing on two.
User avatar

Joined: November 29th, 2008, 10:05 pm
Posts: 9259
Location: West Sussex, U.K.
Post Engine breather: stripdown and rebuild on the cheap
I don't have any money. I would imagine that as long as I have a hole in my arse I will never have any money. This is fine, but when the engine breather fails in your 2cv, and it will at some point, maybe gradually or maybe it will degrade over a short period of time, replacing it is a costly excercise. There are ways round spending out on a new one. Whilst I like to support ECAS sometimes I can't afford to and therefore cheap DIY solutions need to be found. Here's my cheap DIY solution to a failed one-way valve in an engine breather.

The engine breather has two one-way valves in it. One, is a piece of rubber tube around a steel tube which has perforations in. the rubber tube has slits where the perforations are and when air rushes up the steel tube and through the perforations and slits in the rubber tube it can't be sucked back the other way. I've cut a few breathers open and can't say I've found this valve in a state where it won't work in any of them.

There's another one way valve which is a circular rubber flap which sits on a steel disc. When air rushes through the holes in the steel disc it blows the rubber flap upwards, when it stops blowing this flap sits back down on the steel disc and prevents air going back through it. This is the valve which I have found fails. The rubber doesn't stand up to heat/oil/fuel vapour etc and can degrade, stretch, break fail, fall to bits etc etc. You get the idea.

My method replaces this flap with a cheap alternative. How resilient it is to oil and fuel vapour I do not know, but it allows you to have a working breather for less than a fiver.
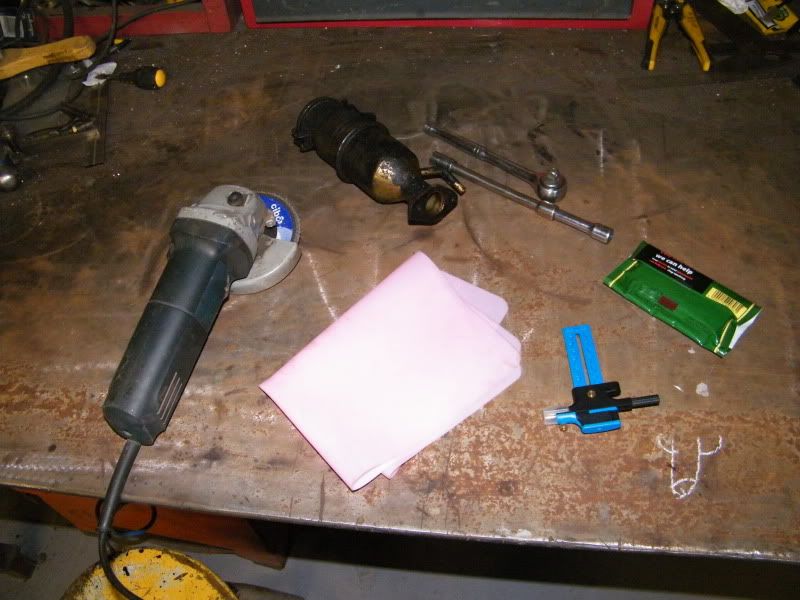
You will need:

Fags.

Coffee.

A source of cheap silicone rubber. I used this:

http://www.ebay.co.uk/itm/Non-Stick-Sil ... 3a79e5552d

A means of cutting it into perfect circles. I bought one of these:

http://www.ebay.co.uk/itm/Compass-Circl ... 5d3550c2a0

Three pop rivets and a rivet gun. Around 4mm is fine.

A grinder and a decent MIG welder. Or a TIG welder. Or an arc welder. Whatever suits you.

Here's what I did:

Image

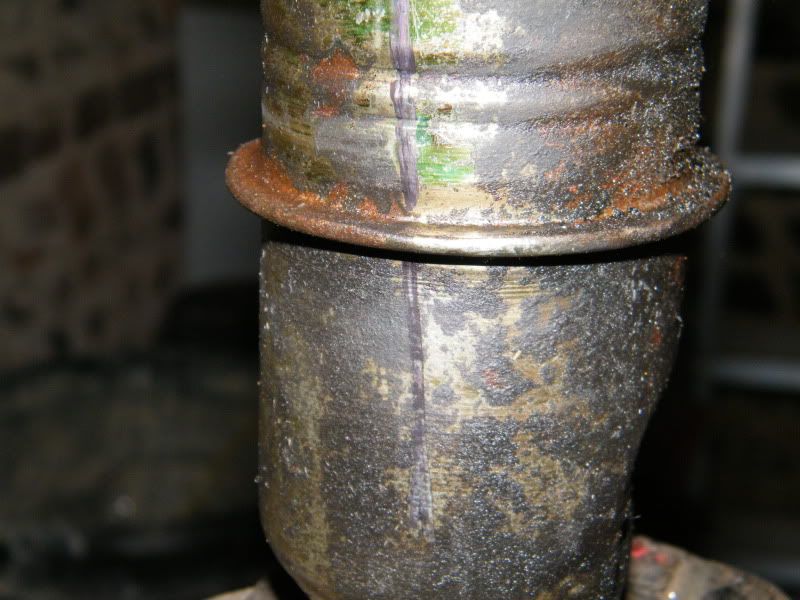
Mark a line across the top and bottom parts of the breather above and below the seam. This is so you can align it later and makes sure the pipe to the airbox is in the right direction when you're done.

Image

Separate the two parts of the breather by grinding the rolled over lip of the seam joining them together off.

Image

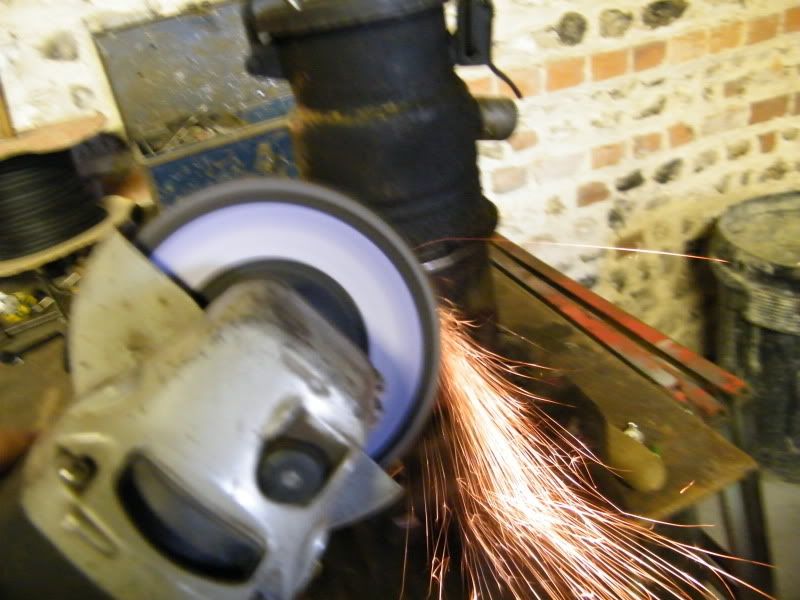
Once you've done this the two parts separate easily.

Image

Image

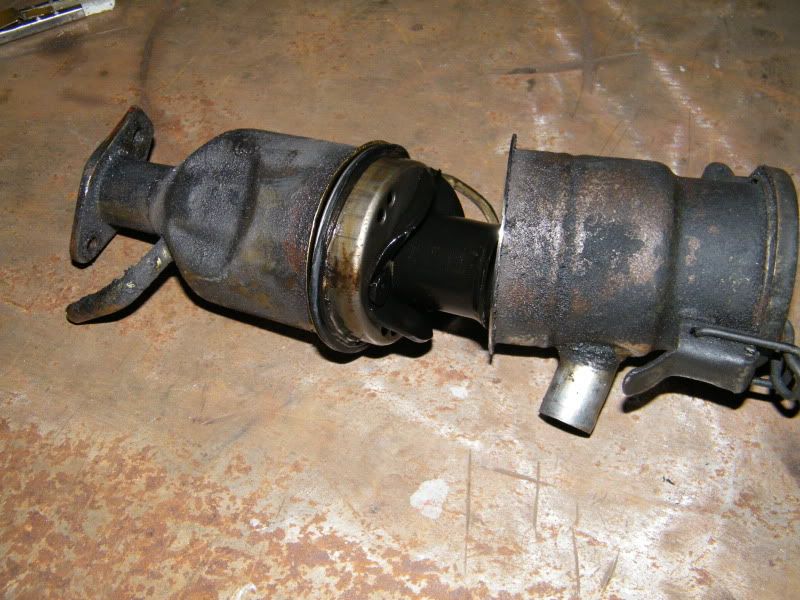
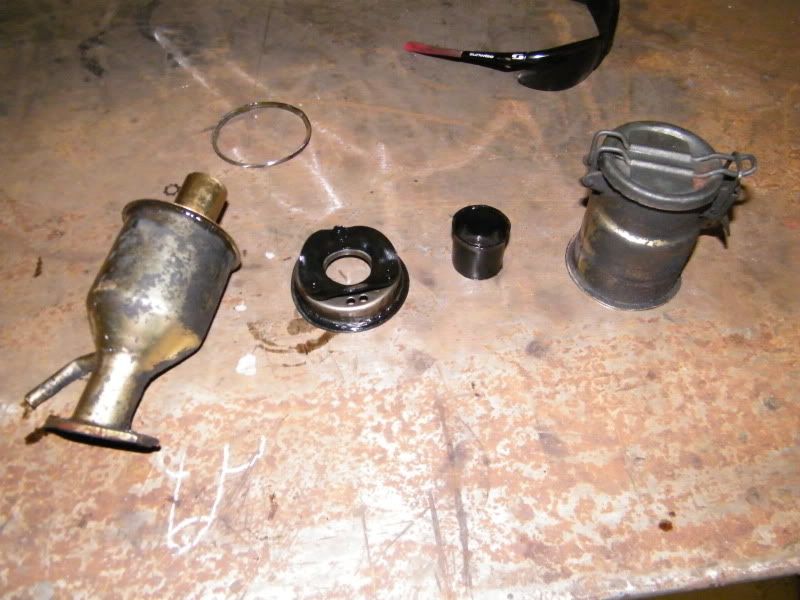
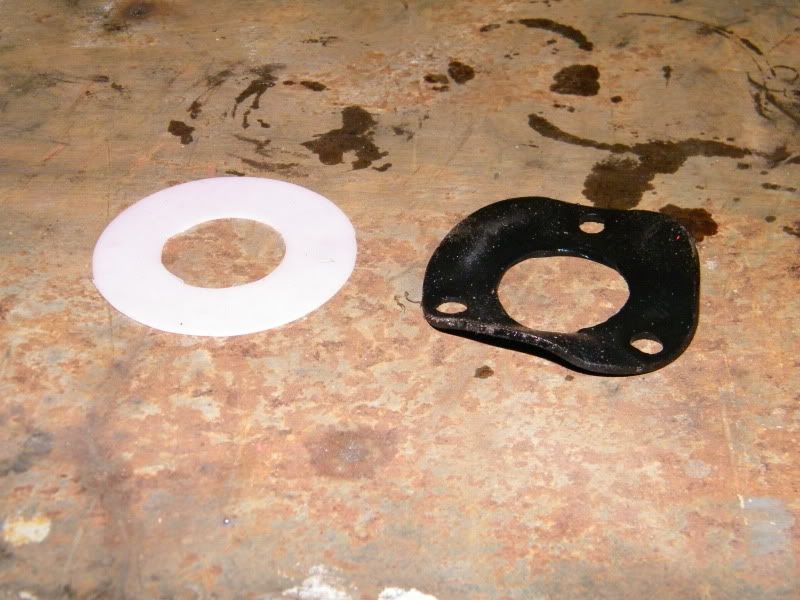
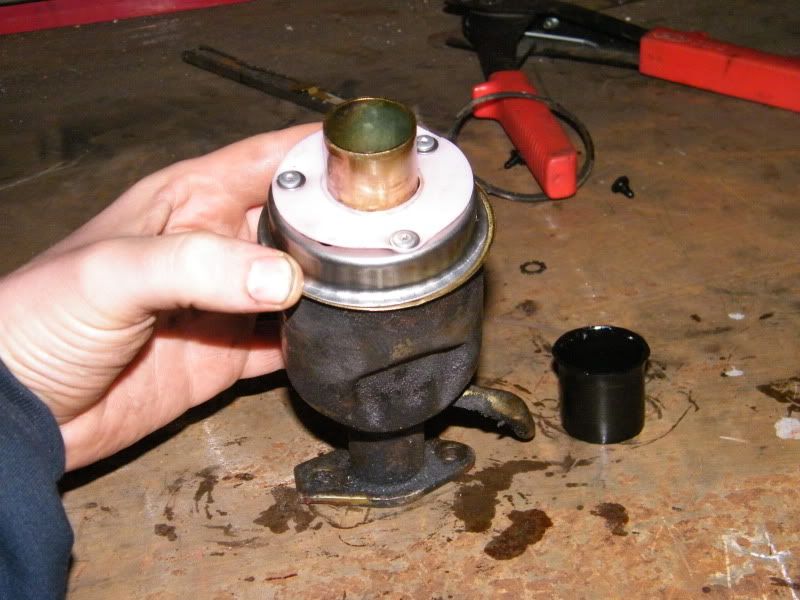
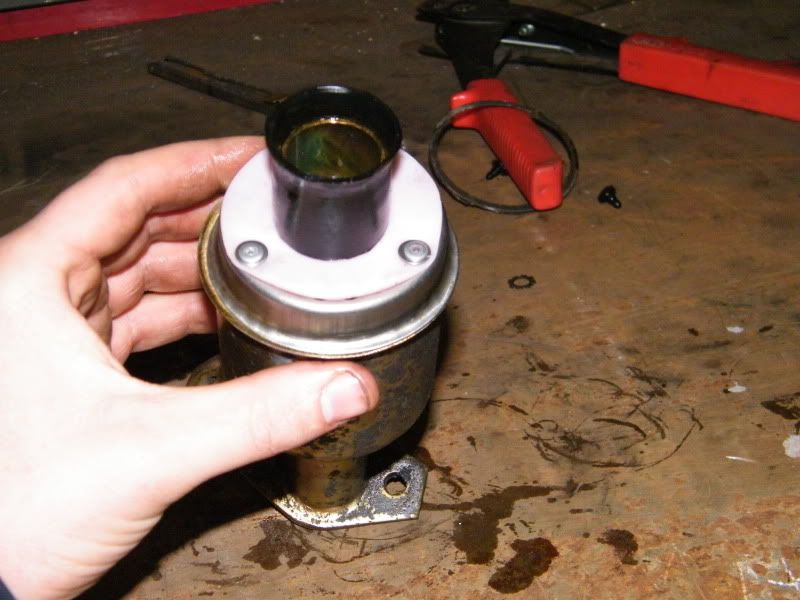
You should find you have these parts.

Image

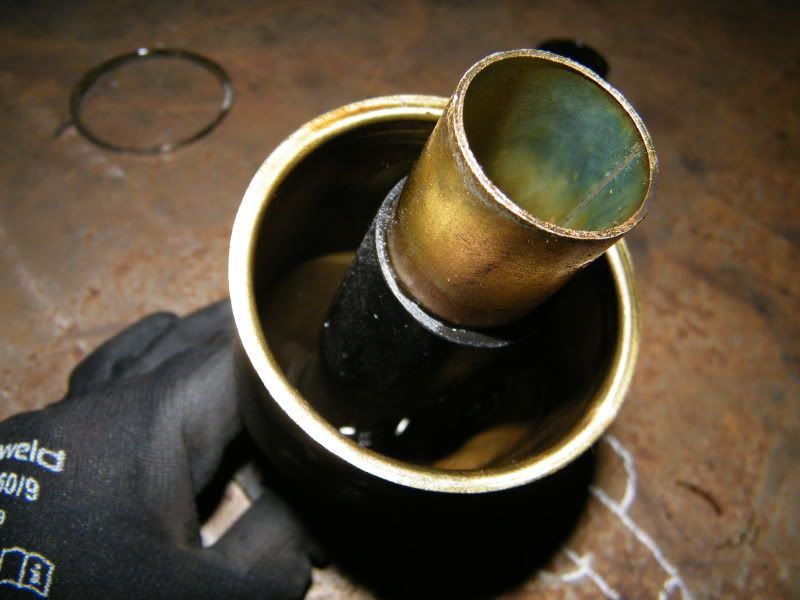
Inside the bottom part is the first one-way valve I mentioned. I disregard this as I can't see anything wrong with it.

Image

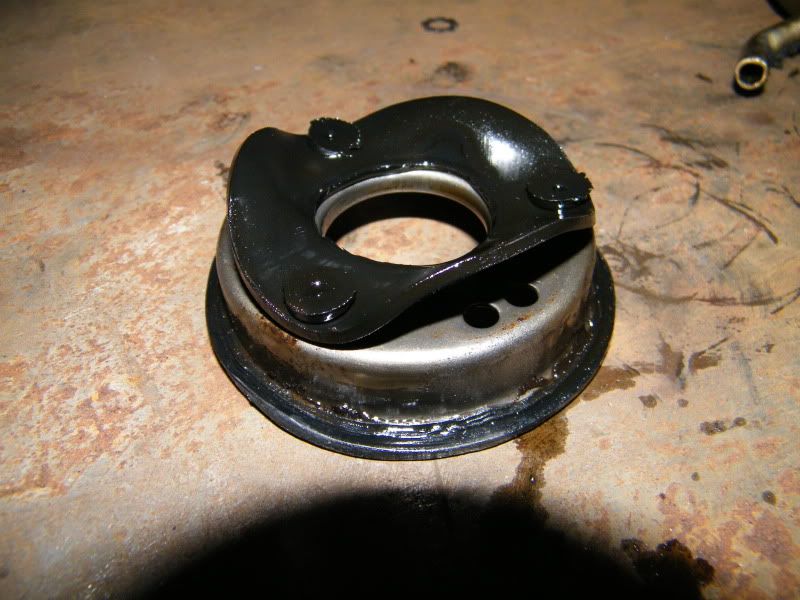
This is the bit I change. it should be sitting flat on the metal plate, but its swolen and warped and gone to shit.

Image

It comes off the metal quite easily, the three rubber rivet things just pull off and the disc comes with it. To cut the new one you need to know how big it is. I make it 60mm OD and 30mm ID.

Image

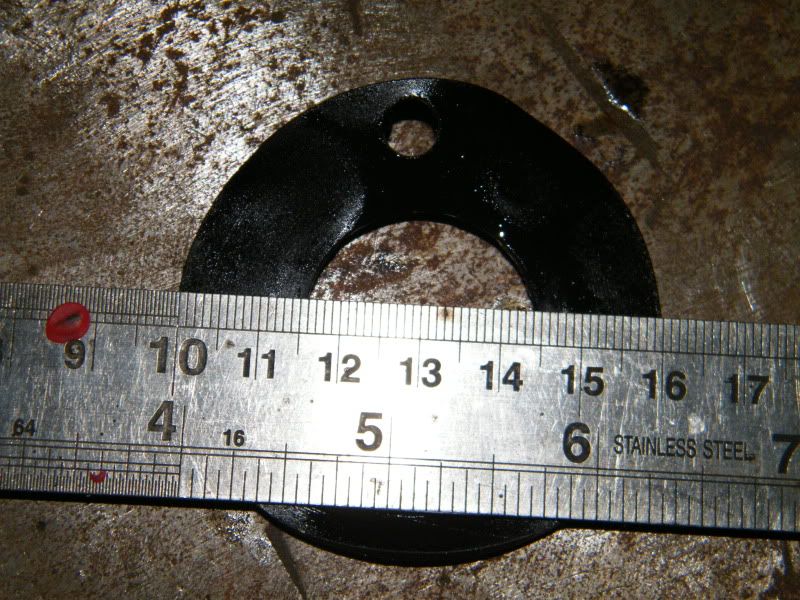
So that's what I cut the new one to.

Image

Image

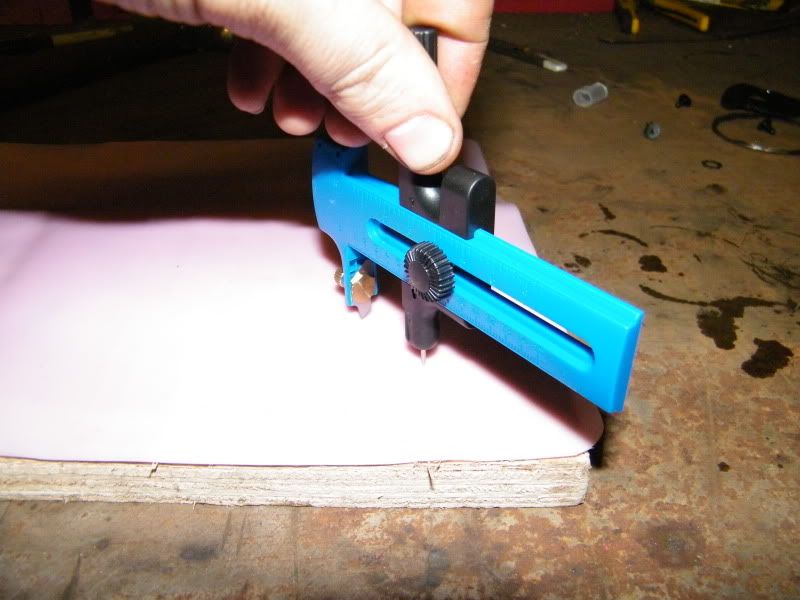
Here's one I made earlier.

Image

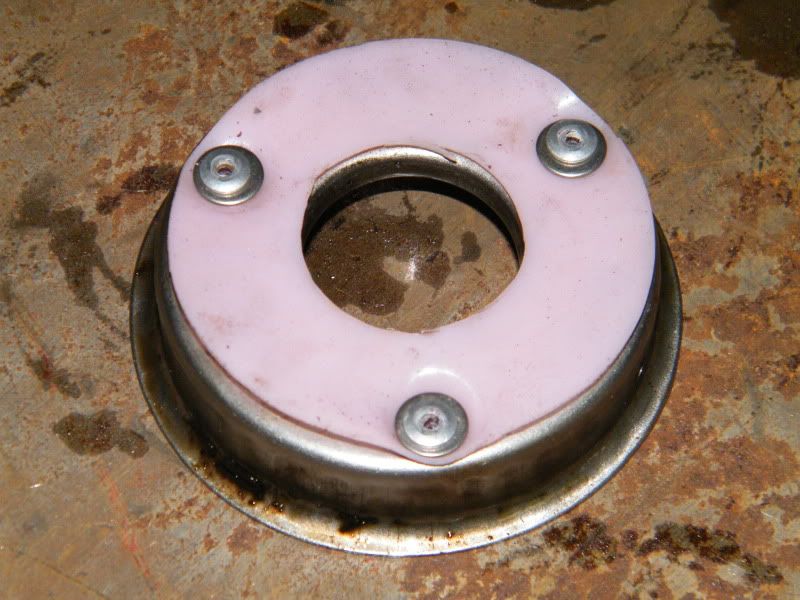
It needs three holes corresponding to the existing fixing holes in the metal bit. You could use an office hole punch or something i suppose. Once you've done that, attach it to the metal plate.

Image

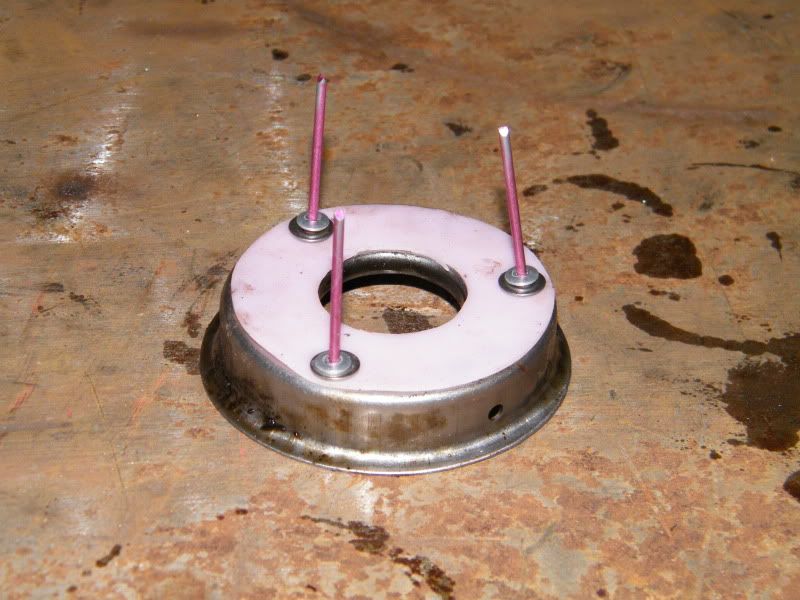
I had to use washers under the rivets, it would probably pay to drill the metal plate and use bigger rivets.

Image

Reassemble the parts of the breather...

Image

Remembering this bit of rubber pipe...

Image

And lining up the line you marked earlier...

Clamp it together in a vice/molegrips/jamboys hands.

Image

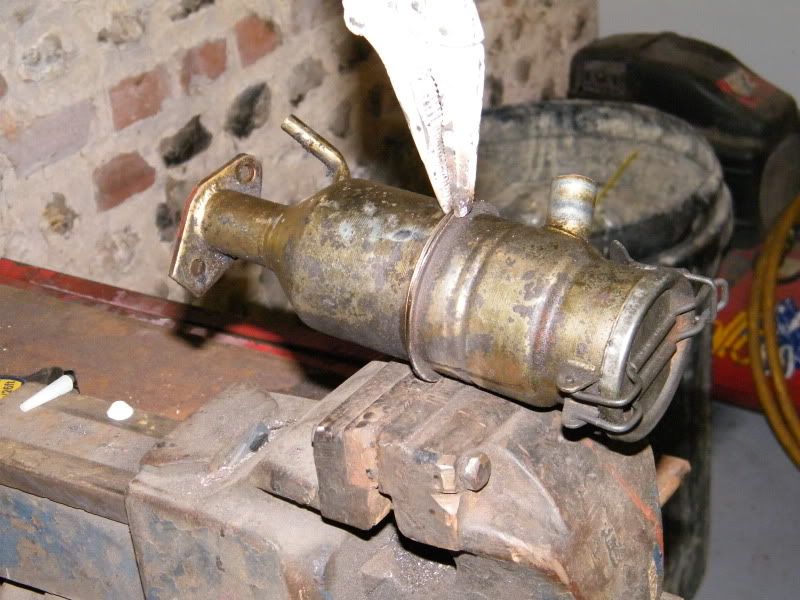
Weld it together but don't get it too hot. Do a spot at a time. You might bollocks up the rubber in it if you get it red hot.

And, to finish it off, if you're artisticly minded you can throw some paint at it and slap it back on your car.

Image


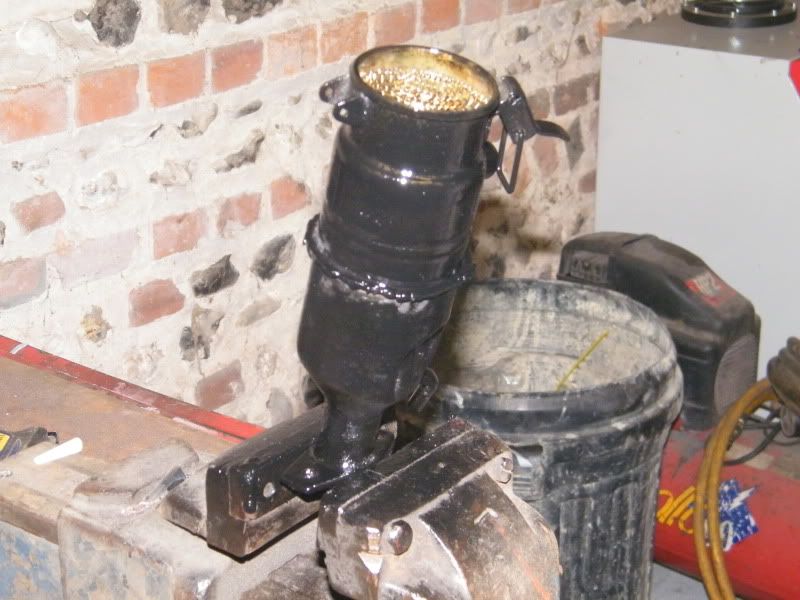
I hope this is of some use to folk out there who can't stretch to a new breather when theirs fails.

Lots of love,

Russ.

_________________
samfieldhouse wrote:
What I like about I2F is that there is no pretence of democracy.


November 9th, 2012, 7:31 pm
Profile
Firing on two.
User avatar

Joined: March 10th, 2010, 12:37 am
Posts: 1927
Location: Alone in my polytunnel with my pitiful competition onions
Post Re: Engine breather: stripdown and rebuild on the cheap
Good post! I've got a knackered breather in the shed and an underused MIG welder under the bench. And I've often wondered what goes on in the breather. And a new one's getting on for a hundred quid.

_________________
The best things in life aren't things.


November 9th, 2012, 7:42 pm
Profile
Firing on 1-2 Spark
User avatar

Joined: November 8th, 2009, 5:42 pm
Posts: 2847
Location: NL
Post Re: Engine breather: stripdown and rebuild on the cheap
Rhythm Thief wrote:
Good post! I've got a knackered breather in the shed and an underused MIG welder under the bench. And I've often wondered what goes on in the breather. And a new one's getting on for a hundred quid.
+1

_________________
Russell wrote:
Hi Geo,
you've been one of the sites biggest attractions in recent years.
Russ


November 9th, 2012, 7:45 pm
Profile WWW
Firing on two.
User avatar

Joined: November 29th, 2008, 10:05 pm
Posts: 9259
Location: West Sussex, U.K.
Post Re: Engine breather: stripdown and rebuild on the cheap
I think subarupete had a nice ally ring made up that bolted either side of the seam and meant it could be taken to bits more than once.

A few other notes on my post; I don't pretend to be an expert on this, I did it a couple of years ago and it worked fine so I assume the method is correct. The rubber you use will determine how long the repair lasts. Rubber from an old mudflap (which was all I could find the first time I did one) won't last as long as the silicone, and Sean did PM me saying that there was another rubber sheet that would last longer still as silicone may be affected by unleaded fuels. Also, something I didn't mention was that it's probably a good idea to double check there's nothing in the breather that'll fall into the crankcase, bits of rubber, washers, swarf, etc.

The pictures show the new rubber flap not sitting down on the metal very well, this is because I didn't put big enough holes in for the rivets then pinched it up. When you do yours, make sure the rubber sits flatter than this. I only did this as an example.

Hope it's of some use, whilst I didn't bother with a manometer test to show the difference between an old one and a fixed one it stopped my engine leaking oil and blowing it all over the show, so I assume it works.

_________________
samfieldhouse wrote:
What I like about I2F is that there is no pretence of democracy.


November 9th, 2012, 7:55 pm
Profile
Firing on two.

Joined: June 5th, 2009, 9:17 am
Posts: 747
Location: Staffs & France
Post Re: Engine breather: stripdown and rebuild on the cheap
Brilliant mate just need to get another unit as me winter project,Sam has already asked how many I want earlier in the posts. Mind as I'm in France until te end of the month refurbing our kitchen it will have to wait :-)


November 9th, 2012, 9:24 pm
Profile

Joined: October 25th, 2012, 9:19 pm
Posts: 25
Post Re: Engine breather: stripdown and rebuild on the cheap
newbie question :roll:
how do you know when the breather has failed :?:


November 9th, 2012, 9:36 pm
Profile
Firing on two.
User avatar

Joined: November 29th, 2008, 10:05 pm
Posts: 9259
Location: West Sussex, U.K.
Post Re: Engine breather: stripdown and rebuild on the cheap
I wait until it leaks oil from every orifice and smells of burning when I drive it hard. Somewhere on here There are instructions to make a manometer (use the search facility) and that'll tell you for sure.

_________________
samfieldhouse wrote:
What I like about I2F is that there is no pretence of democracy.


November 9th, 2012, 9:38 pm
Profile
Firing on two.

Joined: April 22nd, 2009, 11:06 pm
Posts: 3684
Location: Ecosse
Post Re: Engine breather: stripdown and rebuild on the cheap
if you dont have a mig you can un fold the swaged joint that Russ so brutally attacked with the grinderette, once you have opened it up enough you can split the breather - and you have to use a fair bit of force as its all stuck together with crap.

before you attempt to close it back up after following Russ's instructions you have to anneal or normalise the steel by getting the opened flange red hot and allowing it to cool slowly - this is easily achieved with any sort of gas torch as its really thin you cold even use a gas ring in the house or on your camping stove

then just gently nip and fold it all back up - a smear of silicone or other sealant helps keep it oil tight.

might do pictures one year

_________________
Kissing the Lash
Image
"Any advice of a technical nature is given on the understanding that I've actually done this shit, not just read about it in D*lly club mag some time ago.


November 9th, 2012, 9:45 pm
Profile
Firing on two.

Joined: April 22nd, 2009, 11:06 pm
Posts: 3684
Location: Ecosse
Post Re: Engine breather: stripdown and rebuild on the cheap
Russell wrote:
I wait until it leaks oil from every orifice and smells of burning when I drive it hard. Somewhere on here There are instructions to make a manometer (use the search facility) and that'll tell you for sure.


tent peg some pipe from your local DIY shed some cable ties and some old LHM, wrap one end of the tube with electrical tape till its a tight fit in the dipstick hole - bobs yer uncle
Image
DSC00079 by Sean602, on Flickr

And you MUST use pink silicone to repair your breather anything else will burst in to flames and the dollys and chrlestons will be lost forever and what a loss to the world all that special paint would be!

_________________
Kissing the Lash
Image
"Any advice of a technical nature is given on the understanding that I've actually done this shit, not just read about it in D*lly club mag some time ago.


November 9th, 2012, 9:53 pm
Profile
Firing on two.
User avatar

Joined: November 29th, 2008, 10:05 pm
Posts: 9259
Location: West Sussex, U.K.
Post Re: Engine breather: stripdown and rebuild on the cheap
Thanks Sean.

_________________
samfieldhouse wrote:
What I like about I2F is that there is no pretence of democracy.


November 9th, 2012, 10:10 pm
Profile
Display posts from previous:  Sort by  
Reply to topic   [ 18 posts ]  Go to page 1, 2  Next

Who is online

Users browsing this forum: No registered users and 49 guests


You cannot post new topics in this forum
You cannot reply to topics in this forum
You cannot edit your posts in this forum
You cannot delete your posts in this forum
You cannot post attachments in this forum

Search for:
Jump to:  
Powered by phpBB © 2000, 2002, 2005, 2007 phpBB Group.
Designed by STSoftware for PTF.