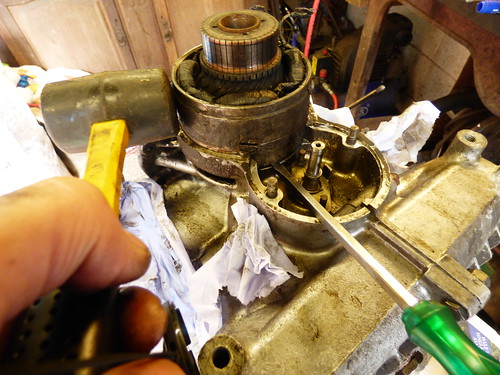
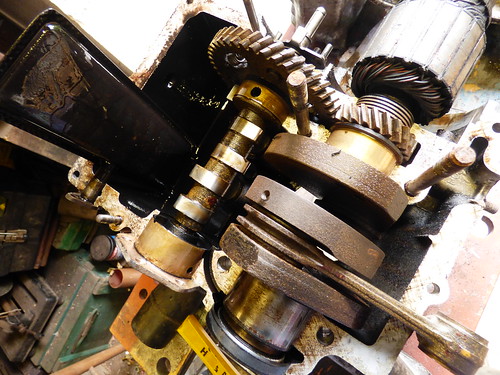
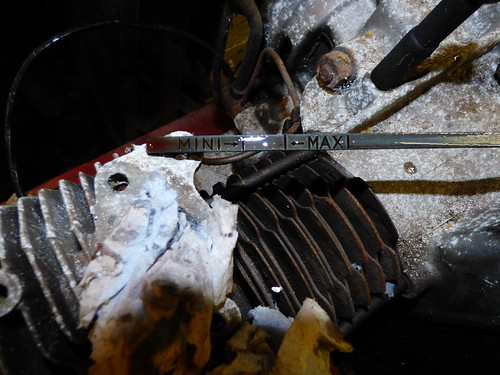
 P1010252 by Robndaisy, on Flickr
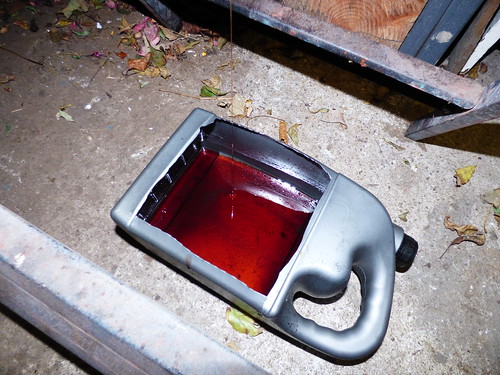 P1010259 by Robndaisy, on Flickr
More Van Rouge just like what was in the fuel tank, some one has been kind and put some fluid in for preservation.
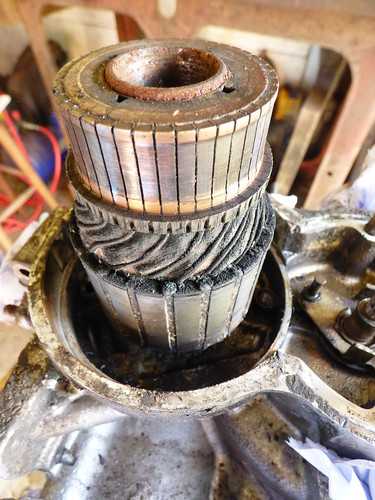
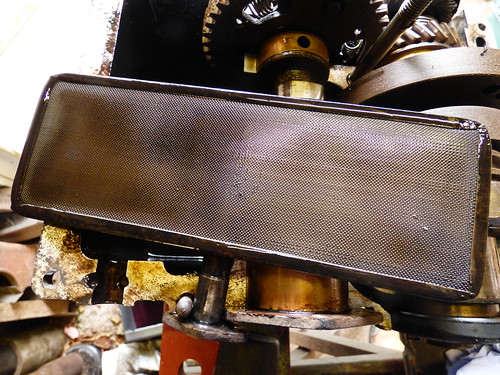
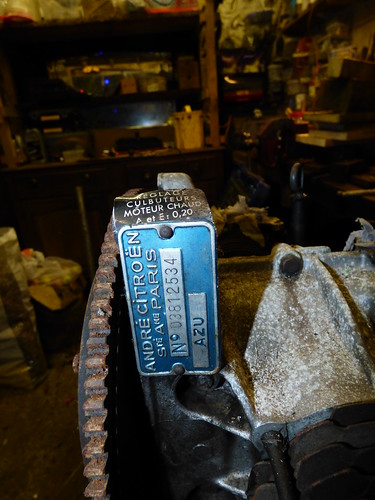 P1010254 by Robndaisy, on Flickr
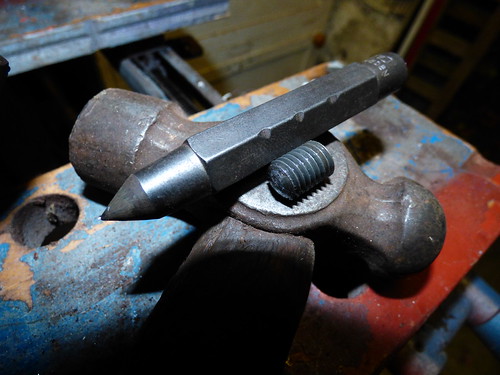
 P1010266 by Robndaisy, on Flickr
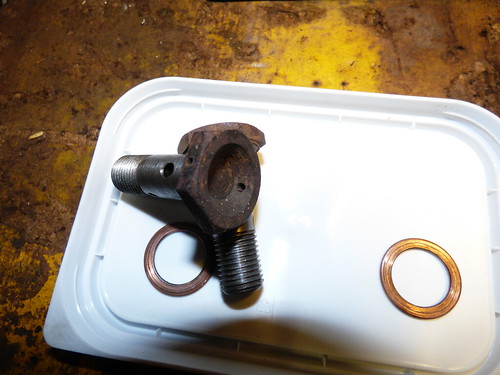
Here's the broken stud I mentioned earlier. I thought I'd try to move it with a centre punch and hammer just in case it was my lucky day.
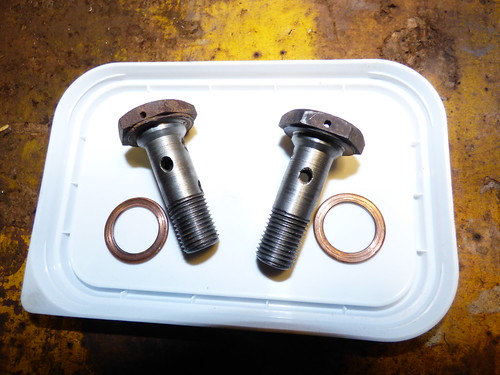
 P1010275 by Robndaisy, on Flickr
That was lucky!
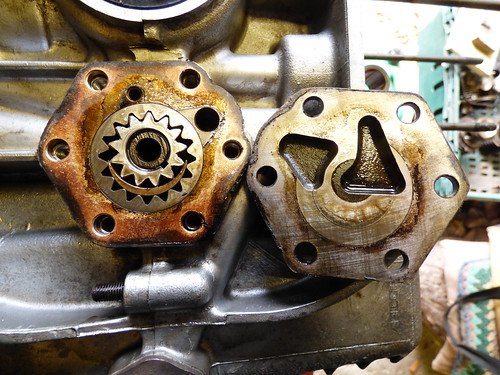
 P1010273 by Robndaisy, on Flickr
 P1010282 by Robndaisy, on Flickr
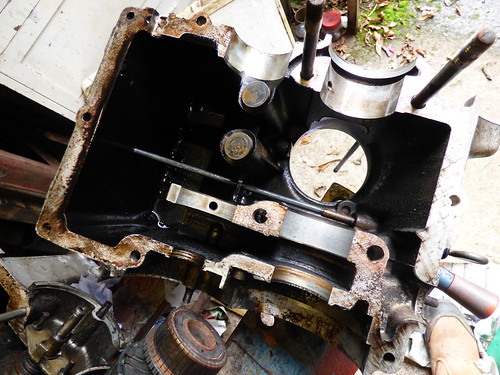
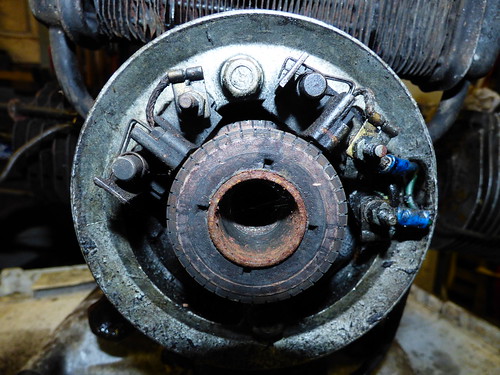 P1010278 by Robndaisy, on Flickr
How do I get this flamer off? Not another 'special tool'?