| International2cvFriends.com http://www.international2cvfriends.com/forum/ |
|
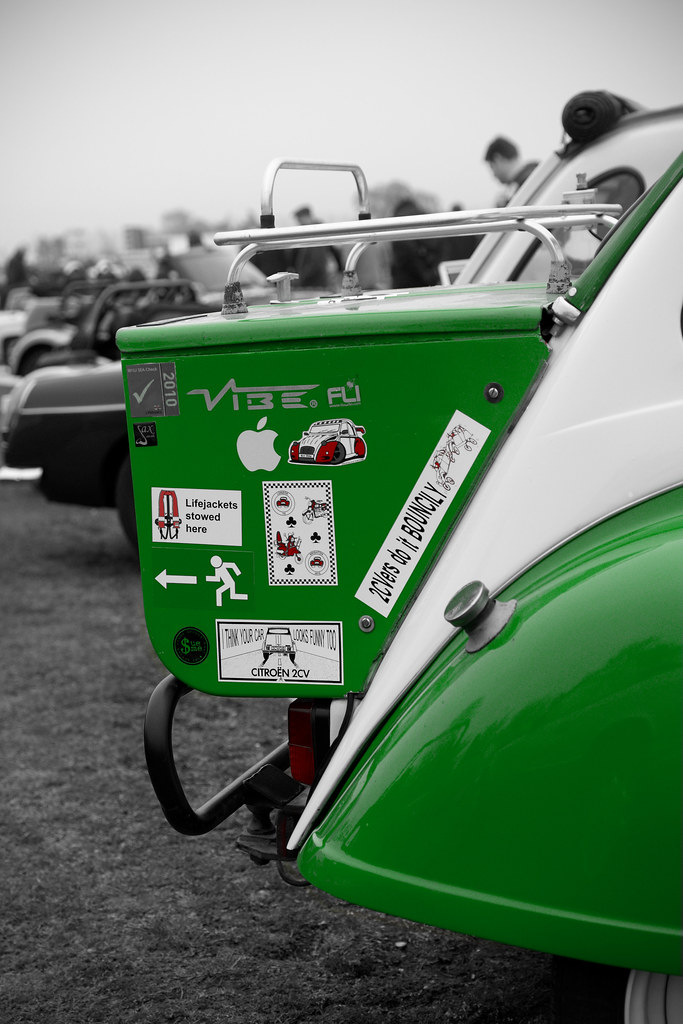
| �My Green/White D*lly F698 UFX http://www.international2cvfriends.com/forum/viewtopic.php?f=5&t=340 |
Page 8 of 12 |
| Author: | Joe [ April 5th, 2011, 11:32 pm ] |
| Post subject: | Re: My Green/White D*lly F698 UFX |
Is that a cuddly toy at the wheel? First james now you! |
|
| Author: | samfieldhouse [ April 5th, 2011, 11:45 pm ] |
| Post subject: | Re: My Green/White D*lly F698 UFX |
That's Pierre the Hephalump - my girlfriends! |
|
| Author: | Neil [ April 15th, 2011, 7:15 pm ] |
| Post subject: | Re: My Green/White D*lly F698 UFX |
|
|
|
| Author: | samfieldhouse [ April 15th, 2011, 10:55 pm ] |
| Post subject: | Re: My Green/White D*lly F698 UFX |
thats really nice |
|
| Author: | Neil [ April 15th, 2011, 11:25 pm ] |
| Post subject: | Re: My Green/White D*lly F698 UFX |
Flickr! |
|
| Author: | samfieldhouse [ April 15th, 2011, 11:32 pm ] |
| Post subject: | Re: My Green/White D*lly F698 UFX |
Ahaha that's really rather funny |
|
| Author: | samfieldhouse [ June 19th, 2011, 11:46 am ] |
| Post subject: | Re: My Green/White D*lly F698 UFX |
Changed a king pin yesterday The weird thing is, the cracking in the steering is more noticeable now I've changed the KP, so what is it? Hub nut had to be cut off, teased with a heat gun and finally persuaded off with an 8ft scaffold bar King pin itself took my Dad and I 40 minutes of crashing with a sledge hammer, it was properly stuck. 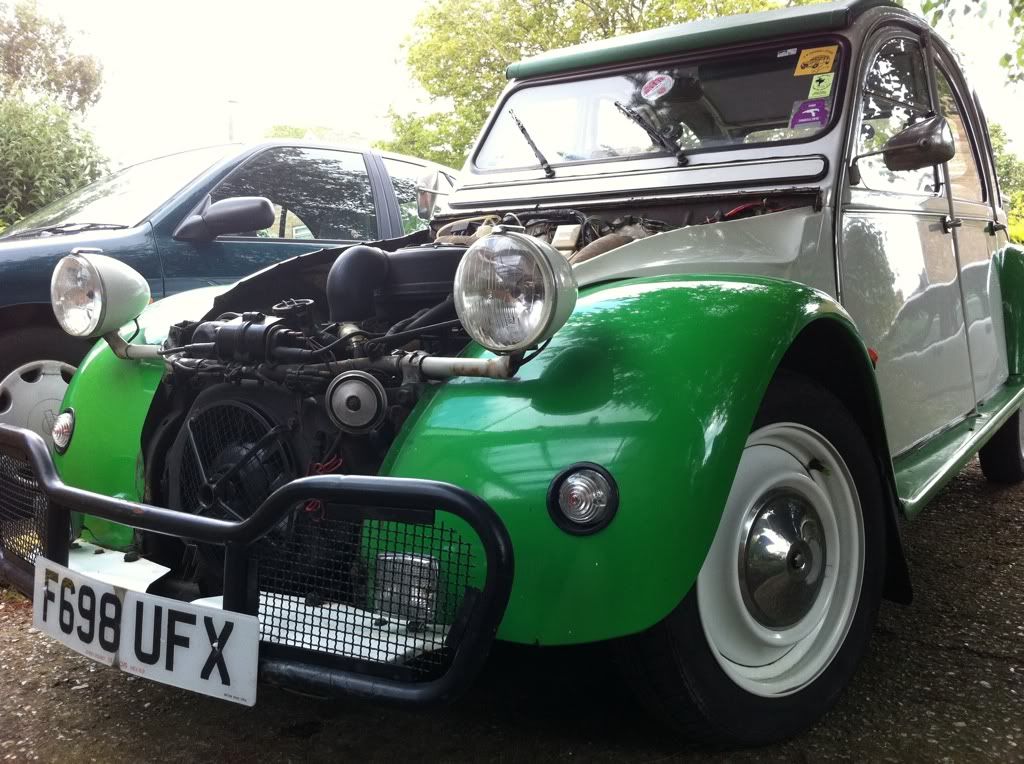 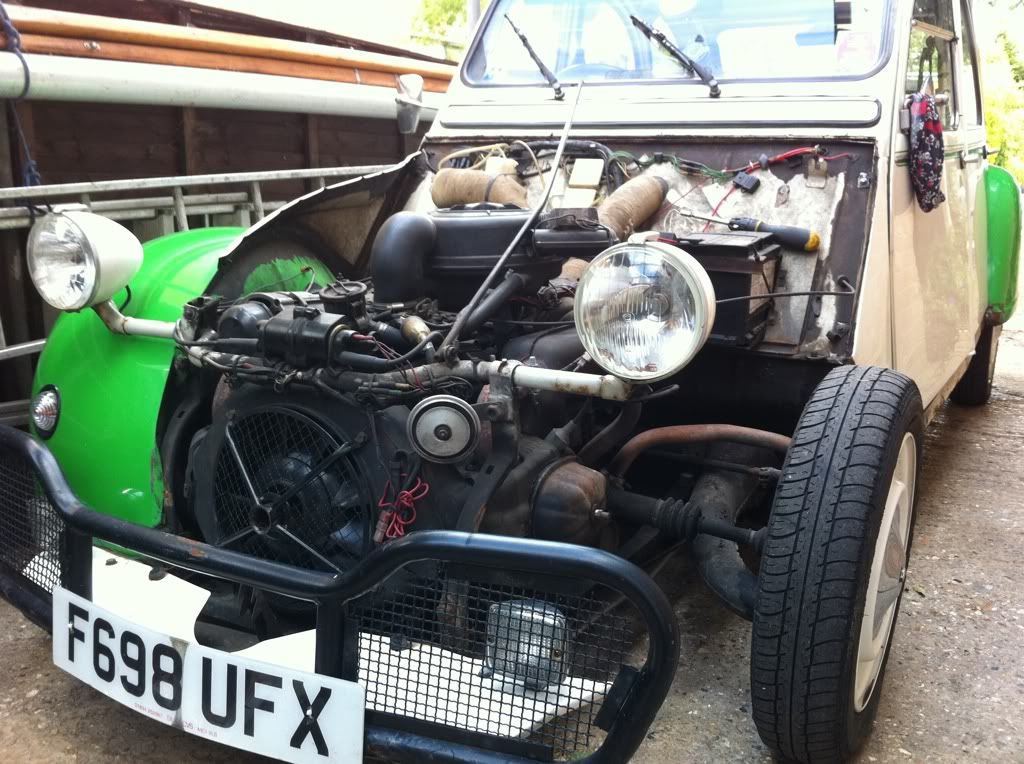 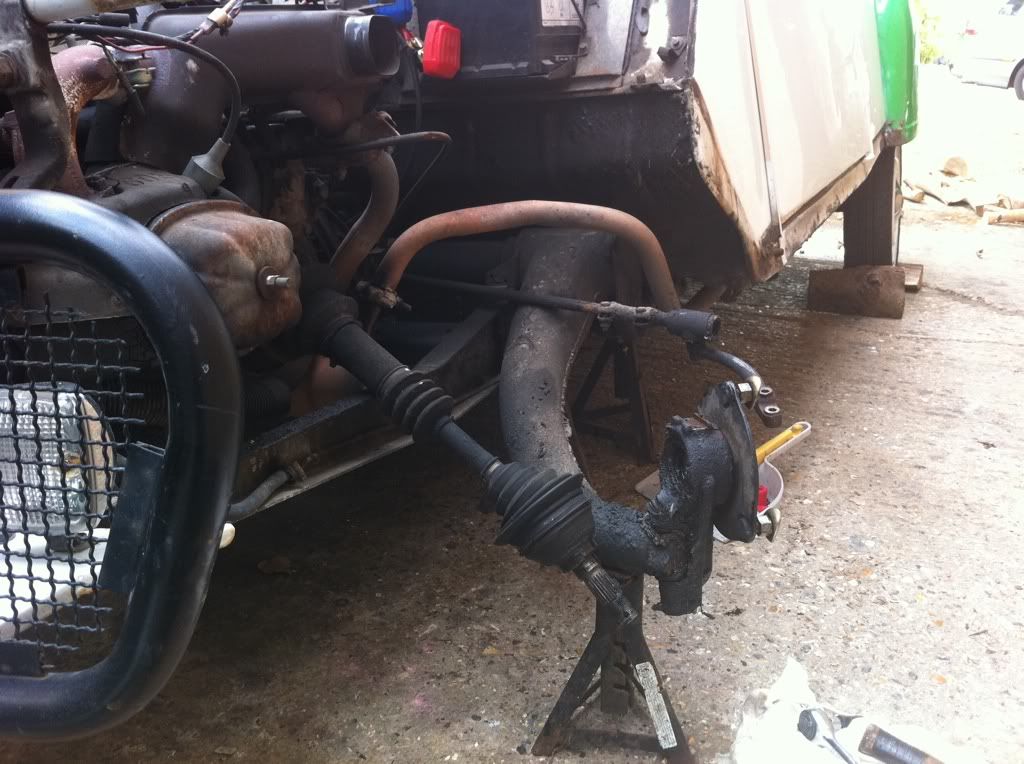 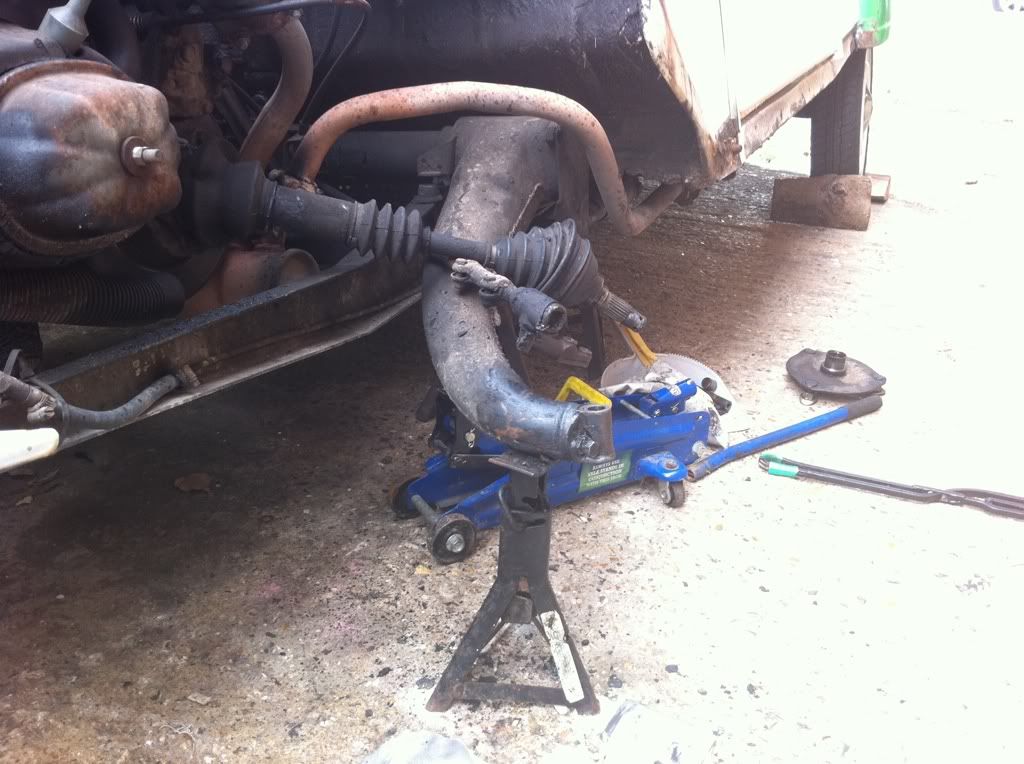 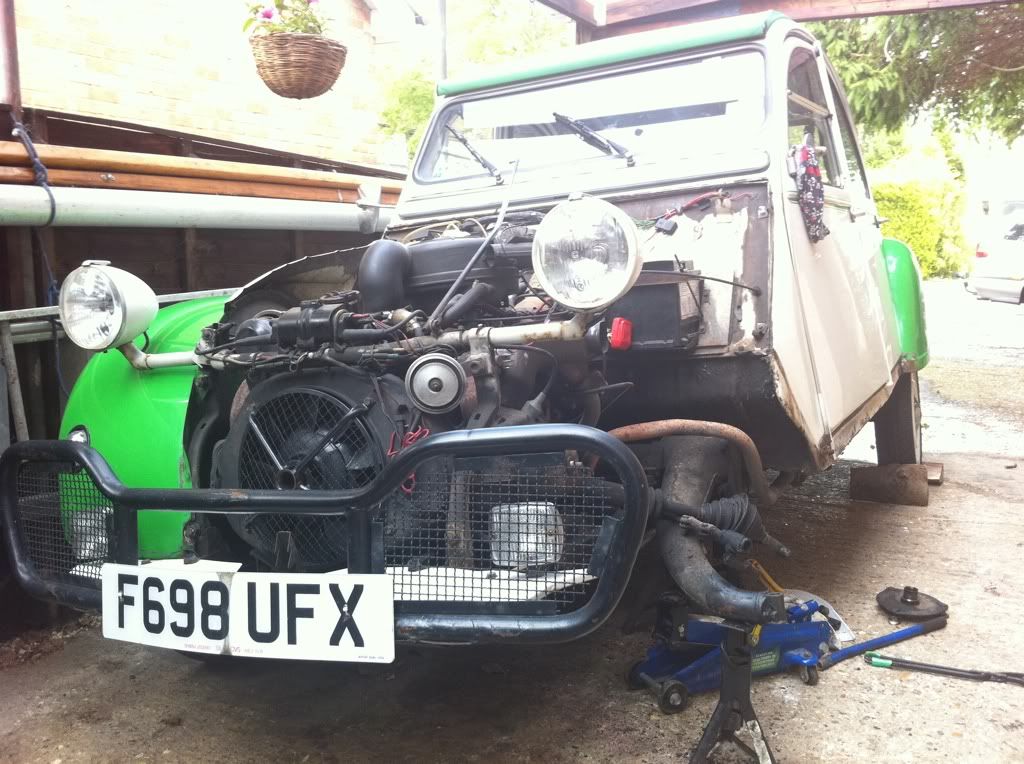 Sorted 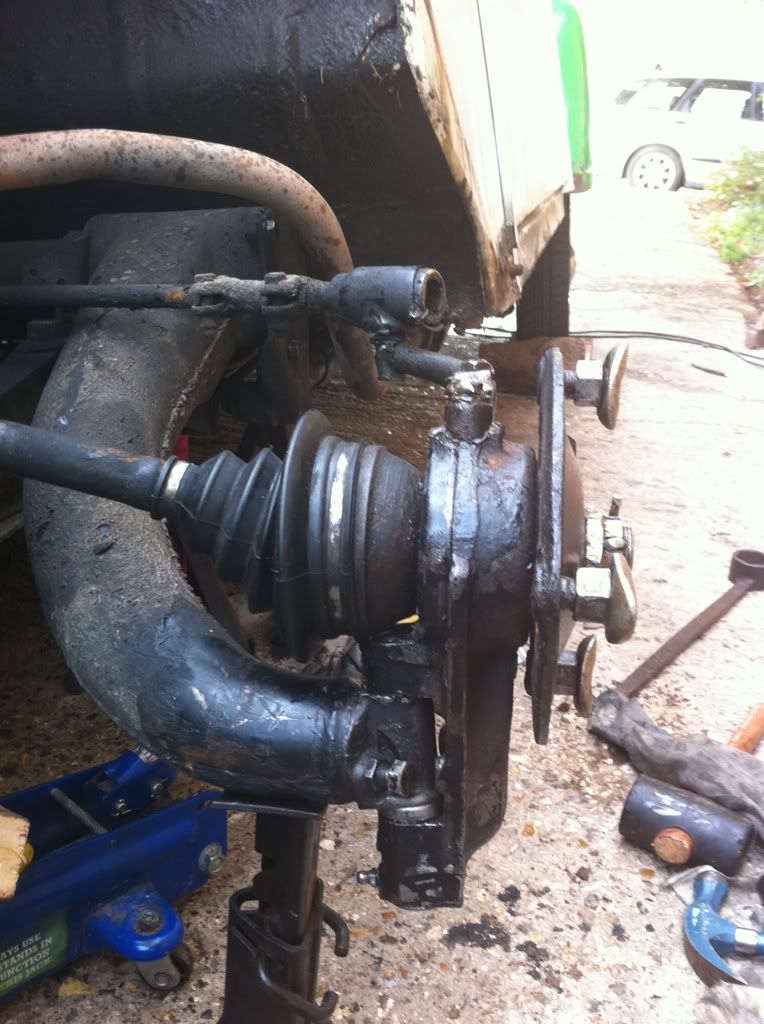 Unfortunately I found that my lower outer bulkhead seems to be not really there  Every-time I hit the KP more bits of floor fell off too so I decided it was bodge time. 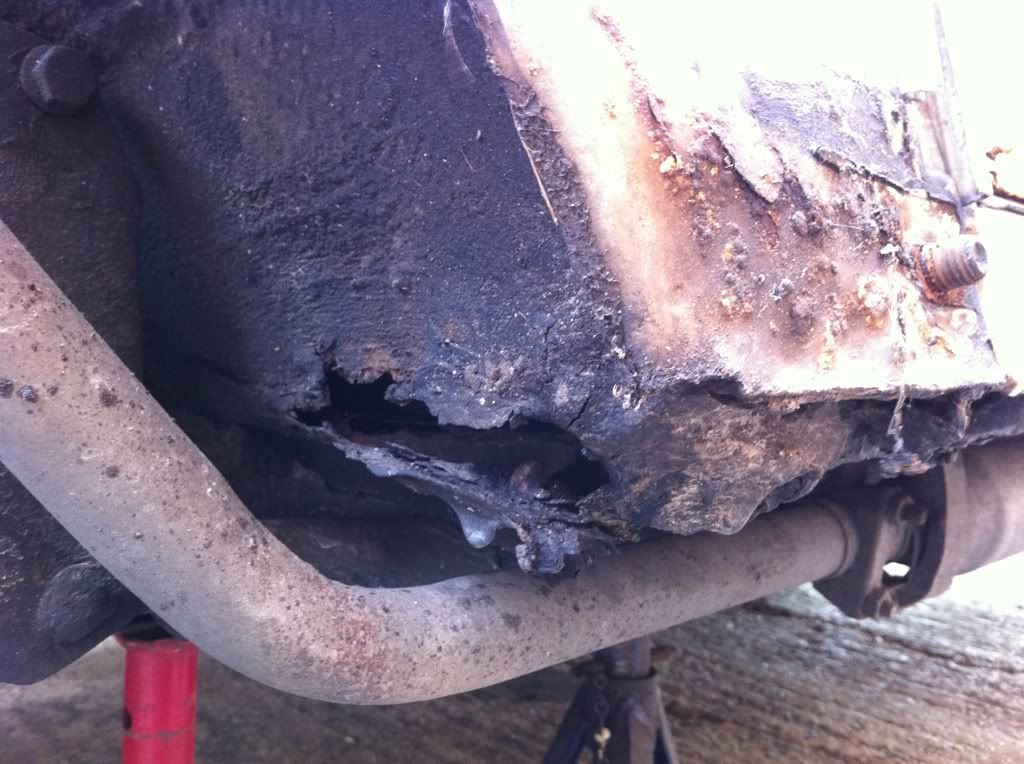 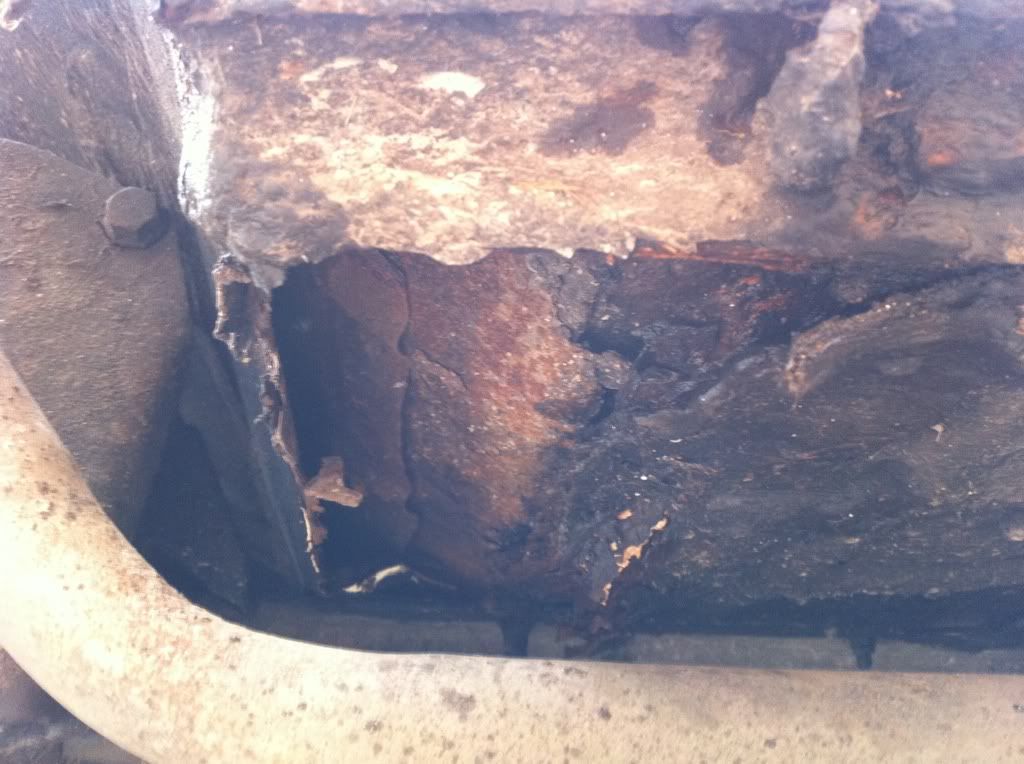 Spot the tissue... 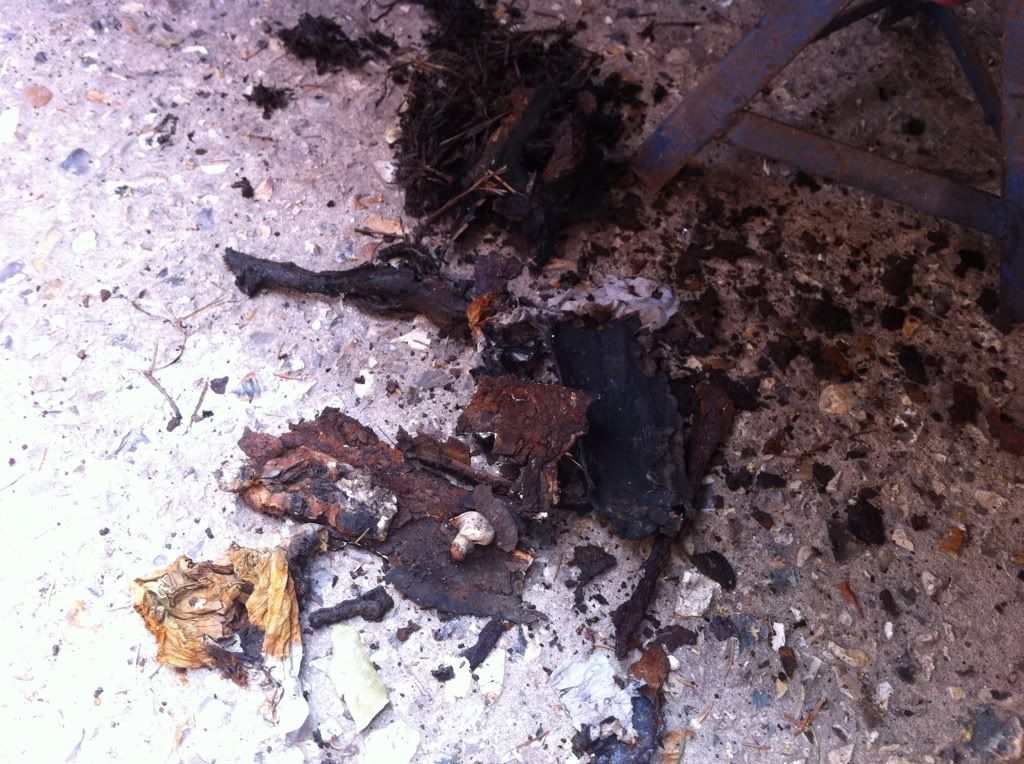 So I put on my beret, grabbed some nearby frogs legs and reached for my rivet gun. I bet when my parents went to PC world (big mistake) and bought their shiney new windows XP PC (bigger mistake) back in 2003 they would never have guessed that it's case would one day be cut up, undersealed and rivetted to their son's 2cv. But it's done the job, until next year when I can afford (or have learnt to) weld it up and put new floors, toe board, lower bulkhead, etc... in. I also stuck the new HT leads on and tidied up the front loom. Just the driver's floor to patch and Salbris here we come!! |
|
| Author: | ken [ June 19th, 2011, 3:51 pm ] |
| Post subject: | Re: My Green/White D*lly F698 UFX |
Sam, well done on swapping the kingpin, just wondering if the sledgehammer in question was that rubber device in your photograph? If it was, invest in a lump hammer ( 2lb or 4lb type) before the next kingpin session, as that should persuade the blighter to move sooner... ken samfieldhouse wrote: King pin itself took my Dad and I 40 minutes of crashing with a sledge hammer, it was properly stuck. Sorted |
|
| Author: | samfieldhouse [ June 19th, 2011, 4:01 pm ] |
| Post subject: | Re: My Green/White D*lly F698 UFX |
That was my softly softly to encourage the new pin in. This was my primary pursuader, for 40mins! 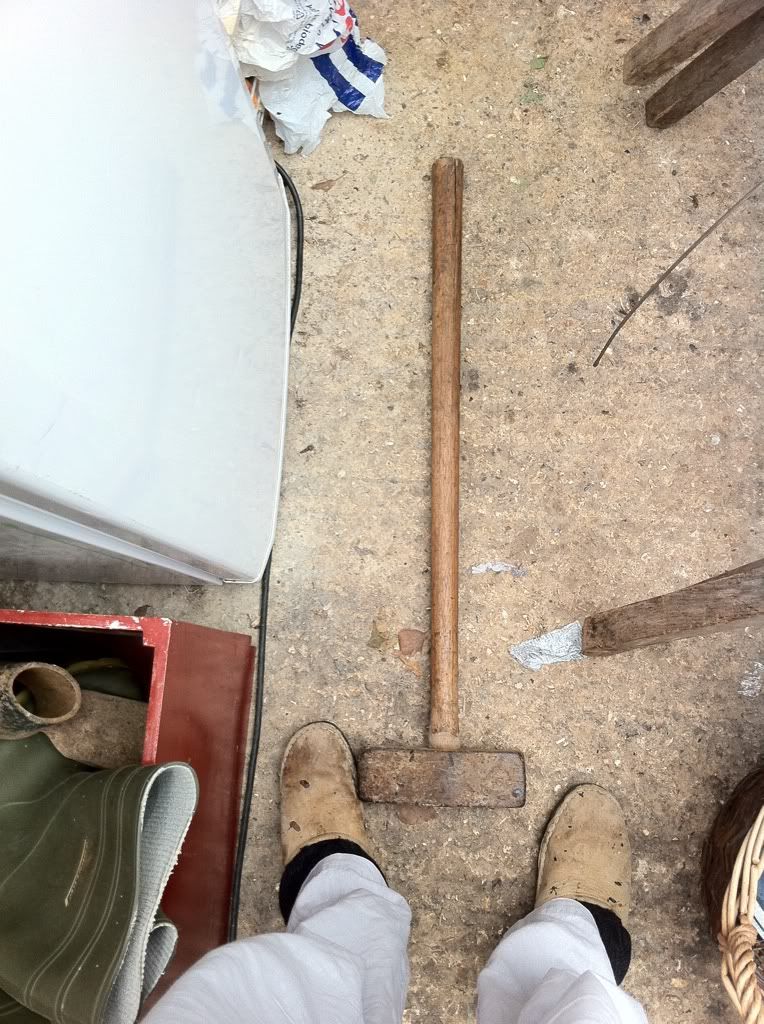
|
|
| Author: | samfieldhouse [ July 16th, 2011, 12:35 am ] |
| Post subject: | Re: My Green/White D*lly F698 UFX |
Thought it was time I started prepping D*lly for France. Had issues with the tracking... 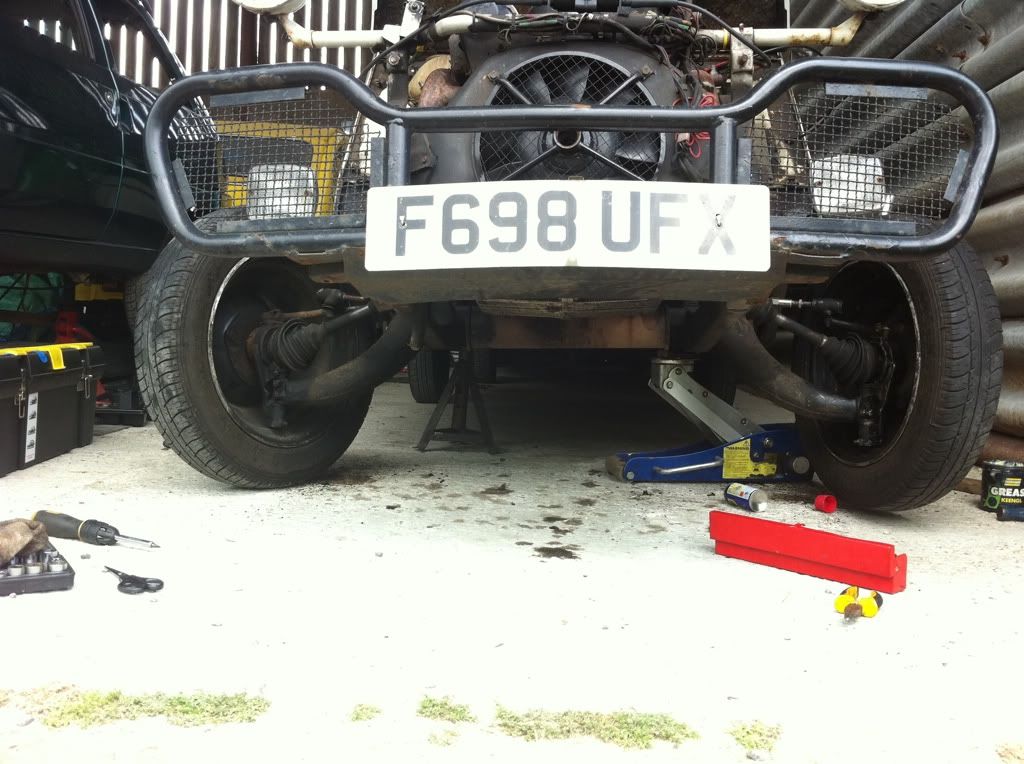 So fitted the fantastic Burton track rod adjusters 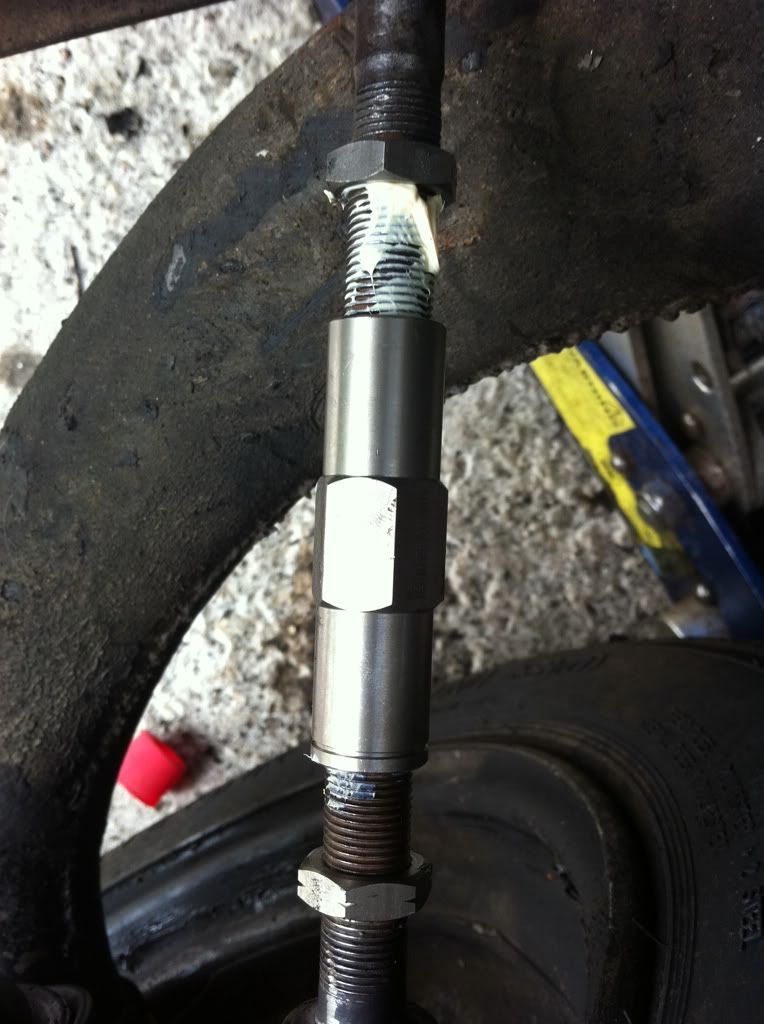 Really recommend these. I adjusted the tracking by measuring to the chassis. Kwikfit said I had it pretty good, but they set it properly with fancy lasers and stuff. Fitted a mirror cool trim and swivel kit so my mirror stays up now. 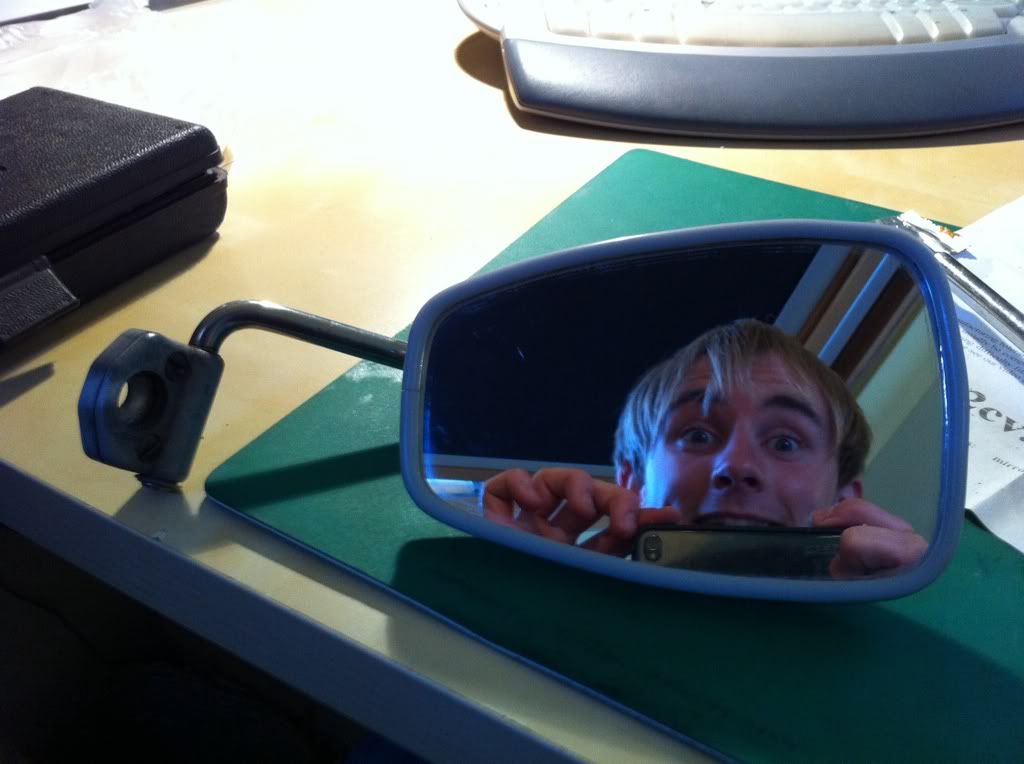 My driver's floor isn't looking too good...   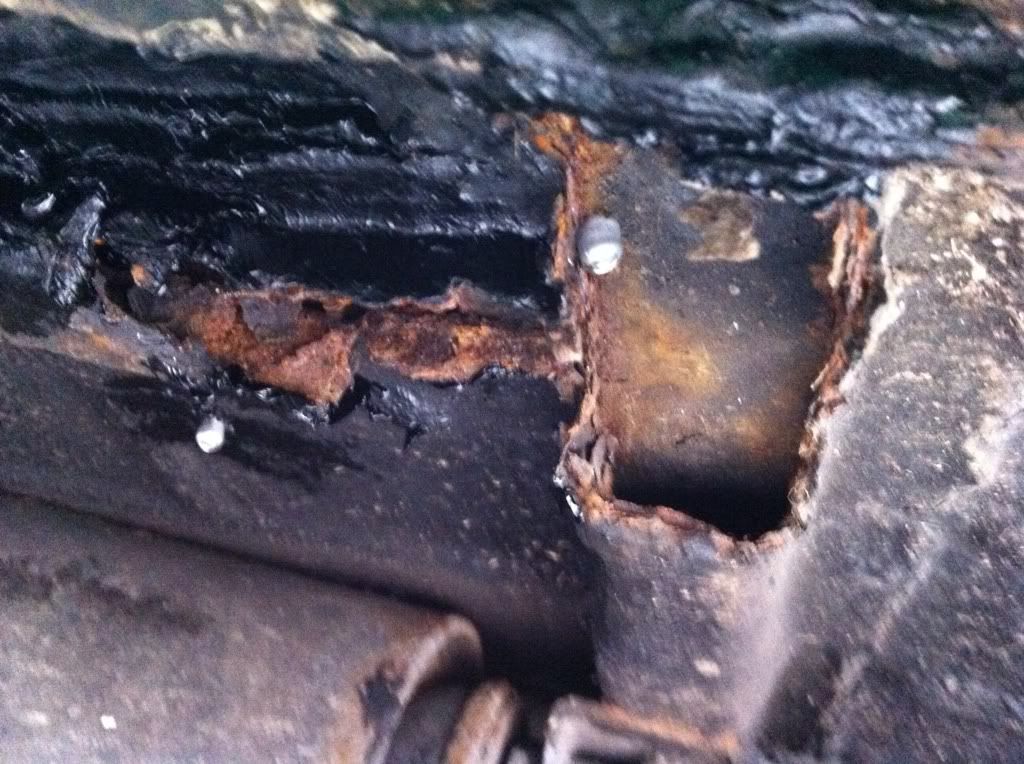 So got my rivet gun and galv plate out 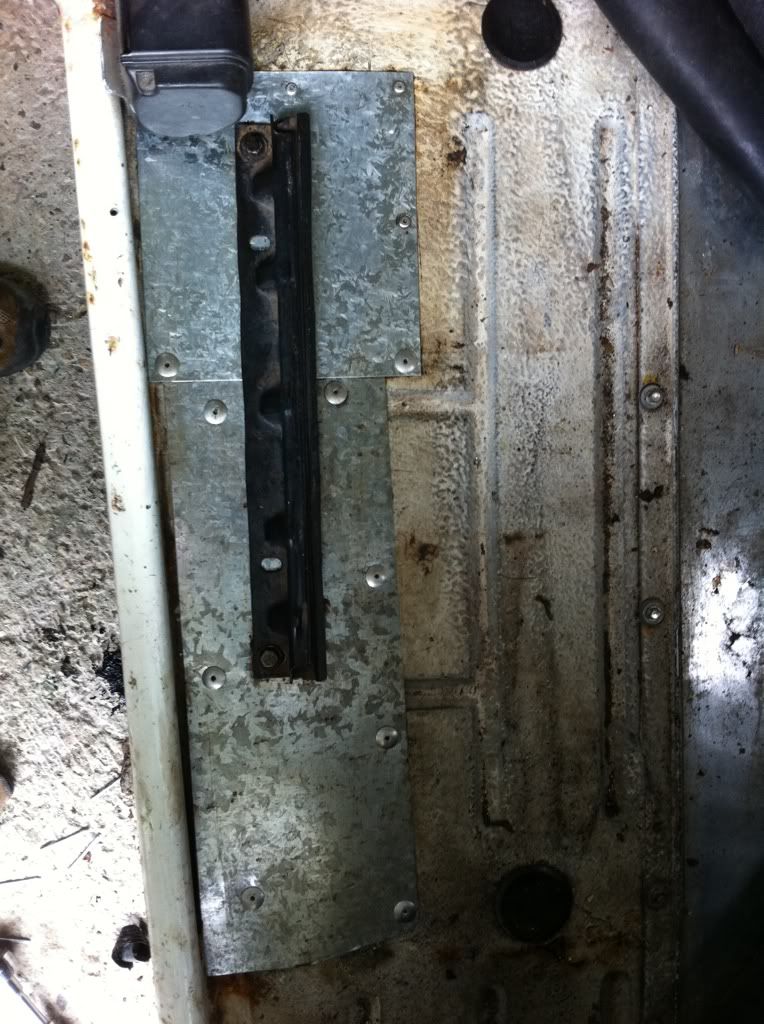 Now I hasten to add, this is a psychological repair. I don't like driving along seeing the road. It looks ok, and it keeps my chair solid until I can save up for new floors. 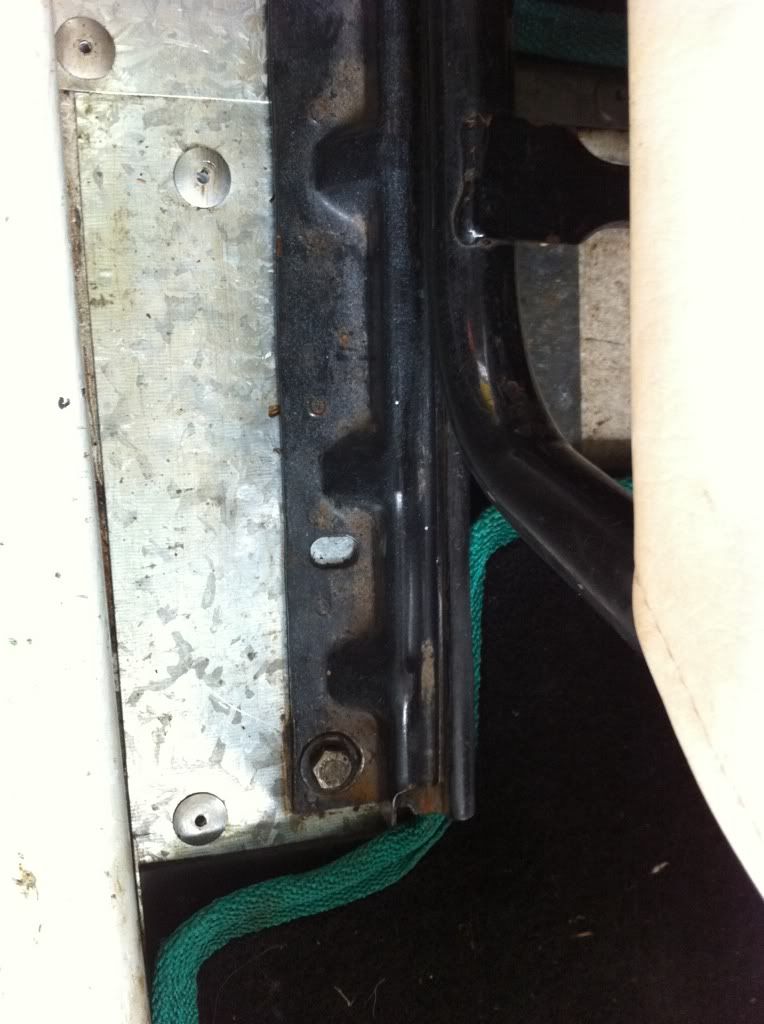 I'm taking the back seats out for this trip - not something I like doing, it makes it feel less 'car' like. I cant explain it - the emptiness makes me feel less at home. I decided to make a floor to cover the foot well and area where the seats would be. 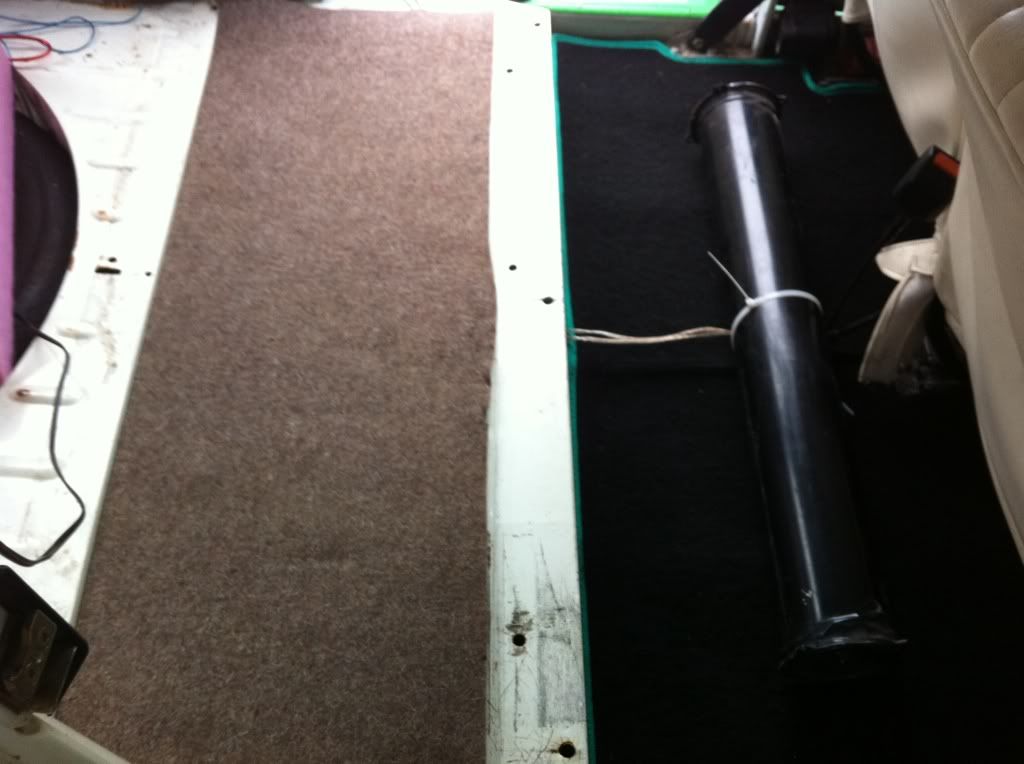 The grey is 15mm wooly sound proofing, the tube holds the two rear speakers which are usually under the rear seat. 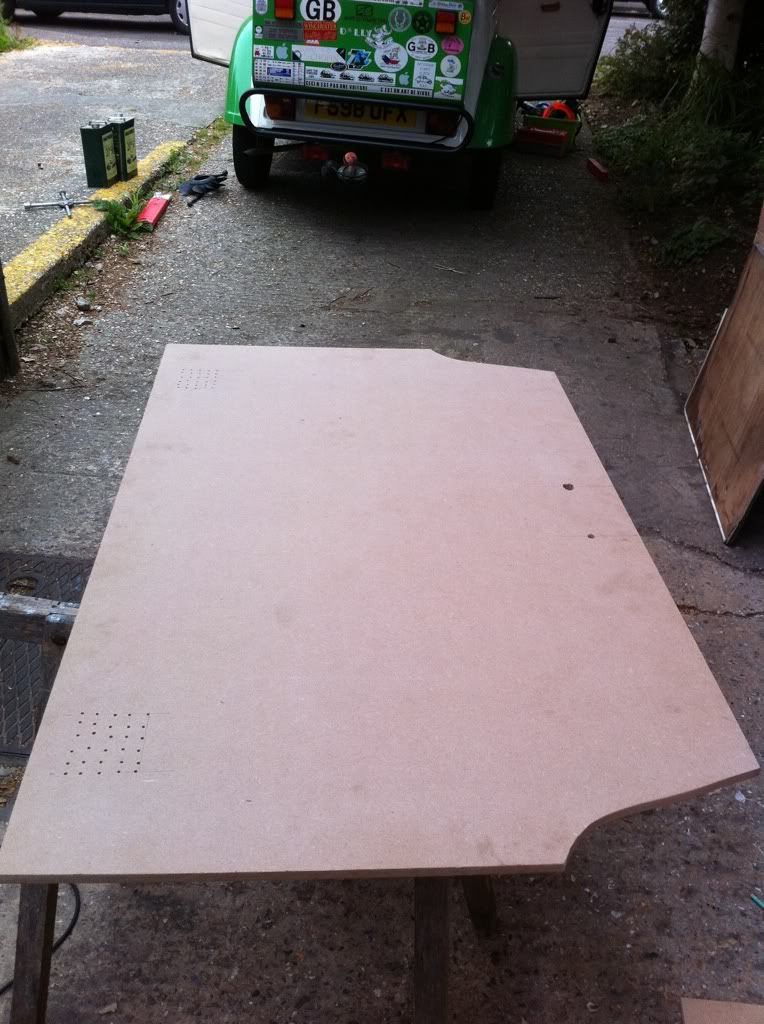 The little holes are acoustic holes to allow the sound from the speakers a little more breathing space. The two larger holes are to allow the seat belt mount bolts through. 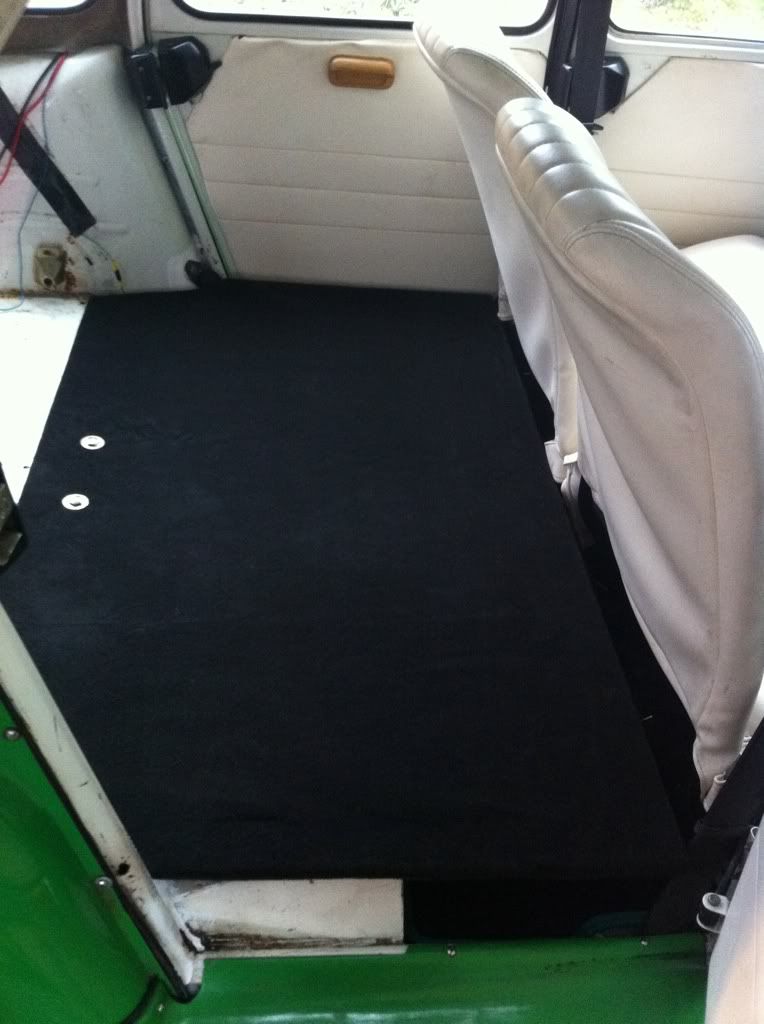 Not too shabby, I'm quite pleased. I covered it with the black carpet I had left from doing the van. The two bolts are the standard bolts that hold the seat belt retainer. 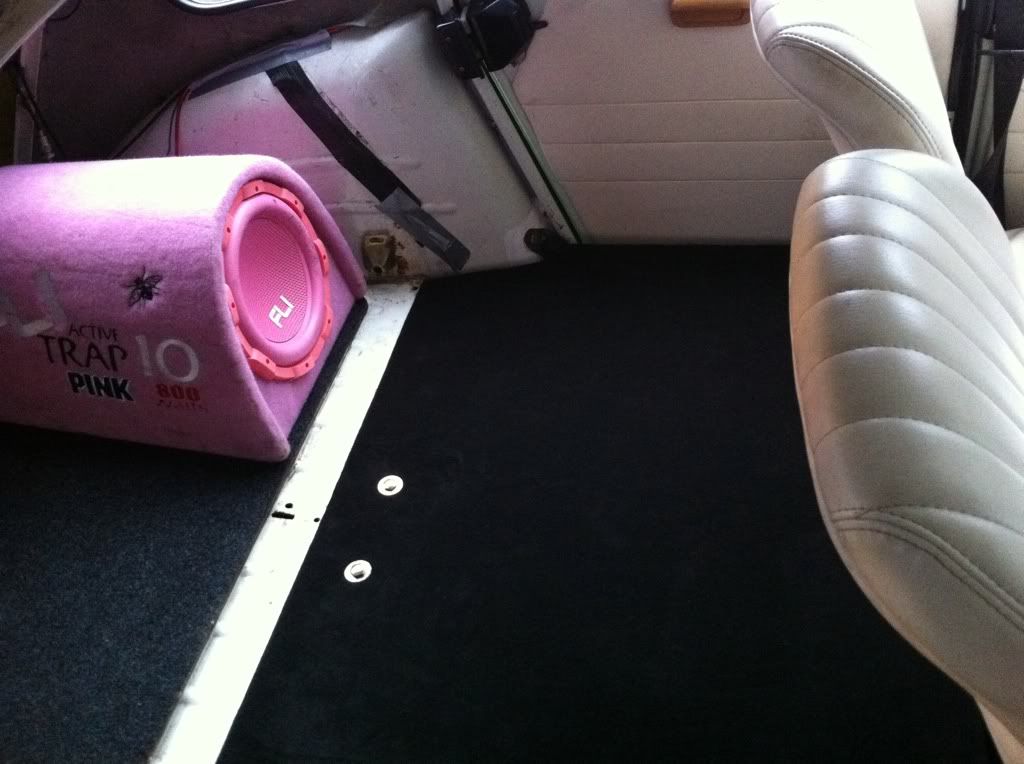 Also, bug news, having fitted them before Czech - the front LED fog/DRLs are wired in and running!! As is my heated rear window Oil's changed, tappets set, she needs a good cut and polish and w'll be ready to go! |
|
| Page 8 of 12 | All times are UTC + 1 hour [ DST ] |
| Powered by phpBB © 2000, 2002, 2005, 2007 phpBB Group http://www.phpbb.com/ |
|