| Author |
Message |
|
Gas Mark 5
Firing on two.
Joined: January 5th, 2010, 8:30 pm
Posts: 240

|
 Re: Dad's 1988 Bleu Celeste Well, with the van on the road, and a few days to spare this summer, I decided to make a start on bringing something back to life for my dad. F741HGU was a cat. B write off, meaning it cannot be put on the road again, however it can be used for spare parts. As the floors, sills, toeboard, boot floor, inner wings and so on had all been replaced immediately prior to the crash and were all still eminently reusable, I decided to hunt for a good and rusty body to repair.  Ken came up trumps again, as well as supplying a chassis for the rebuild he happened to have a rather rusty bodyshell lying around, so a deal was struck and the work began.  I don't have many pictures of the rebuild this time I'm afraid, the actual body was built in about a week while my parents were on holiday, working from 6:00 to 9:00 so I was in a bit of a rush and didn't feel much like doing a write-up at the time! I ended up more or less stripping the original shell down to it's component panels and building it upwards again from the new chassis, a known reference frame. 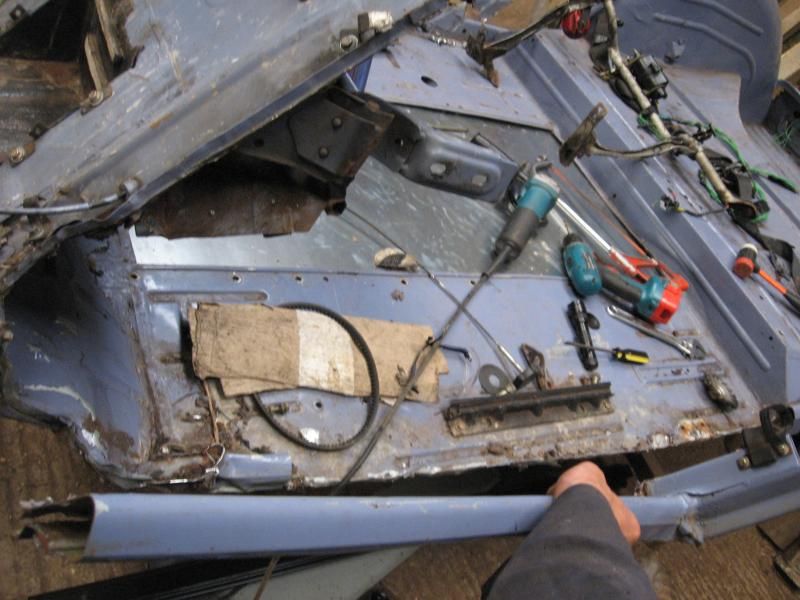 Needed a new N/S sill, but the floor was undamaged. A panel was replaced, the bulkhead and toeboard repaired. 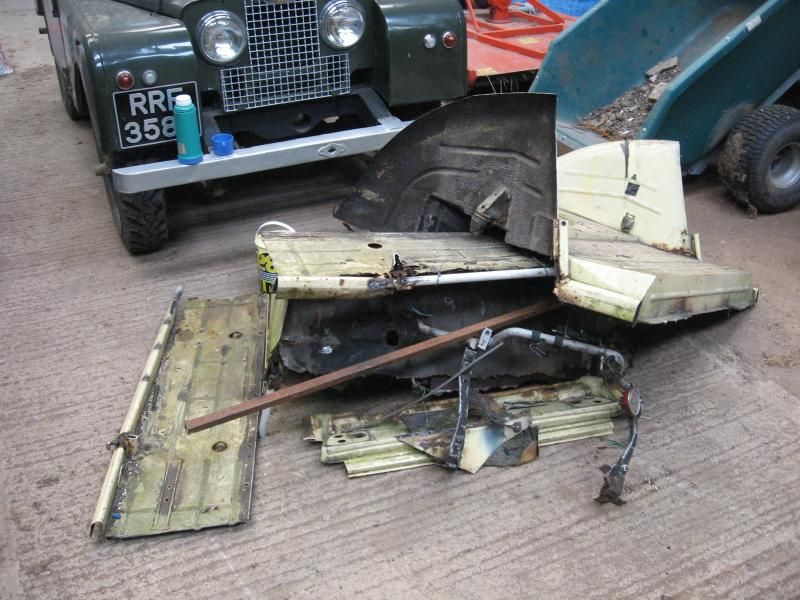 'Such stuff as 2CVs are made of' Having never really done any serious spray painting before, I decided to give it a go on dad's car. I can't afford the safety equipment for 2K yet, so cellulose it is. I have a rather nice old Devilbiss suction feed, however my diddy little compressor can't power it so I picked up a £10 mini gravity gun from ebay. My 1/4hp Broomwade still can't really power it, but with an old propane cylinder as a receiver I can spray in 1 minute bursts, which is fine as that is how long the paint in the 50ml cup lasts!  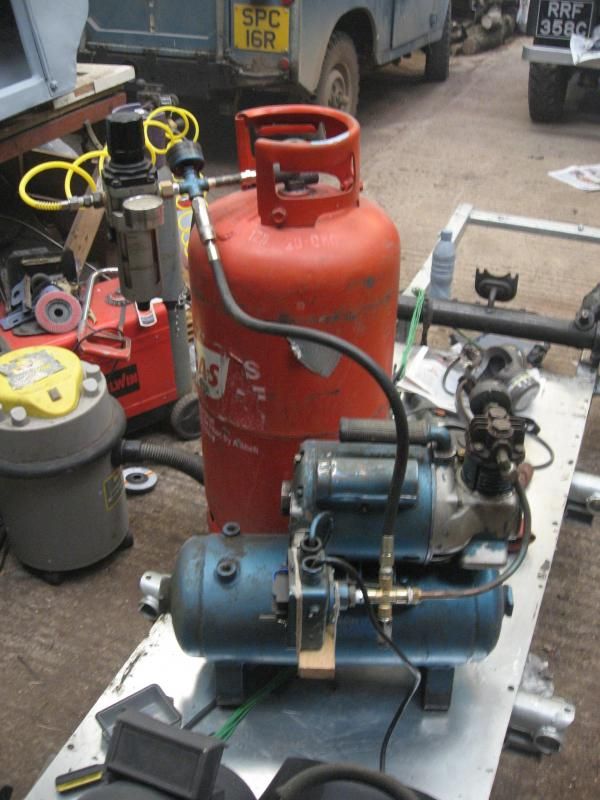 Suffice to say, spraying the entire thing was a fairly aggravating experience, I think I may beg, borrow or steal a larger compressor for the remaining panels. However, the end result is acceptable, don't want anything too shiny  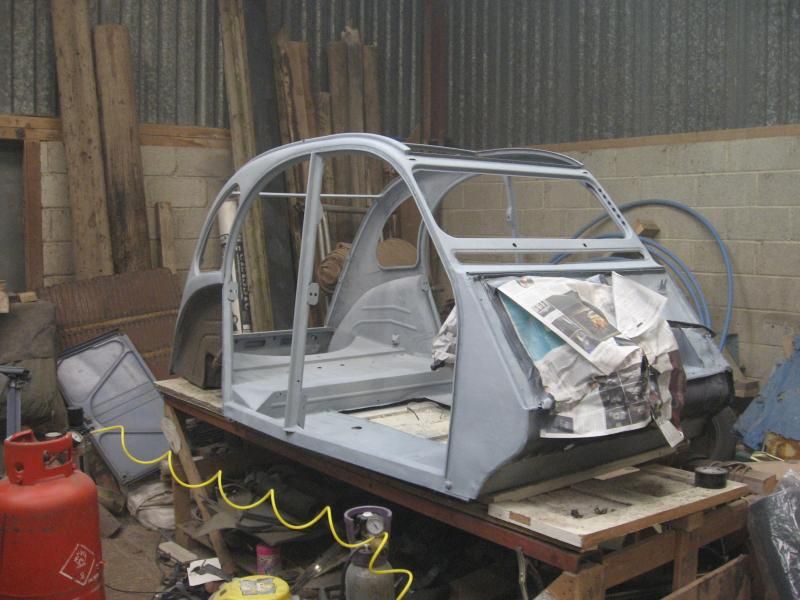 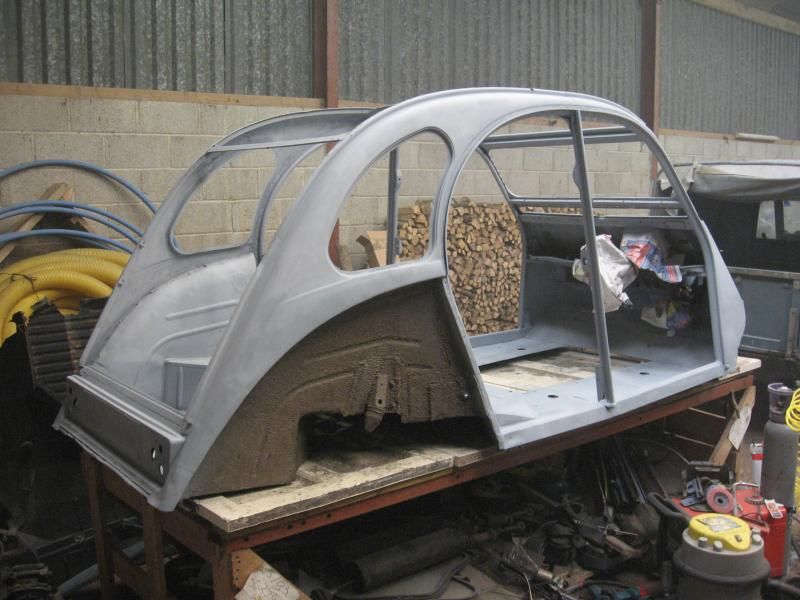 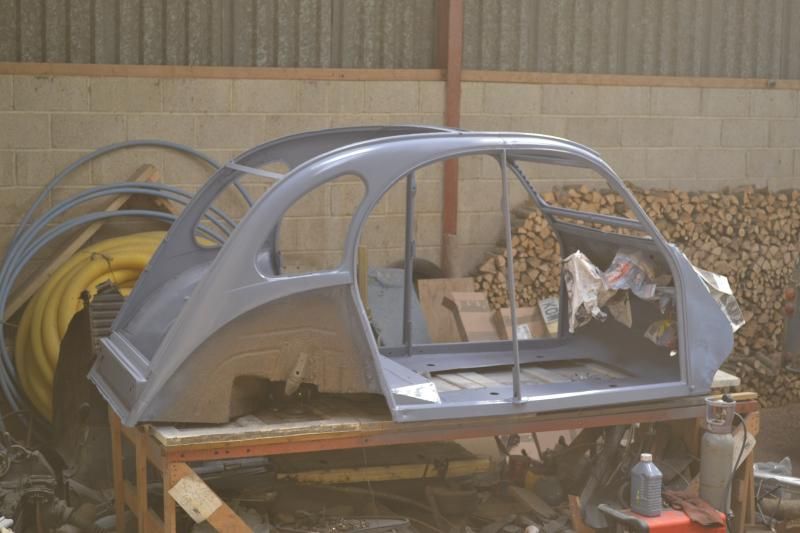 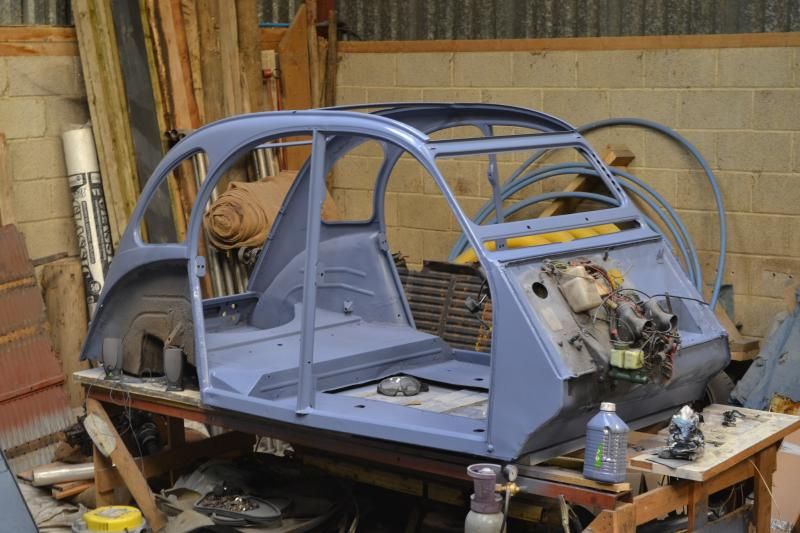 More or less ready to start bolting stuff back together again now, just in need of a few more parts. Does anyone here happen to have a set of front bumper brackets knocking around they'd be willing to sell? I'm also after a couple more rims, scruffy is fine, I'll be painting them, but most of the ones I have seem to have the odd flat spot or ding, and after the events that lead to this rebuild I am rather keen that everything in the steering, suspension and braking department be absolutely spot on... Anyway, huge thanks to Ken for all his help, I'll update as and when things get done. -George
_________________

"In the beginning the Universe was created. This has made a lot of people very angry and has been widely regarded as a bad move." - Douglas Adams
|
| September 2nd, 2014, 9:10 pm |

|
|
|
Sean
Firing on two.
Joined: April 22nd, 2009, 11:06 pm
Posts: 3684
Location: Ecosse
|
Re: Dad's 1988 Bleu Celeste not sure of the process and which bits became the car and which is the scrap pile but there is usefull stuff there in that pile of cream cut offs - keep the bumpstops etc.
_________________
Kissing the Lash

"Any advice of a technical nature is given on the understanding that I've actually done this shit, not just read about it in D*lly club mag some time ago.
|
| September 3rd, 2014, 9:56 am |
|
|
|
Diesel Dave
2CV Fan
Joined: October 31st, 2012, 5:31 pm
Posts: 79
|
Re: Dad's 1988 Bleu Celeste A HVLP turbine system will be cheaper than a new compressor: http://www.ebay.co.uk/itm/Silverline-Si ... 233b32995a
|
| September 3rd, 2014, 10:02 am |
|
|
|
Gas Mark 5
Firing on two.
Joined: January 5th, 2010, 8:30 pm
Posts: 240
|
Re: Dad's 1988 Bleu Celeste Sean wrote: ...there is usefull stuff there in that pile of cream cut offs - keep the bumpstops etc. Don't worry, I am something of a hoarder... Everything will be kept 'just in case' that doesn't have rusty holes big enough to fit your foot through - and probably even a few of those bits too.  Diesel Dave wrote: A HVLP turbine system will be cheaper than a new compressor Interesting, I wonder what the quality is like with that set up? I will probably end up getting a larger compressor at some point anyway, for sand blasting and so on, but I'll look into an HVLP turbine in the mean time.
_________________
"In the beginning the Universe was created. This has made a lot of people very angry and has been widely regarded as a bad move." - Douglas Adams
|
| September 4th, 2014, 6:25 pm |
|
|
|
Gas Mark 5
Firing on two.
Joined: January 5th, 2010, 8:30 pm
Posts: 240
|
Re: Dad's 1988 Bleu Celeste I just noticed a few more pictures on my photobucket that never made it here. I think I had visions of writing a few words about common bodywork repairs for people, but life has a habit of getting in the way. Anyway, for anyone interested, here are a few pictures in no order of a couple of other bits of work on dad's car. Doors seem particularly prone to rotting, so I went overboard on the pictures of this repair, in the hope they might be of some help. 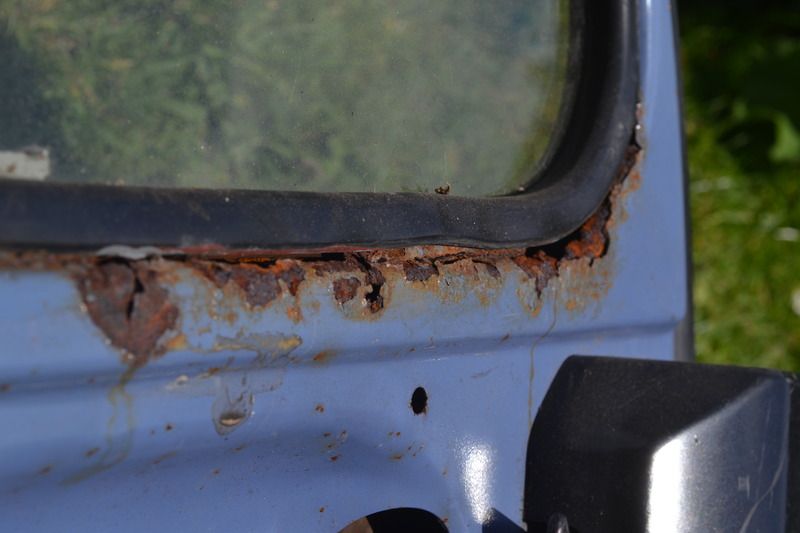 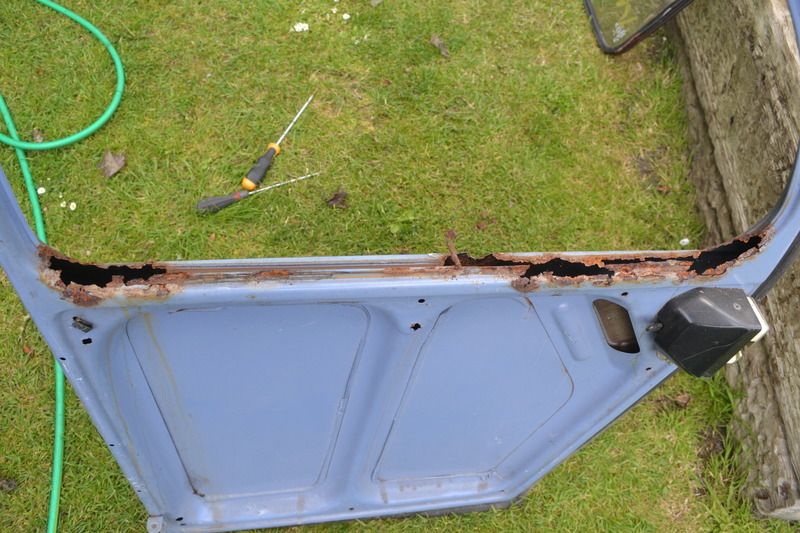 An old flathead screwdriver with the head ground oval makes an excellent tool for removing the glass seals. Once everything is removed, the surrounding metal needs cleaning up to see the extent of the rust. There's no point leaving pitted metal, it is all so thin on a 2CV anything other than good steel will rust again in short order. 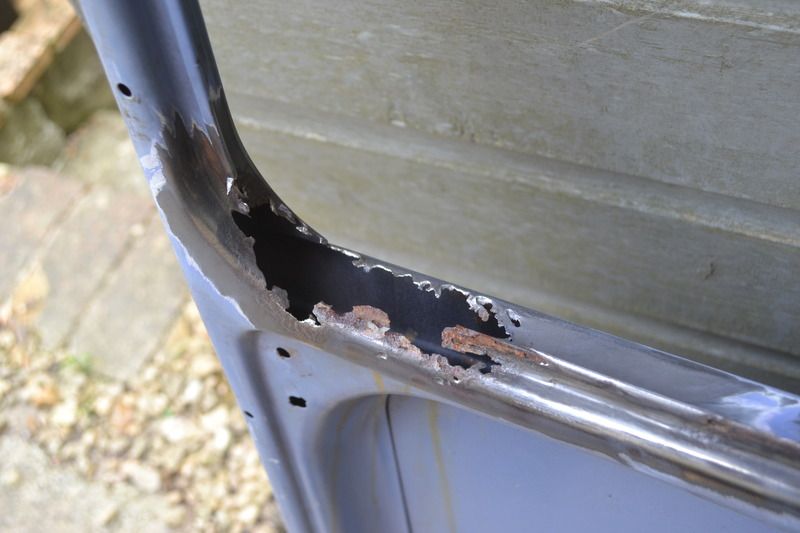 I sometimes mark out where I will be cutting out material to get my head around the easiest shapes for repair sections. 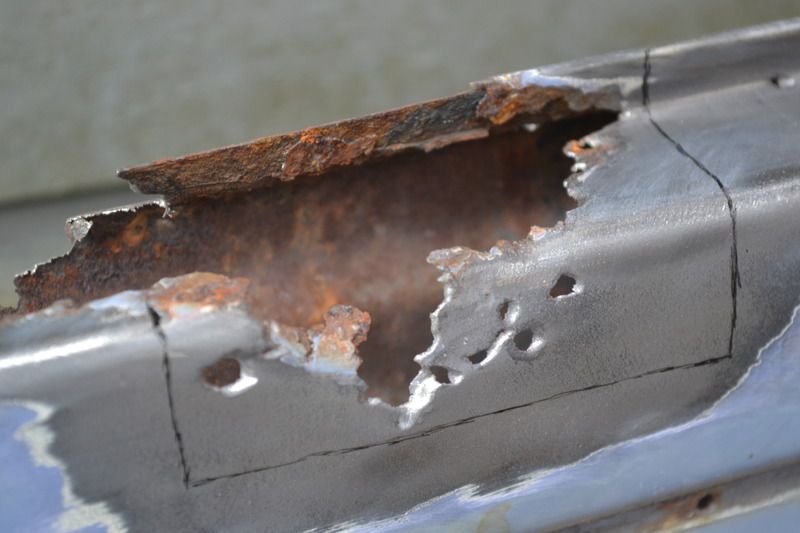 Usually a 1mm slitting disc on a 115mm grinder makes short work of any repair sections on a 2cv, but there are occasions where a dremel or similar comes in handy. I also keep a few nearly worn down grinder slitting discs for tight spots. 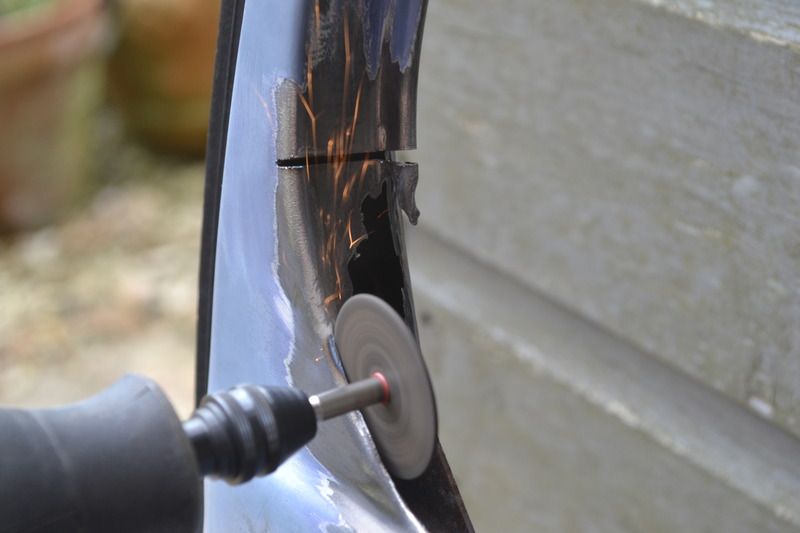 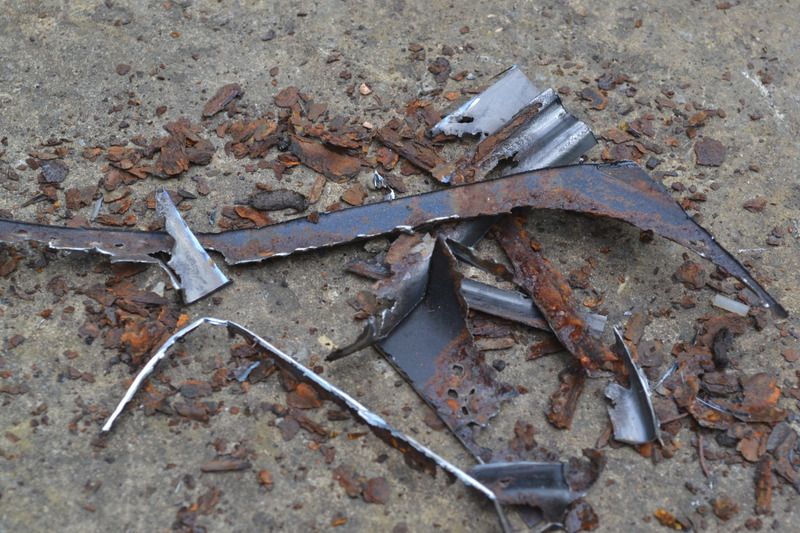 More time spent on getting the repair sections to fit nicely certainly pays off in time and aggravation spent welding. Nicely butted joints even in 0.5mm steel aren't too bad to MIG weld, especially if your welder goes down to 30 amps or less. Nice clean steel helps, and sometimes a heatsink of some description for really thin places. Some copper pipe hammered flat, or into whatever shape you need works well. 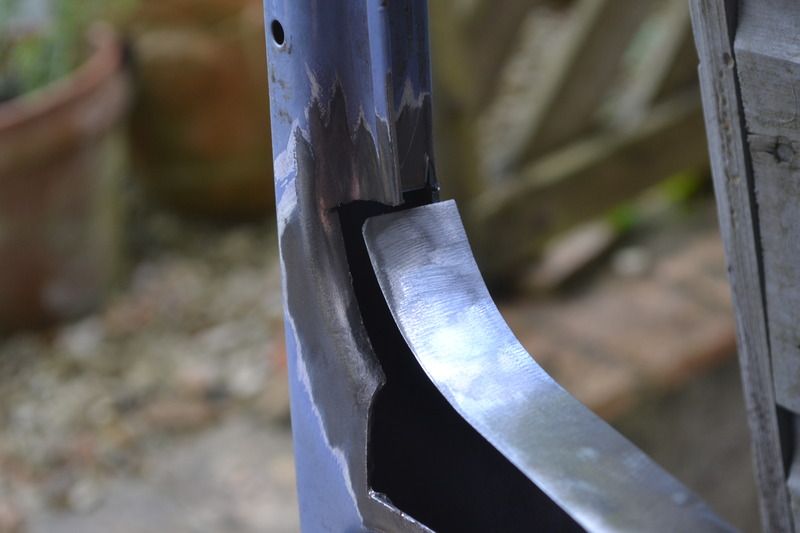 A useful tip for positioning sections for welding, is to stick a small screw into a strategically placed hole. This gives you something to hold while welding it in, then a quick tack with the welder will fill the hole in afterwards. 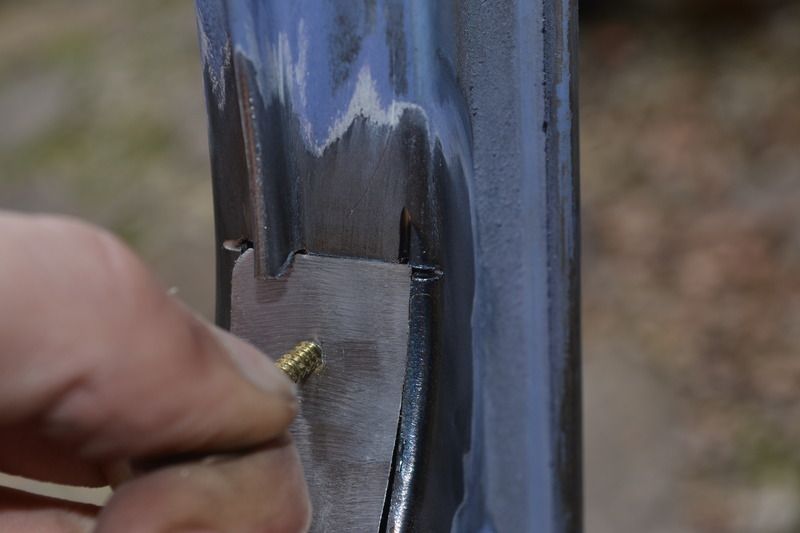 A lot can be achieved with a hammer and something solid. An old brake drum nicely matched the curvature to form this piece against: 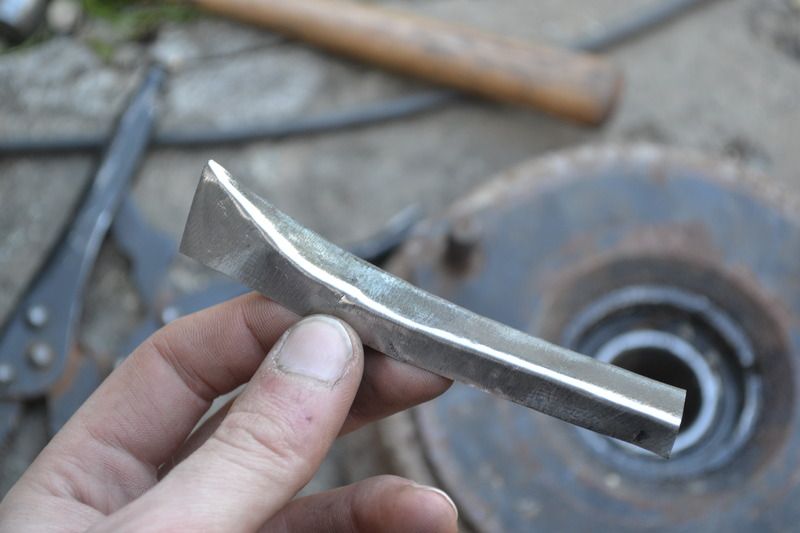 I don't really feel qualified to comment on panel beating, I just experiment with whatever is available, sometimes it works out well, other times less so. But with patience it is possible to form some very complex shapes with very few tools. Cereal packets make good templates for mocking up repair sections, 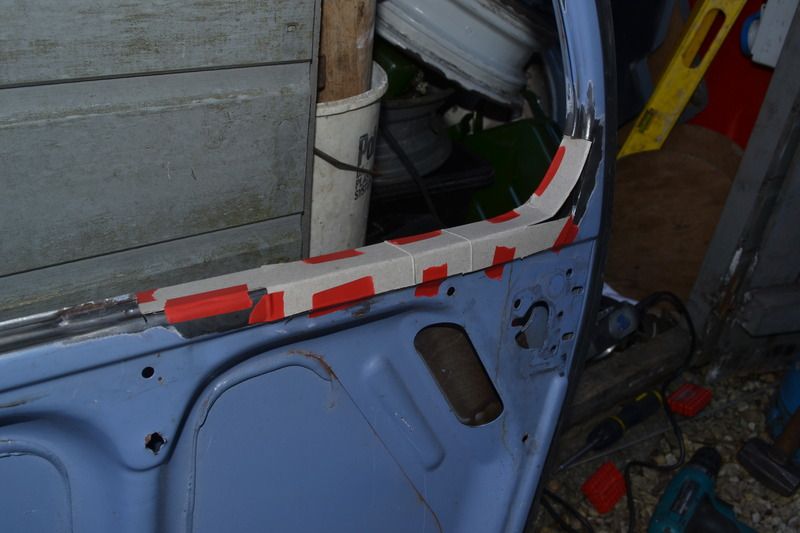 which can then be transferred to steel. 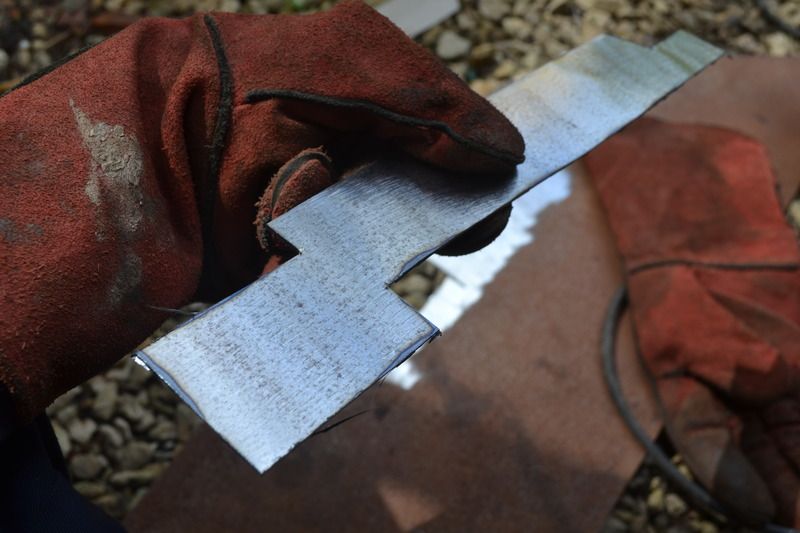 Again, the proper tools are nice, but you can get away with a hammer, a few clamps, and something vaguely solid or flat for many sections. 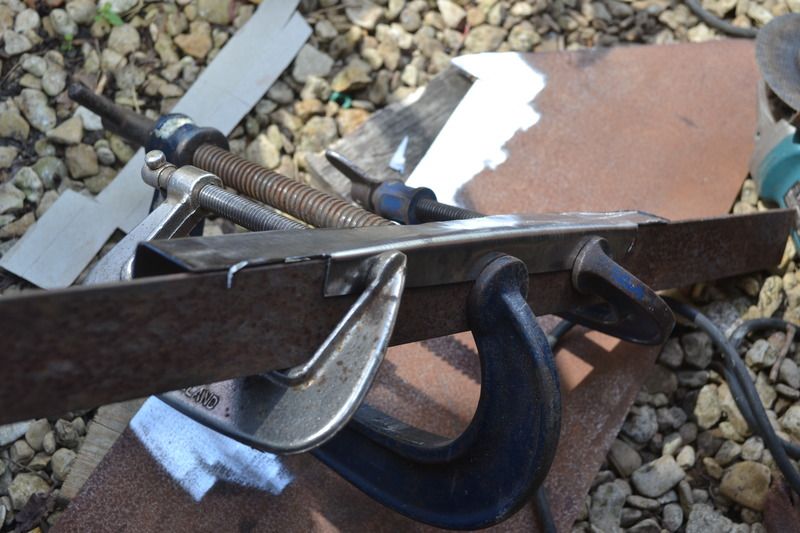 The sections can then be welded in. Tacking fully, then welding ~1" sections at a time, letting the piece cool fully between welds helps reduce distortion. Unfortunately I was impatient, but the result isn't too bad. 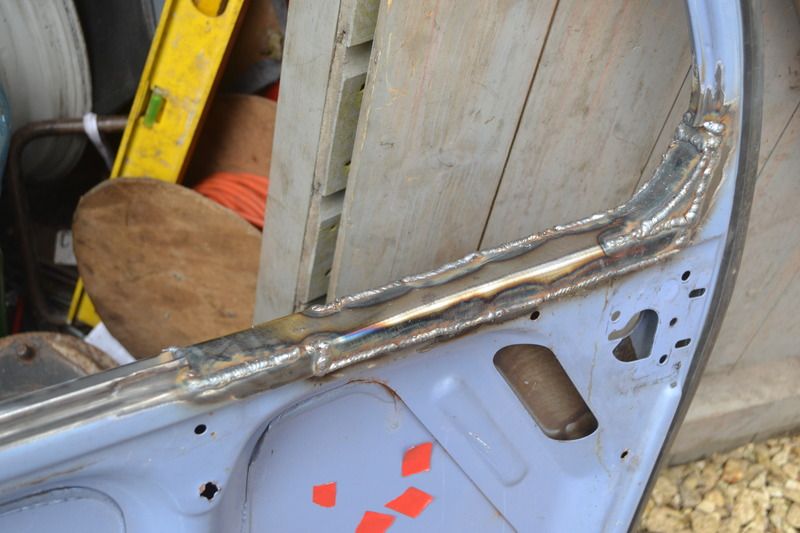 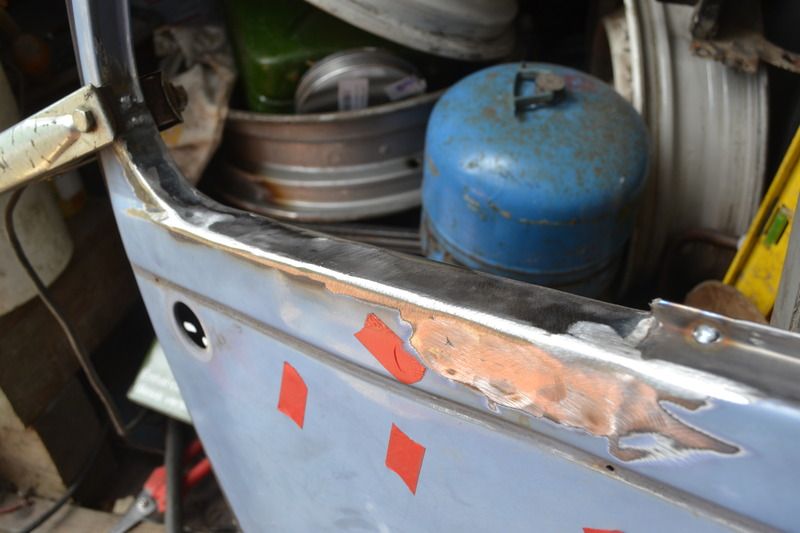 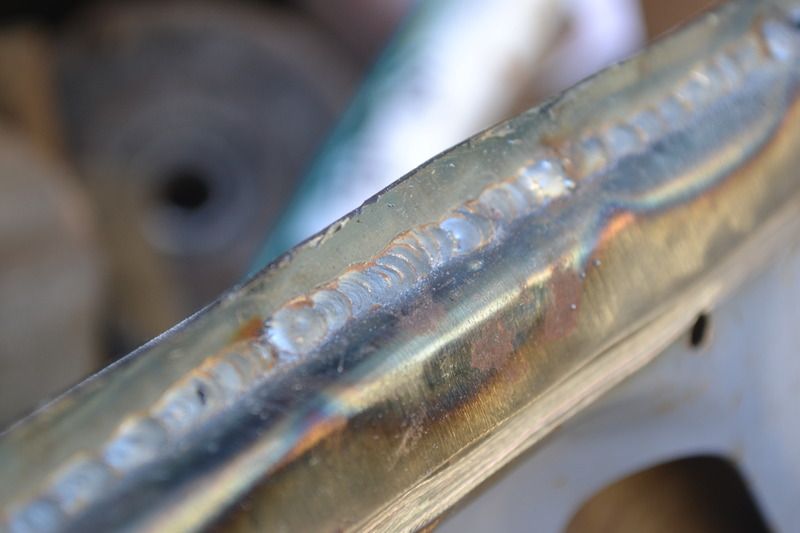 With enough time on the preparation, and a once over with a flap disk afterwards, it is sometimes possible to get a truly 'invisible repair'. Most of the time though, I find either a spot of filler, or some sympathy towards the 2CV's agricultural heritage is necessary.
_________________
"In the beginning the Universe was created. This has made a lot of people very angry and has been widely regarded as a bad move." - Douglas Adams
Last edited by Gas Mark 5 on January 12th, 2016, 2:00 am, edited 1 time in total.
|
| January 12th, 2016, 1:50 am |
|
|
|
Gas Mark 5
Firing on two.
Joined: January 5th, 2010, 8:30 pm
Posts: 240
|
Re: Dad's 1988 Bleu Celeste A slightly more unusual repair now, but it made me laugh. I had a perfectly good plastic headlamp shell bottom / mount, but the rest of the shell was broken in the accident. The mount on one of my spare shells was somewhat melted, I think I got cross with a snapped, seized stud, and welded something on without really thinking about it... 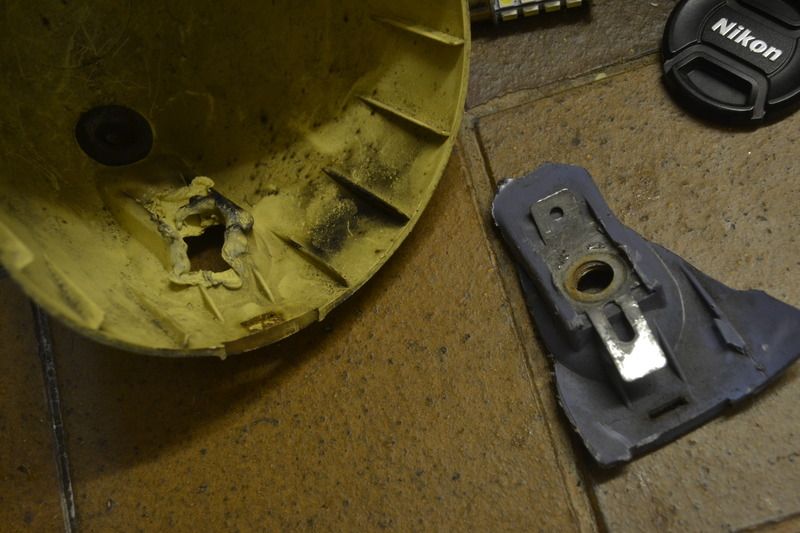 Fortunately, I have a tip for my soldering gun dedicated for such abuse, although a butter knife and blowtorch also works.  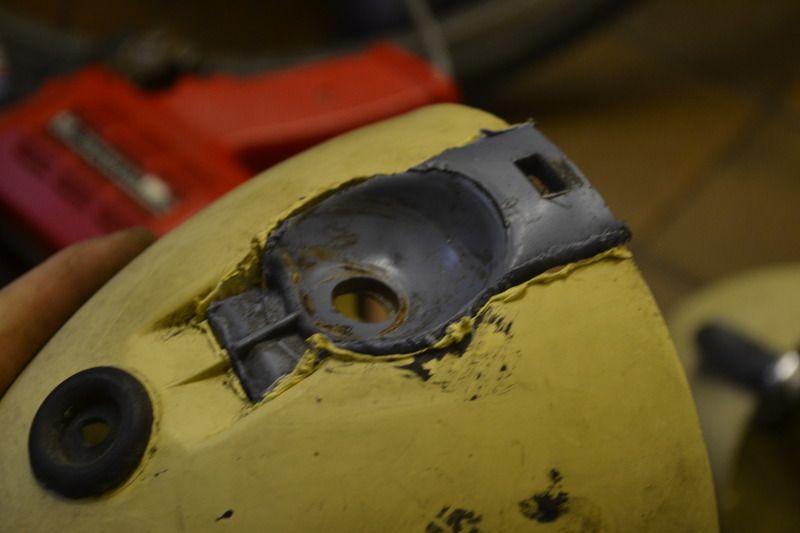 With a bit more heat, followed by some epoxy for good measure, one good shell was created. 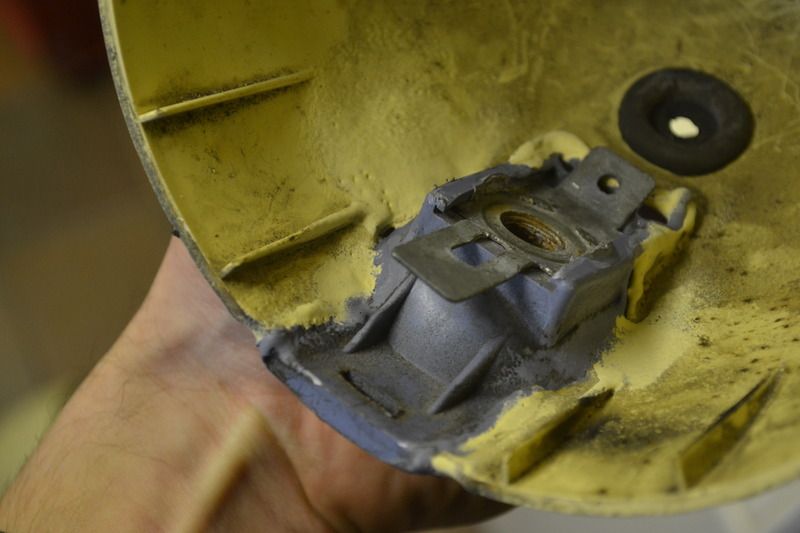 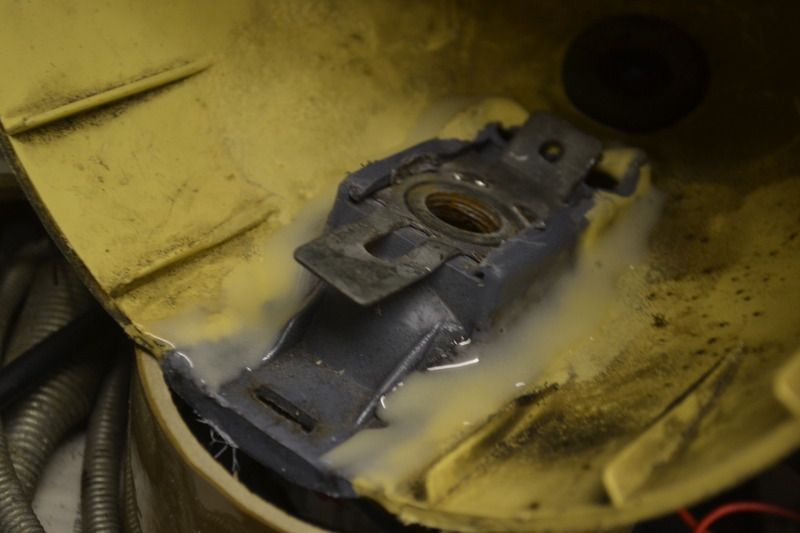 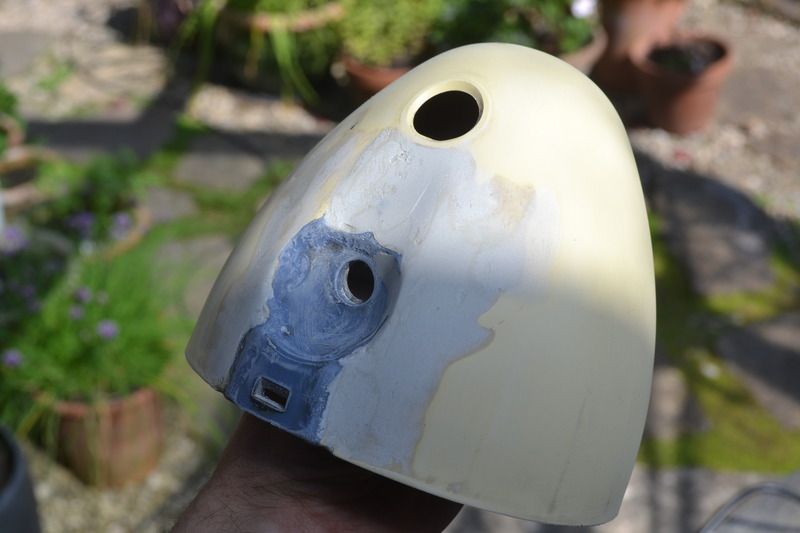 A bit more filler, then ready for paint
_________________
"In the beginning the Universe was created. This has made a lot of people very angry and has been widely regarded as a bad move." - Douglas Adams
|
| January 12th, 2016, 1:59 am |
|
|
|
Gas Mark 5
Firing on two.
Joined: January 5th, 2010, 8:30 pm
Posts: 240
|
Re: Dad's 1988 Bleu Celeste I am definitely far too impatient to be a painter. Always bored of sanding, or dragging air lines across wet paint etc. I think I encountered almost every known paint fault. My tiny little £5 ebay gravity gun was capable of spraying perfectly well at times, but did keep blocking (a fault of my painting cleanliness, rather than the gun, no doubt). 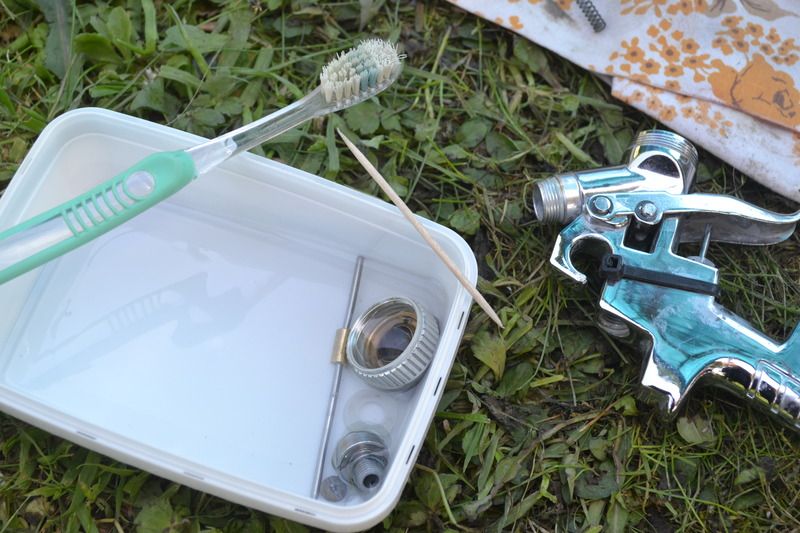 On my first attempt, as well as horrible orange peel, there were blisters caused, I think, by water contamination. 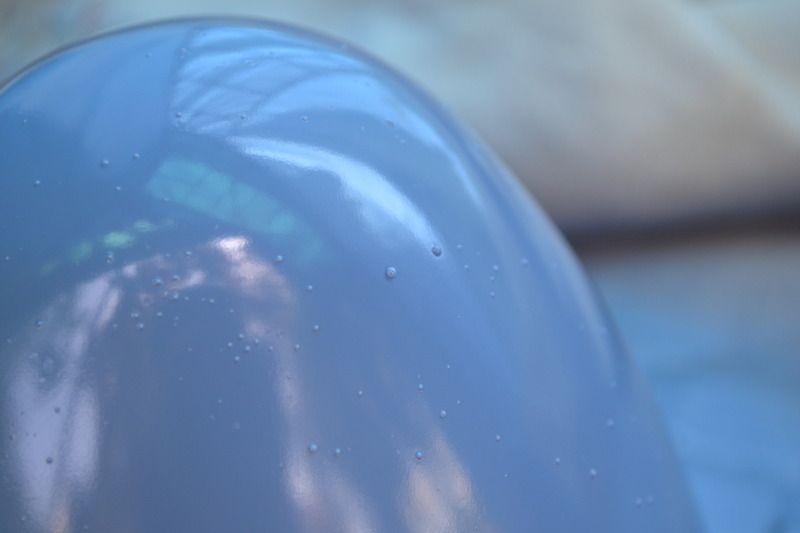 In any case, cleaning out the gun and fitting another water trap at the gun end of the airline seemed to help. Then I noticed small black lumps getting in the paint. This continued for quite some time, they looked just like tiny pieces of charcoal, until it clicked; 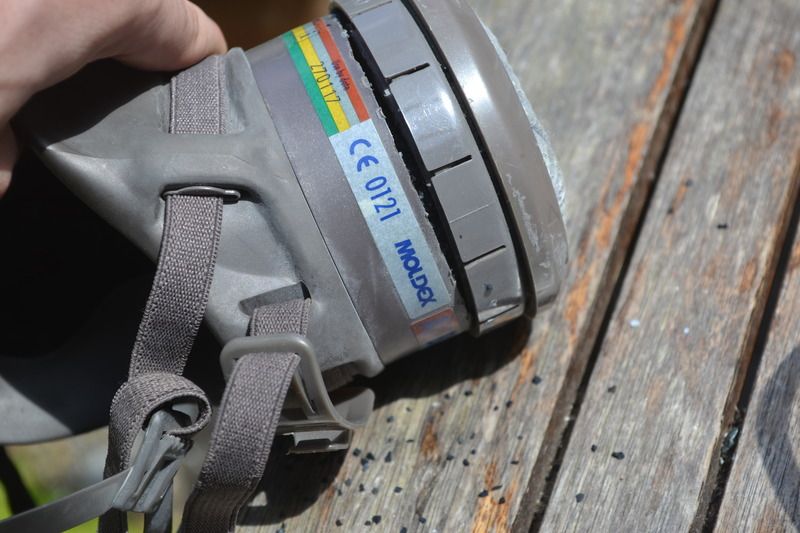 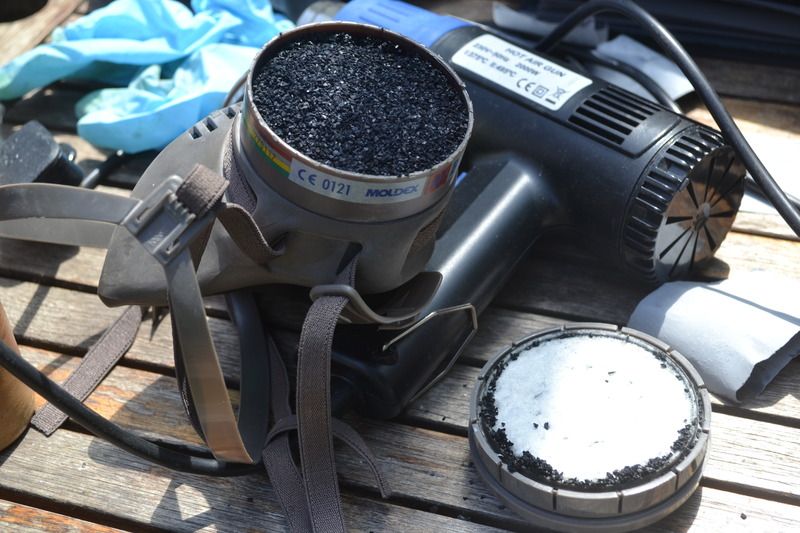 This rectified, I continued to paint. Not the least bit high on thinners. 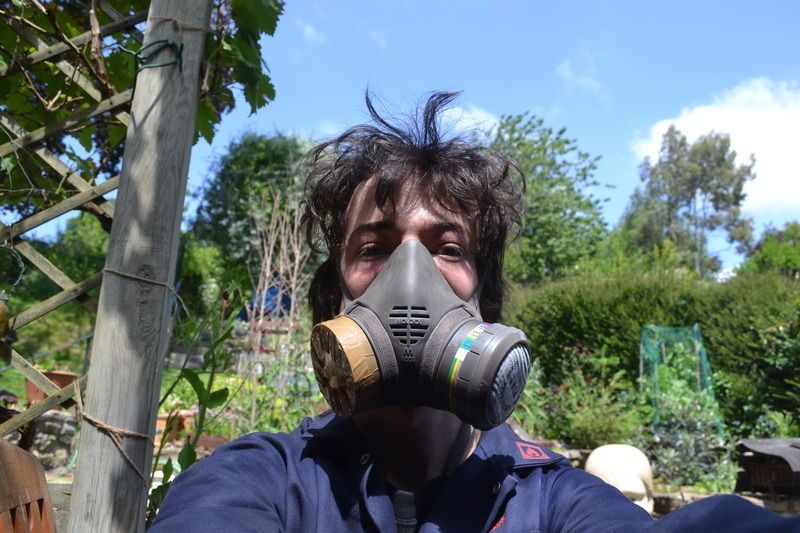 I did manage to get a few decent finishes actually (I think), but it takes so much preparation, and especially when outside, a sodding fly comes along and ruins it all, or it spontaneously starts raining etc. 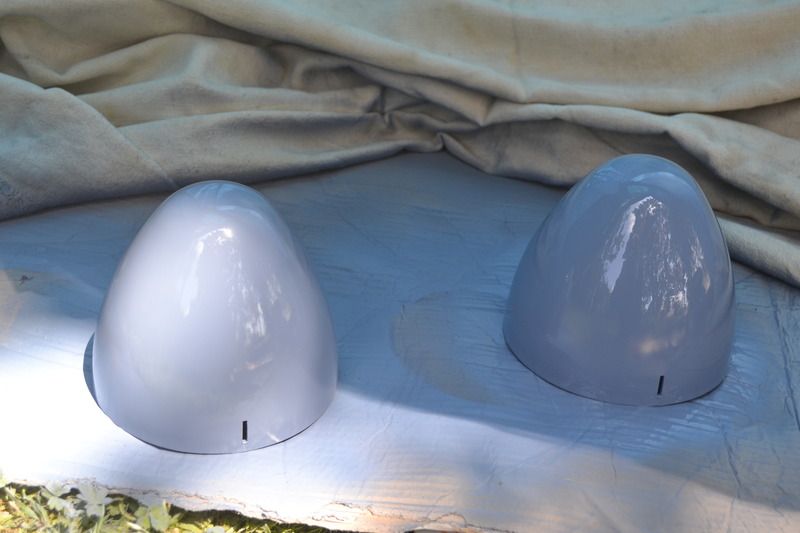 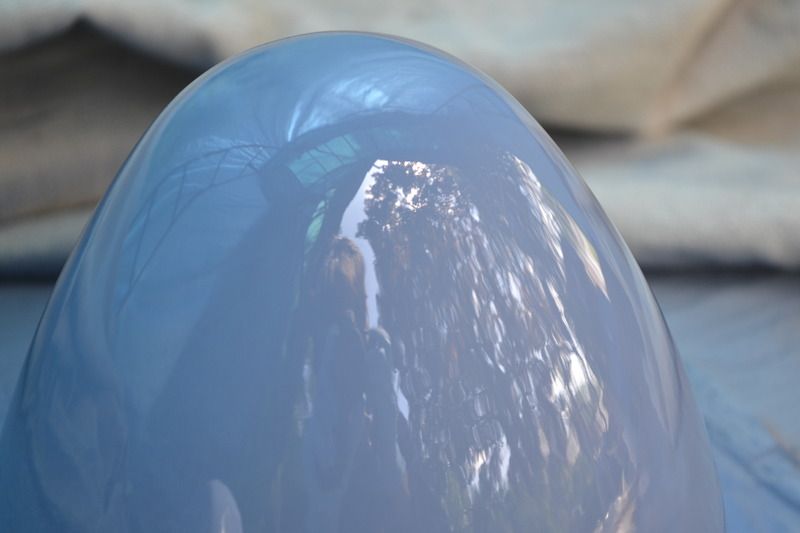 My collection of wheels also needed some work. I managed to scavenge enough rims without bubbly seams or dents, clearing all the muck off them took an age though. 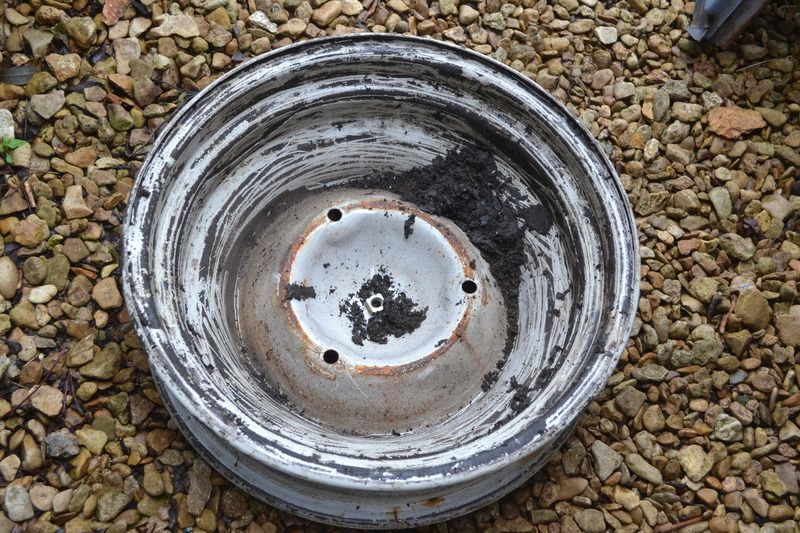 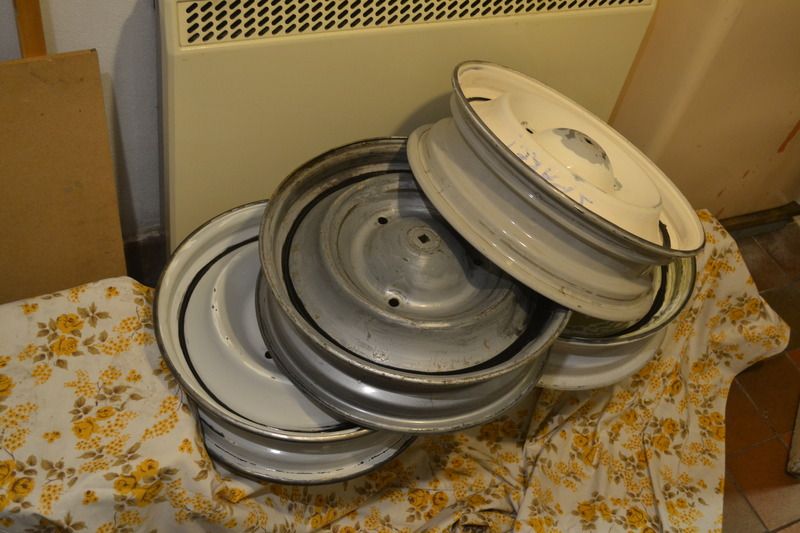 Seam sealed with polyurethane in the hope of keeping water out just a little longer. 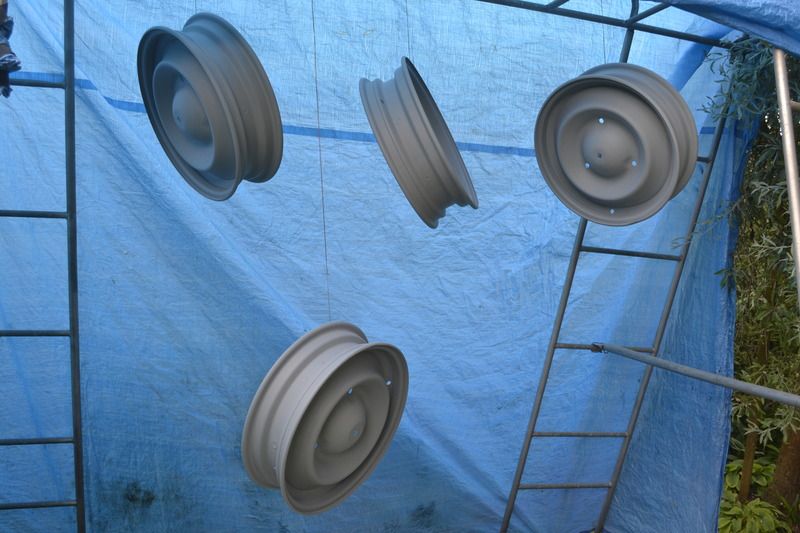  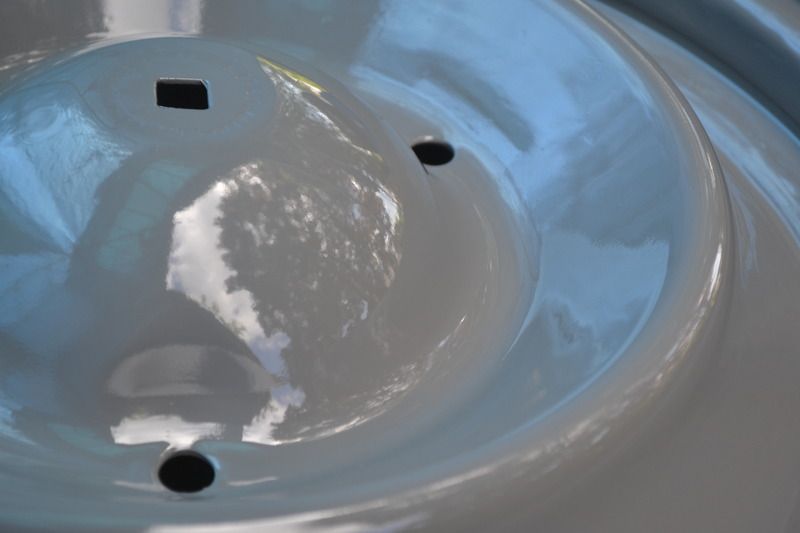 They're certainly not perfect - I only took pictures of the best bits, and there are still runs and orange peel. But they're wheels. On a 2CV. They'll do!
_________________
"In the beginning the Universe was created. This has made a lot of people very angry and has been widely regarded as a bad move." - Douglas Adams
|
| January 12th, 2016, 2:18 am |
|
|
|
lpgo
Firing on 1-2 Spark
Joined: November 8th, 2009, 5:42 pm
Posts: 2846
Location: NL
|
Re: Dad's 1988 Bleu Celeste I love this sort of repair, just briljant... as is the whole car... Seems like Ken is a realy nice guy.... for helping you with stuff.. 3 times Hooray for Ken..
_________________
Russell wrote: Hi Geo,
you've been one of the sites biggest attractions in recent years.
Russ
|
| January 12th, 2016, 8:44 am |

|
|
|
Max Wyer
Firing on two.
Joined: March 21st, 2015, 11:39 am
Posts: 117
Location: Derbyshire England
|
Re: Dad's 1988 Bleu Celeste Really nice work.
_________________
Regards. Max.
|
| January 12th, 2016, 7:48 pm |
|
|
|
Gas Mark 5
Firing on two.
Joined: January 5th, 2010, 8:30 pm
Posts: 240
|
Re: Dad's 1988 Bleu Celeste Thanks for the kind words - And yes, huge thanks to Ken for all his help I don't have any more pictures of the work on dad's car really, it suddenly turned into a manic rush to MOT it before starting a new job. 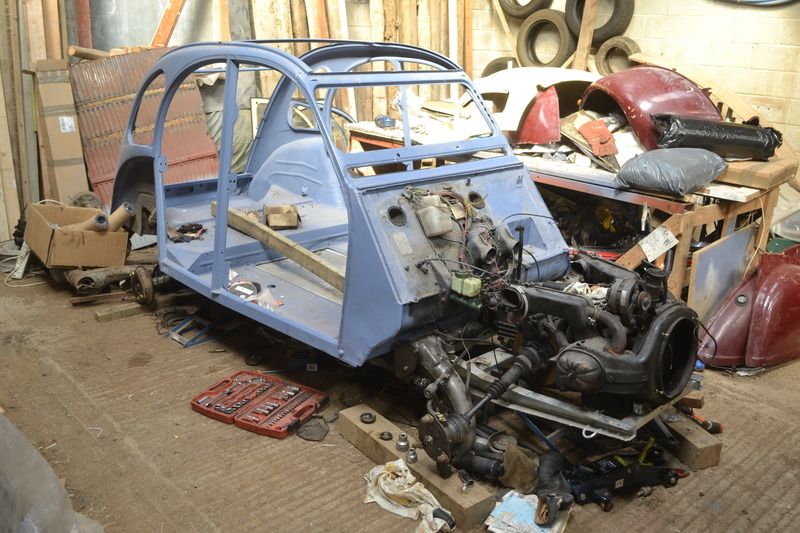 Engine and gearbox were more or less fine and had just been overhauled before the accident. The N/S rocker cover was knocked off, but I found some spare M7 threaded rod to hold the new cover on. Heat exchanger a bit bashed, and the cowling needed reseating a bit to stop the fan fouling, but otherwise all was well. [YouTube]https://www.youtube.com/watch?v=K3NGE6fKugs[/YouTube] Took it for a quick spin with some friends: [YouTube]https://www.youtube.com/watch?v=rTpI1Mm-ADY[/YouTube] After tappets and timing and fitting an exhaust it was no longer spitting fire. In fact, now with Geo's 1-2-Spark it runs far better than my van, especially starting. Sounds just like a sewing machine at idle. Not that I'm jealous or anything...  Thanks Geo After sticking the rest of the bits back on, an MOT was obtained 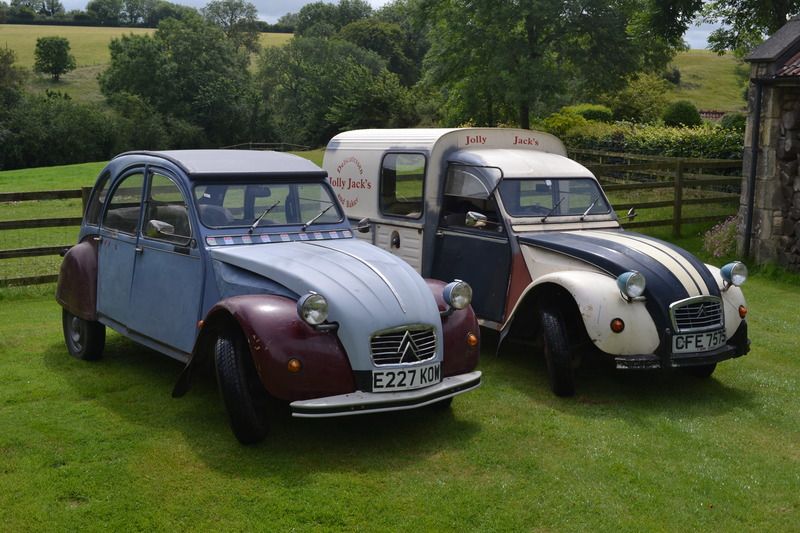 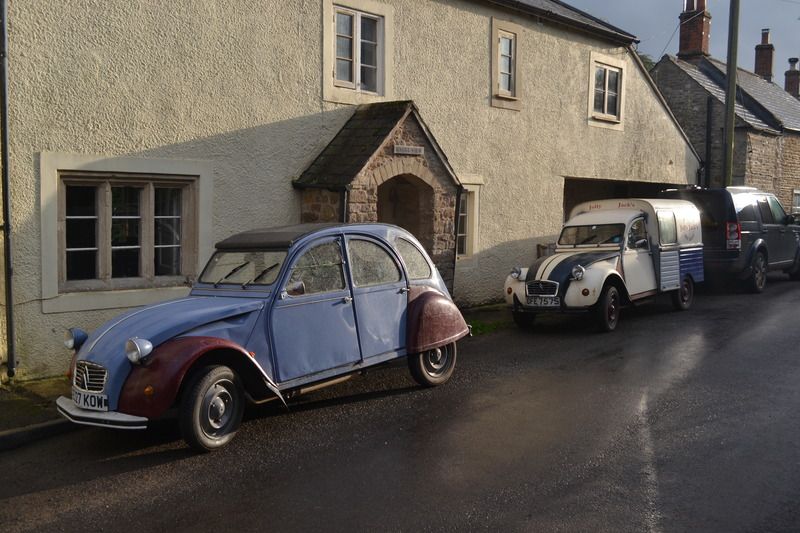 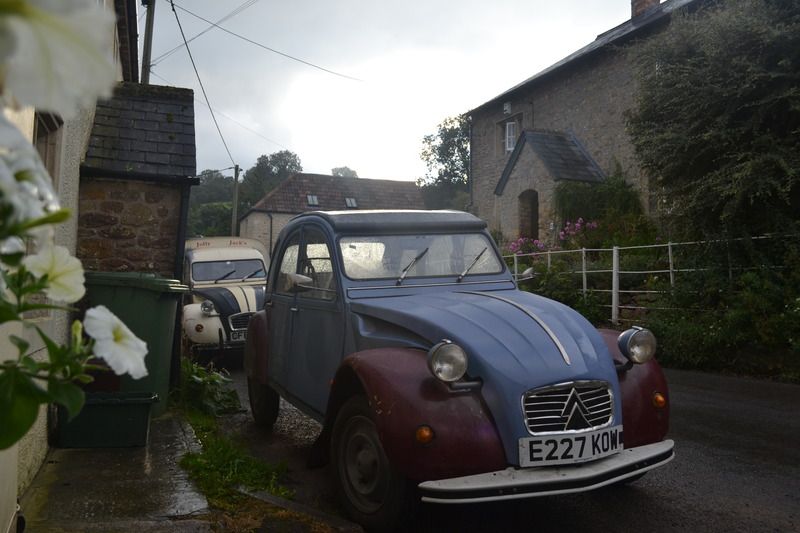 It was very much hastily shoved back together in a few days when I ran out of time, so there's plenty still to do. I have been popping back for the occasional weekend, need to sort out some soundproofing, lots more work on the paint to be done, besides the obvious wings But it's on the road again! 
_________________
"In the beginning the Universe was created. This has made a lot of people very angry and has been widely regarded as a bad move." - Douglas Adams
|
| January 13th, 2016, 2:11 am |
|
|
Who is online |
Users browsing this forum: No registered users and 31 guests |
|
You cannot post new topics in this forum
You cannot reply to topics in this forum
You cannot edit your posts in this forum
You cannot delete your posts in this forum
You cannot post attachments in this forum
|

|