I've done a lot of improvements recently.
Firstly, Viking pointed out that the idle on the carb wasn't working and that the accelerator pump was pretty reluctant. I've sent my carb off to the Carb Exchange to be refurbed. It's run by a solex trained chap who sets it all up on a vacuum text bench so it should be tip top when I get it back (there's a nine week lead time!).
http://www.carbex.demon.co.uk/Daras Rich (2chevrons) has kindly leant me an Ami6 Solex 40 Carb which I've cleaned up and blown through with my homemade compressor and its running beautifully. I do love the VRMMMMM when the accelerator pump kicks in

An issue with Hetty has always been her electrics. In the deep and mirky past there has been much re-wiring undertaken, but sadly not to a very high standard. Every wire has been labeled with a number... but I don't have an index

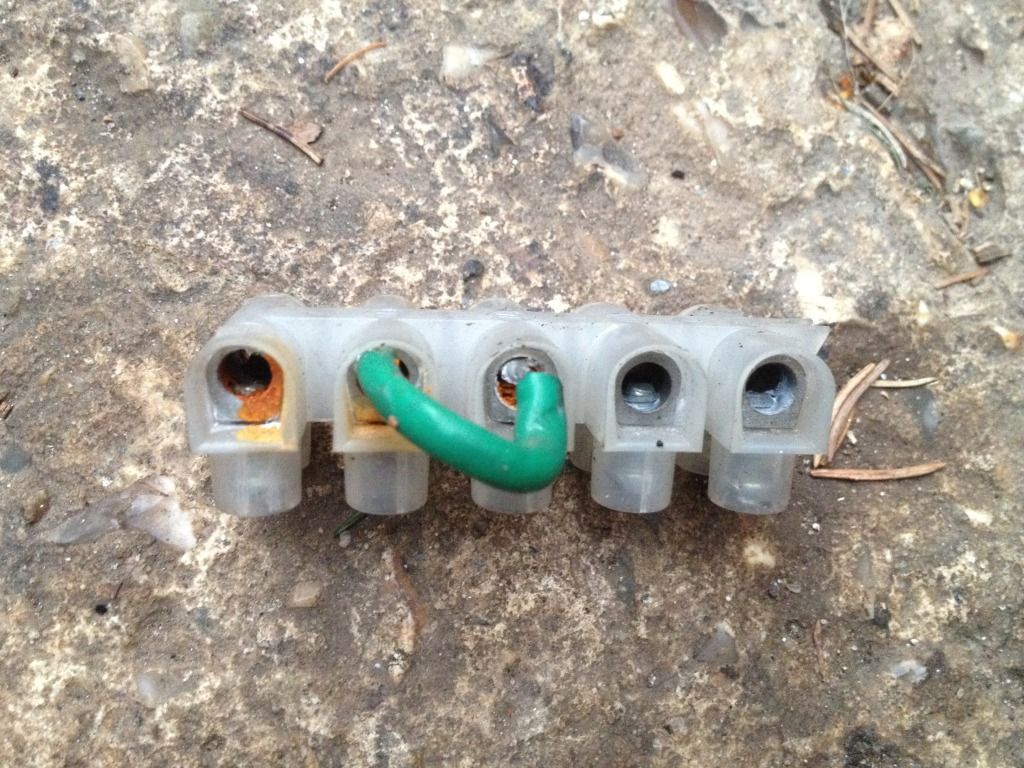
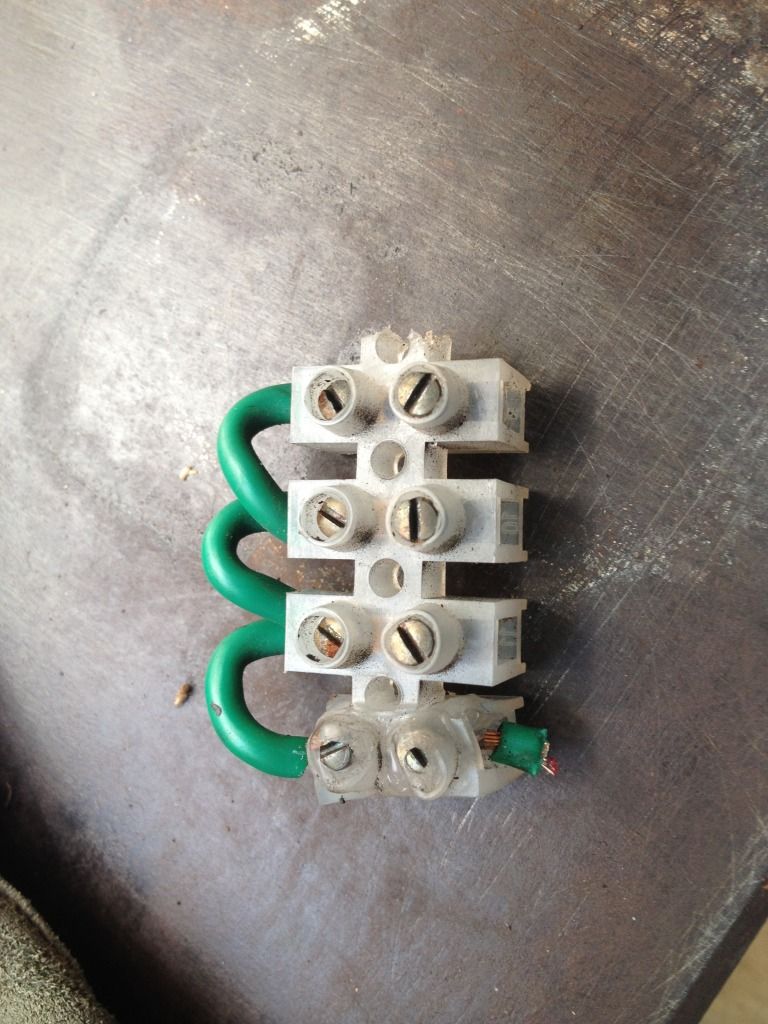
Also there was much usage of chocolate blocks

In France, Joolz, stroking beard with one hand and with a bottle of fine liqueur in the other commented that the number of 'chocolate blocks' behind the dash was worrying. I agree:

Charging has always been an issue, but I can see why, some of the cable routes were so convoluted and it looks like things have been warm
Once you know that's there it's difficult to relax when you drive

I ripped open all the horrible electrical tape that was a sticky mass. Inside, from the previous oil leaks, oil had worked its way in with the glue so it became a really manky job. Any wires I didn't replace I've wiped over with celulose thinners.
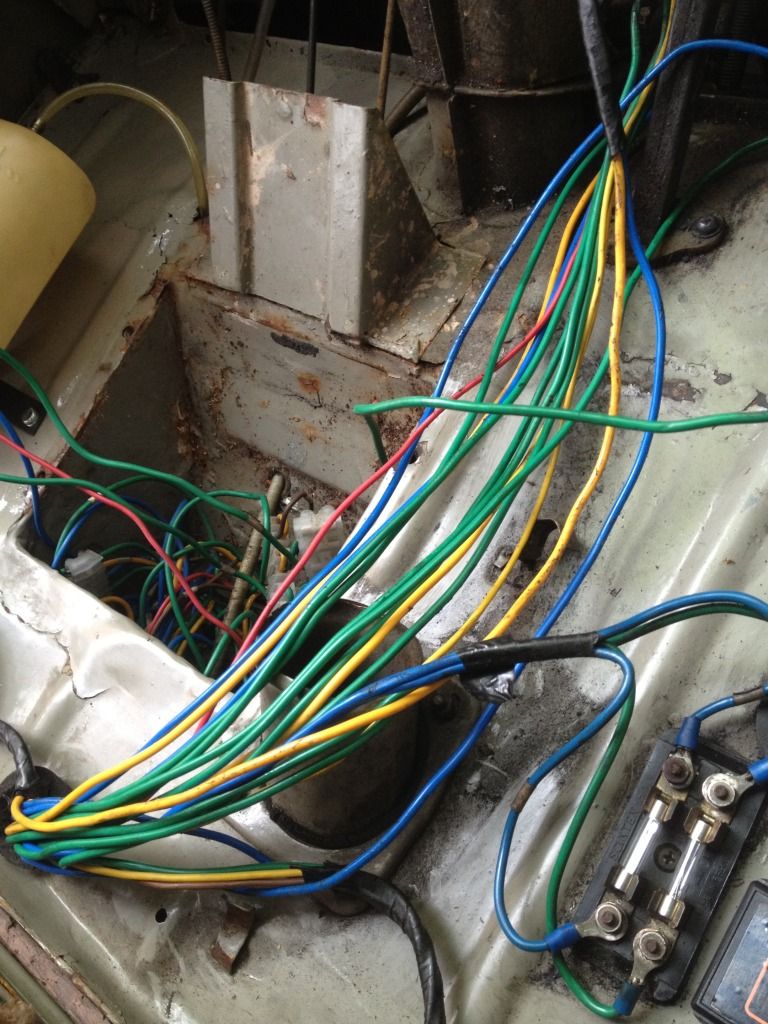
These wires weren't attached to anyting
They were hanging around behind the dash and taped up in the loom!

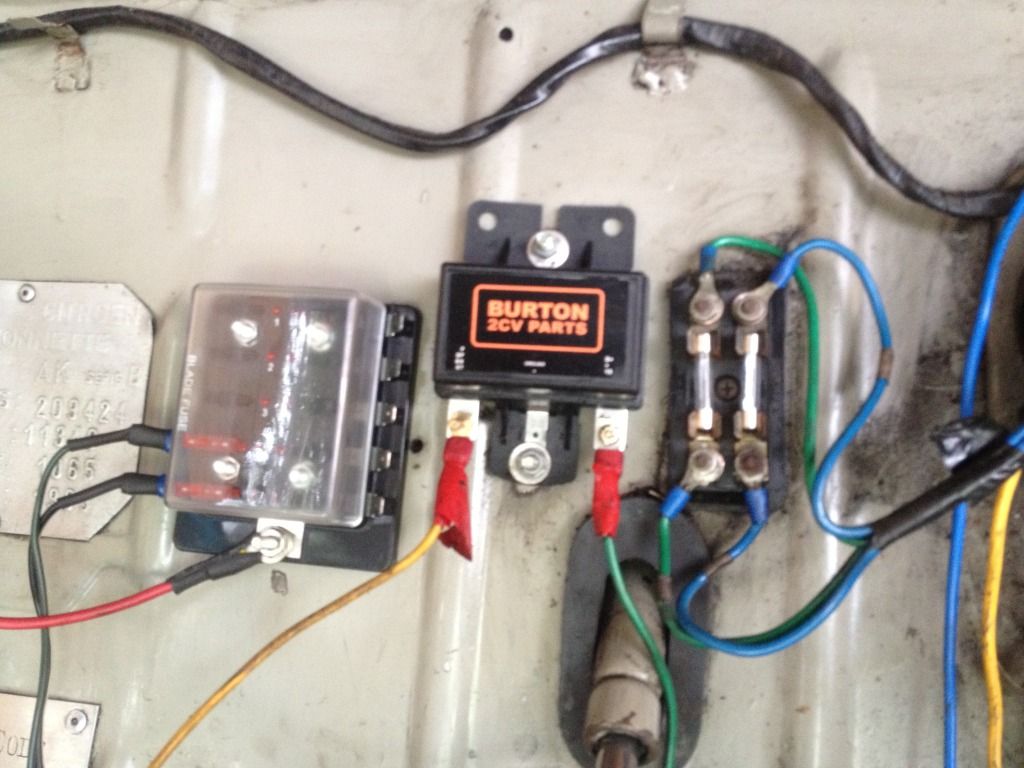
My first job was fitting the new fusebox. I settled for a 12 way 'busbar' type fuse box. You have one live feed in and then all your accessories coming off fused spade connectors. This negates the need to 'jump' from connector to connector or splice into other live feeds, and means less wiring all round. You can literally just plug new stuff into it without worrying about the draw or finding a live feed as the box is supplied with heavy gauge wire direct from the battery. Here it is in place with the 12v cigarette lighter and CD player connected next to the old fuse box and Burton voltage regulator.
My next task was identifying where everything went. On the back of the starter were three wires. One to the alternator, one to the battery (a big one) and one to 'the loom.' This was the first taped up bit I cut open and I pulled the dash and battery tray out too.
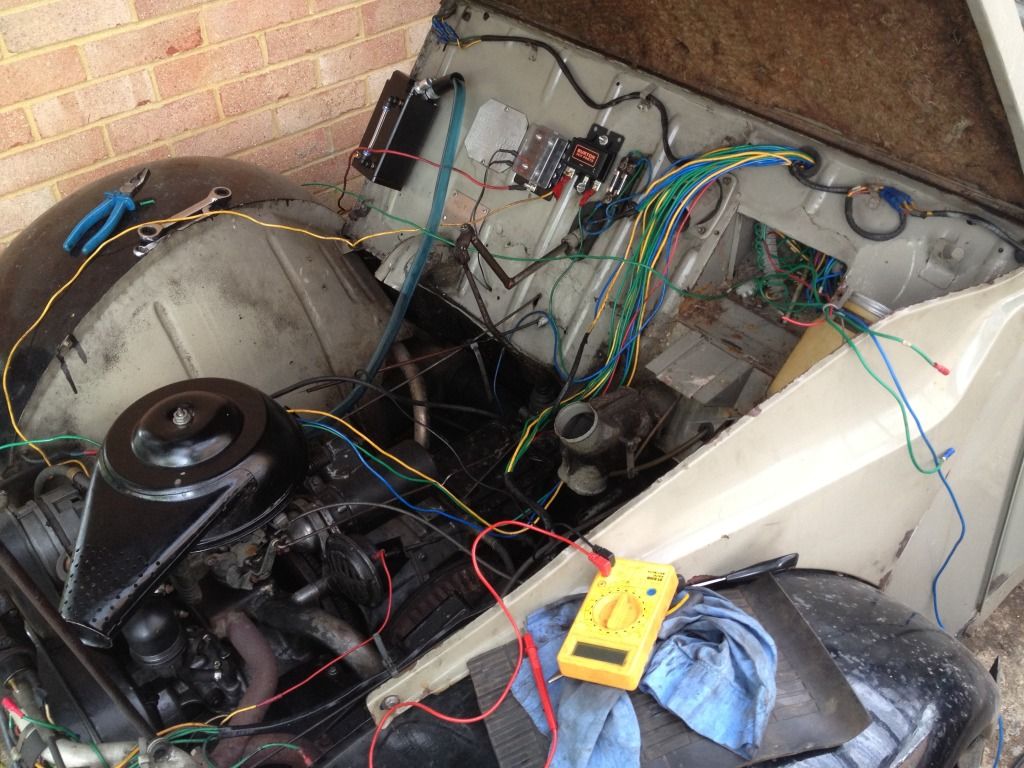
I've now connected the battery to the isolator to the fusebox to the starter to the alternator with heavy gauge cables to keep things neat. Probably overkill, but they're quite cheap and obviously well suited to carrying the power and as I say, I know the fuse box is fed with a reliable feed so no need to worry about overloading. The thicker cables also have some rigidity so don't flop on the manifold!
The first wires I removed were everything to do with the wiper motor. It was fed with a blue wire. Could I find it ANYWHERE behind the dash? No. Discovered it was crimped onto a yellow wire behind the de mister
So I hoiked all that out and rewired the wiper motor, bypassing the ignition (temporarily to keep it simple) with a relay to the switch.
Next I figured out the ignition. As I say, the last four connectors on this block are all wired to the ignition. The green cable on the far left block at the bottom goes to another block that splits the live feed between ignition live and permanent live. So i got a hacksaw and cut that end of the conector off.
I've got rid of all of that now. Including two ignition lives wires that weren't attached to anything and a umber of negative cables which I cured by cleaning up the negative connectors on the indicator flasher... There's a new 17amp wire that goes from the Fuse box to the ignition switch and from there to a new, bigger junction that takes the power to the coil, indicators and charging system. This is a slightly temporary set up.
The plan is that next - in my 'stage2' rewire, I'll take power via a relay from the main fuse box to a second fuse box, the relay will be activated by the ignition switch. This second fuse box will be connected to the coil, indicators and wiper motor relay. That way no relative power will go through the ignition switch and it will further tidy up behind the dash.
I've taken a new 17amp wire from the fuse box to the lighting switch so at least the electrics have some overload protection now. Again part of the next stage is to add relays for the dip and high beam. This exploration brought to light that the sidelights AND the dash light are wired into the dash light terminal on the light switch. This is live with the sidelights. The front sidelights have their own (currently unused) terminal that is off with dip and high beam. I'd like to connect it all as it's meant to be so the front side lights go off when dip/high beam is activated.
The last great mystery was the old fuse box.
What had prompted me to rewire was that if the wiper motor was overloaded it blew the left hand fuse - which also carried power for the indicators/charge/coil. All these connections were removed and sorted when I rewired the ignition.
But the right hand fuse was a mystery! It wasn't live with the ignition on or off. However it went live with the side/dip/main lights on. So I though "aha, some clever person's installed a fuse for the lights.' So I removed the fuse, and the lights stayed on. Huh?

Turned out that the fuse only acted on the sidelights. The power went: loom > light switch > fuse box > sidelights but with power going straight from the loom to the light switch as well... or something... it was all a bit weird.
As I say, I've taken a fused live to the switch and taken a new wire for the sidelights to a new heat shrunk connection. The sidelights are individually fed so you can have 'parking lights' which are sort of cute and I'd like to reserve these when I rewire the headlight loom.
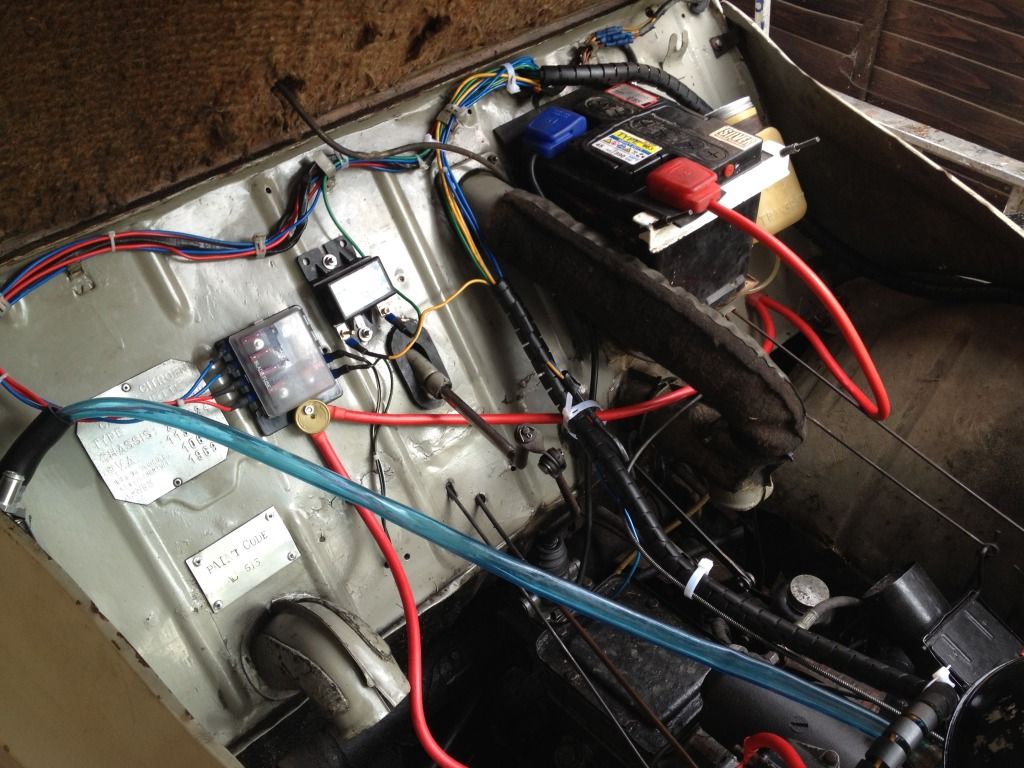
My new tidy engine bay

And Hetty's running so much better, brighter lights, faster indicators, tis all good!
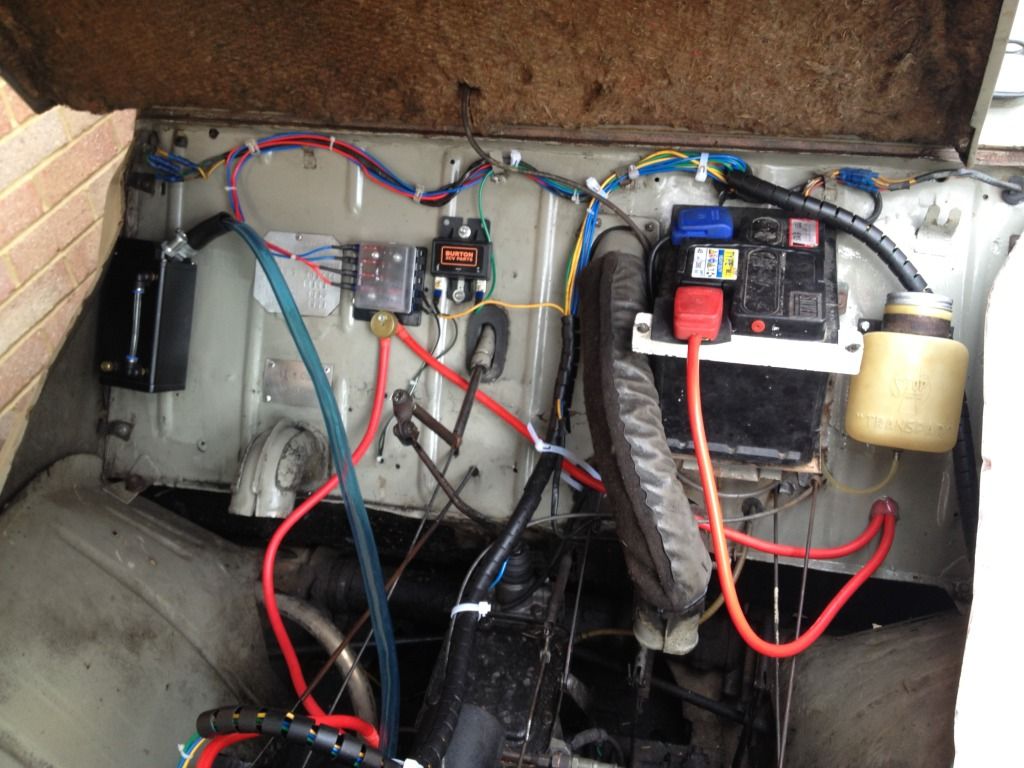
The cables have been tidied with household cable tidy ducting - again temporary, I'll use automotive stuff when its all completed.
You might notice the blue pipe. That goes from the CPD breather to a new oil catch tank mounted on the bulkhead. Hetty runs an Ami 6 40 carb. This was standard on Belgian 350s (don't know about French ones) during the last six months of 1966. Sadly hetty is missing her airbox and I figure my chances of finding an airbox used by Citroen Belgium for a mere 6 months in one model is pretty slim. Hetty is therefore fitted with a solex 30 carb air box attached to the carb using a smal piece of Ami6 silencer rubber pipe. All this means that the breather doesn't really attach happily to the airbox and I've always found that oil mist condenses in the airbox and then drips oil all oer the carb, probably aiding its demise. Using an oil catch tank was an obvious (and eco) thing to do. It had to go on the bulkhead as there wasn't really anywhere else for it. (It's a budget eBay one by the way
)
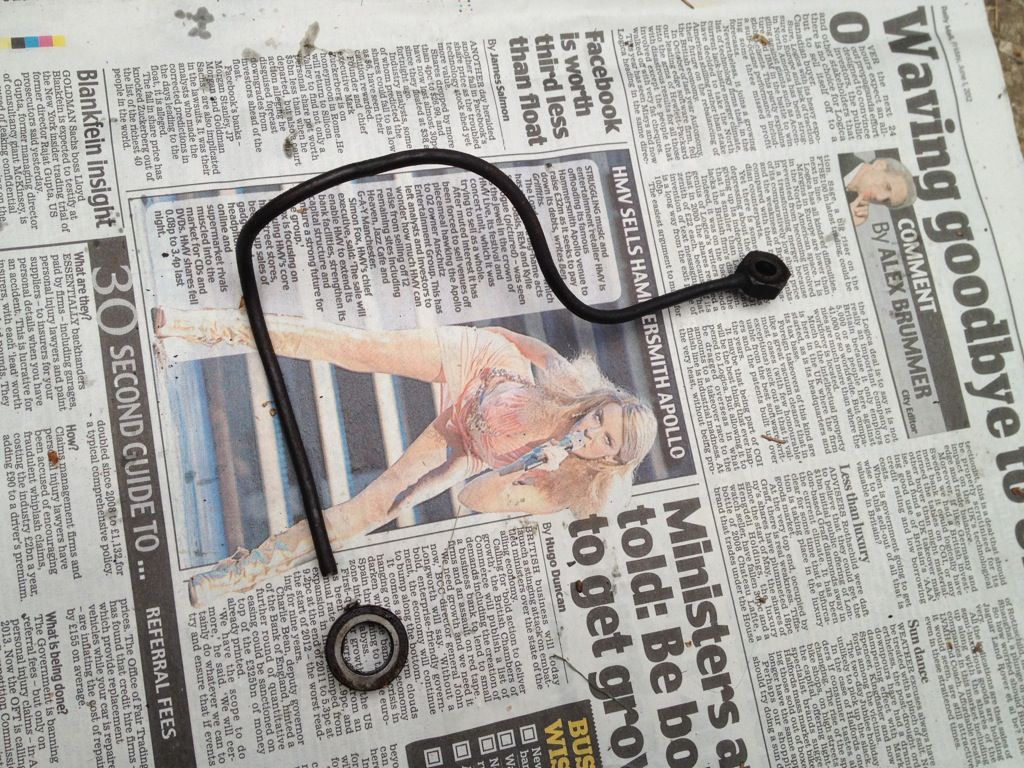
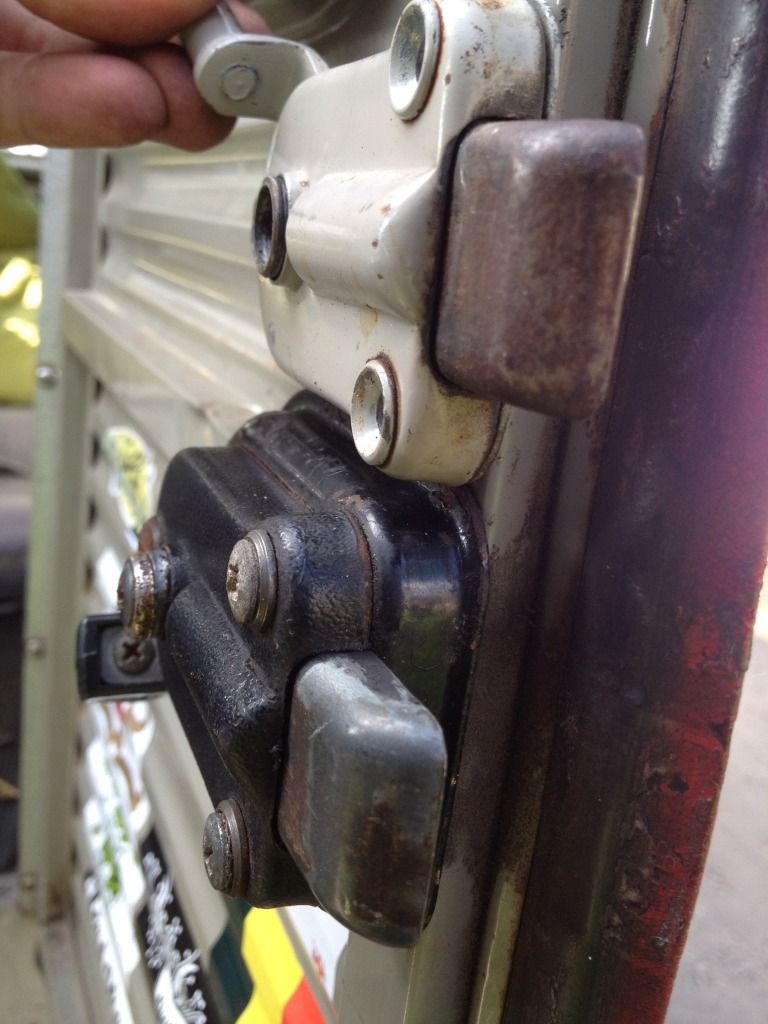
With the electrics now safe and tidy and the catch tank installed I set about fitting my original 60s Enac spare wheel carrier, kindly obtained from Aidan (Rumble602).
I set it all up and in place, made sure the bonnet closed, that I could change gear and that the wheel fitted before drilling holes and doing trial mount. And discovering that I couldn't close the bonnet, change gear or use the battery

Basically I had over tightened the nuts and put the wheel on 'the wrong way round' - yes despite being circular the wheel will only fit one way
Anyway it fits now and looks smart
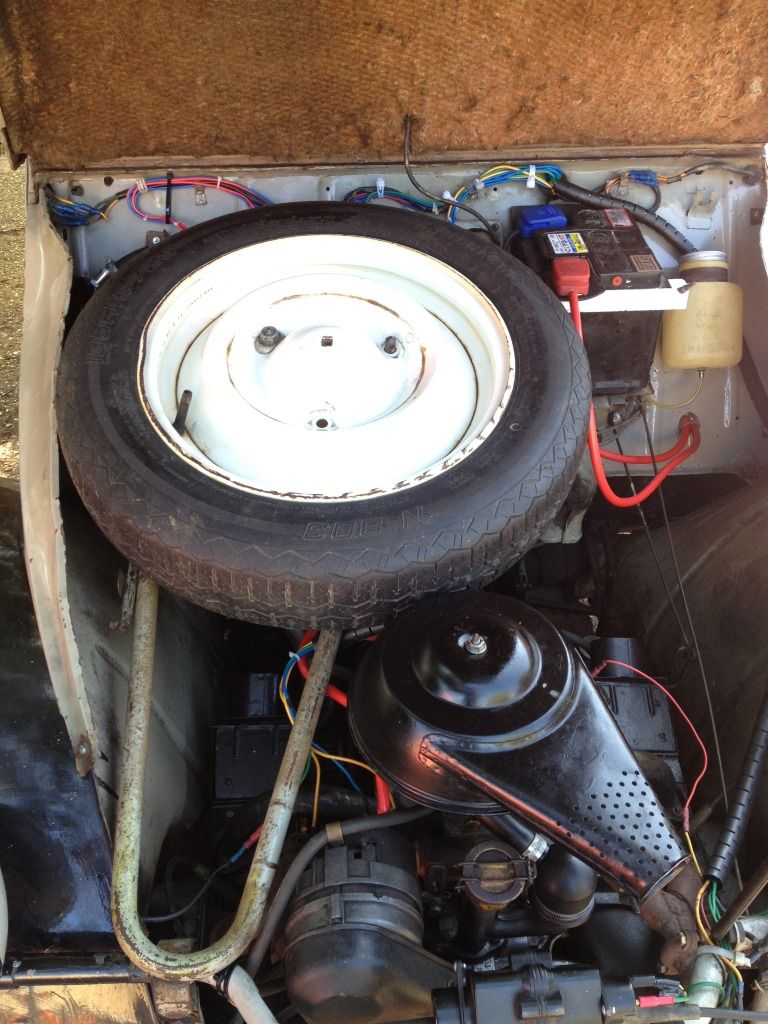
And opens up too

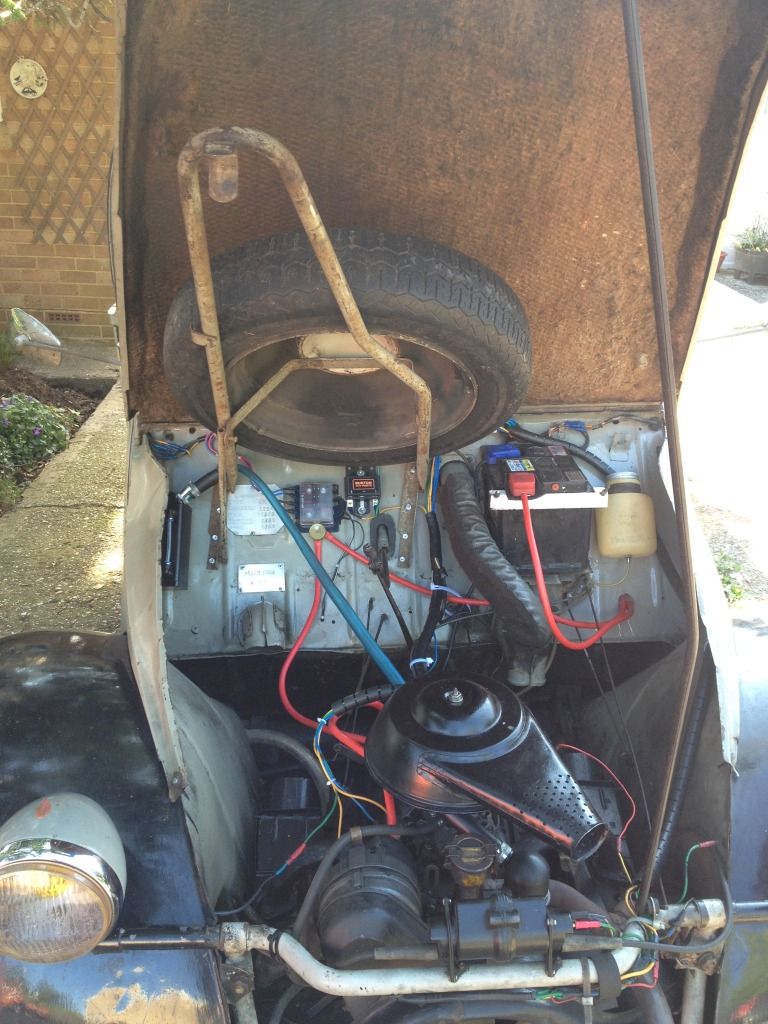
There's even a little stay to hold it open.
I had to be careful how the left hand mount was tightened as it sits over a rib in the bulkhead and over tightening it caused issues. Hetty's bulkhead is badly cracked where a leak had allowed water to settle on the parcel shelf for the decade she sat in a garage, rusting through the bulkhead between the battery and the gear change. This crack 'popped out' if I overtightened the nuts. I solved the issues by using spaces between the mount and th bulkhead to go around the rib in the bulkhead.
On the reverse I made some steel plates to spread the weight over the bulkhead
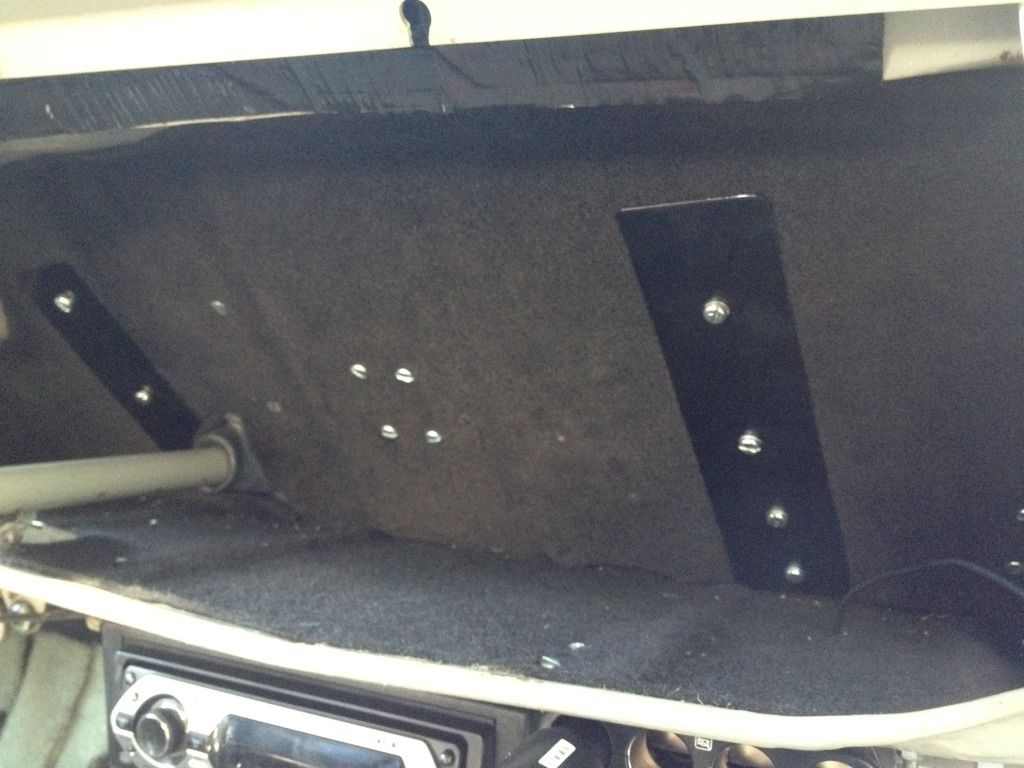
The four little nuts hold the fusebox. In retrospect and one day if/when I replace the firewall, It would be bettter to have the fusebox/voltage reg/etc mounted on a plate which attaches to the bulkhead, it would save all the holes! However, I think it looks quite smart, I'm pleased with my metal work and there's no flexing or wobbling on the bulkhead.
For 3 days work I'm really really pleased
Hetty has been my 'classroom' for learning and agai I've learnt a lot through doing this.
The spare wheel are in the wheel arch is now vacant... and I have plans for that area.
Next jobs:
Utalise spare wheel area in wheel arch.
Add 'ignition live' fuse box.
Add relays for dip/high beam.
Rationalise indicator wiring and add hazard flasher.
Rewire front light loom.
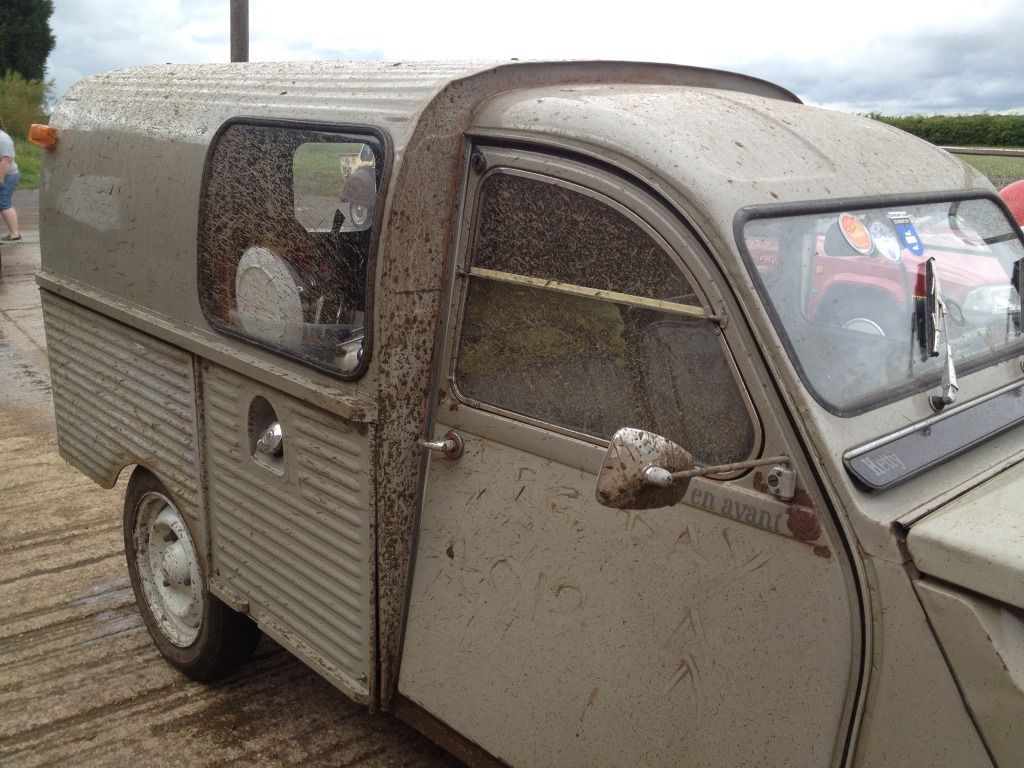
Love my van